VIOR'LA TAU vs DEATH KORPS V1.2This game was a rare opportunity to kill two birds with one stone - test the latest revision of the Death Korps list, and the current Developmental Vior'la Tau simultaneously.
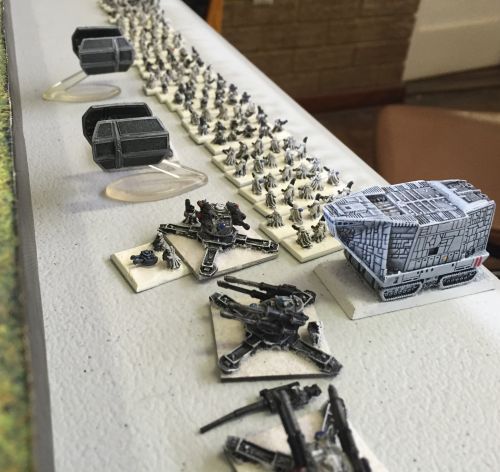
There were a few compromises made to fill in gaps in models, mainly using death korps infantry tilted upside down as Death Riders (the new list is likely to have people add more Riders to their armies and I won't finish mine until the weekend), and traitorous hammerheads filling in as Macharius tanks that I didn't have models available for.
I think these compromises were worth it to get the testing done.
Army Lists(Approximate: lists remade after the game)
Vior'la Tau6 Crisis Suits, 2 Gundrones, Shas'El (SC)
6 Crisis Suits, 2 Gundrones, Shas'O
8 Firewarriors, Cadre Fireblade
6 Firewarriors, 3 Devil Fish, Skyray
6 Broadside Battlesuits
3 Skyrays
3 Riptides, Shielded Missile Drones
3 Riptides, Shielded Missile Drones
6 Stealth Suits
An unsual list; it doesn't have the Tau mainstays of markerlight scout skimmers, and completely ignores the air assets. It is low on long-ranged firepower for Tau, but instead loads points into large crisis suit and riptide formations for a mid-field game.
Death Korps V1.2aRegimental HQ + Commissar + 2 Gorgons (no mortars)
Infantry Company + Commissar + 2 Gorgons (no mortars)
Death Rider Company
Death Rider Scouts
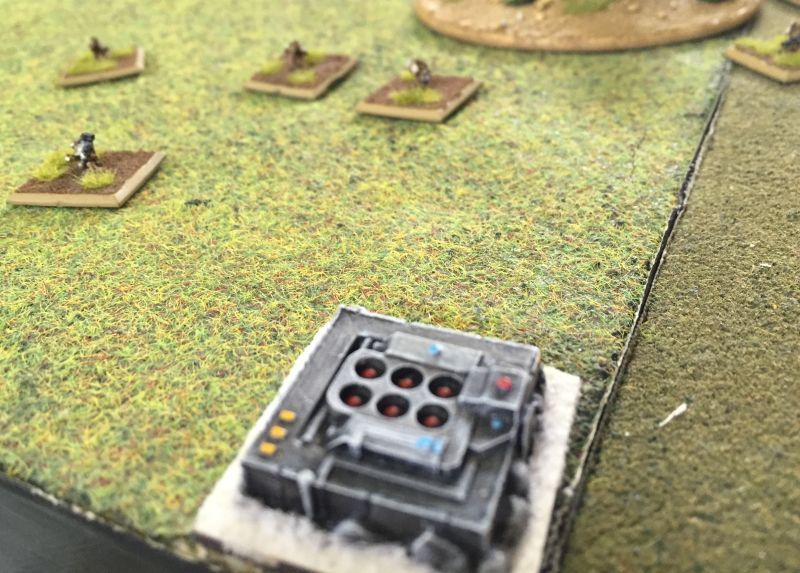
Death Strike (New version Silo)
3 Anti Air platforms
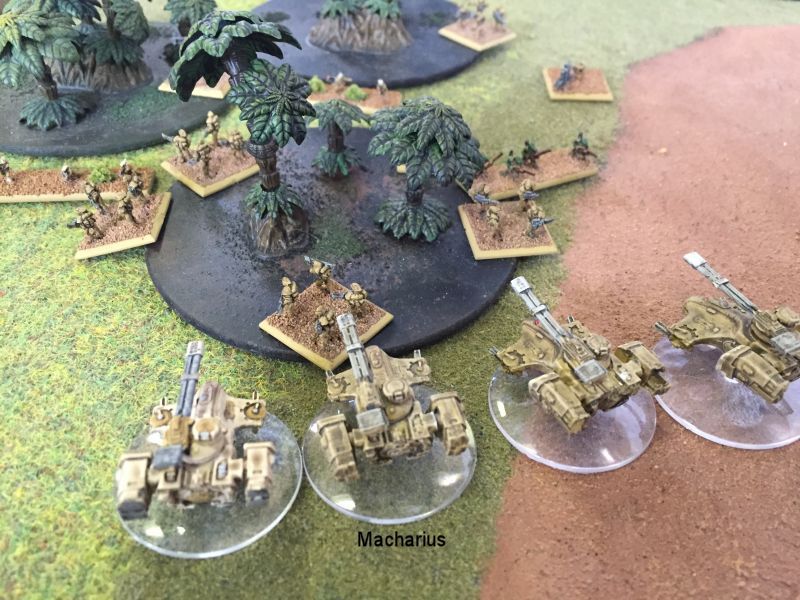
Macharius Tanks
2 Thunderbolts
Warhound
Warhound
This is the version that came just before the current (July 2015) DK list. The silo is the new weaker one and the Death Riders are using the standard rough rider profile, but lose scout for walker. The list has the same stats as 1.3, but some of the prices have now been ratchetted up further.
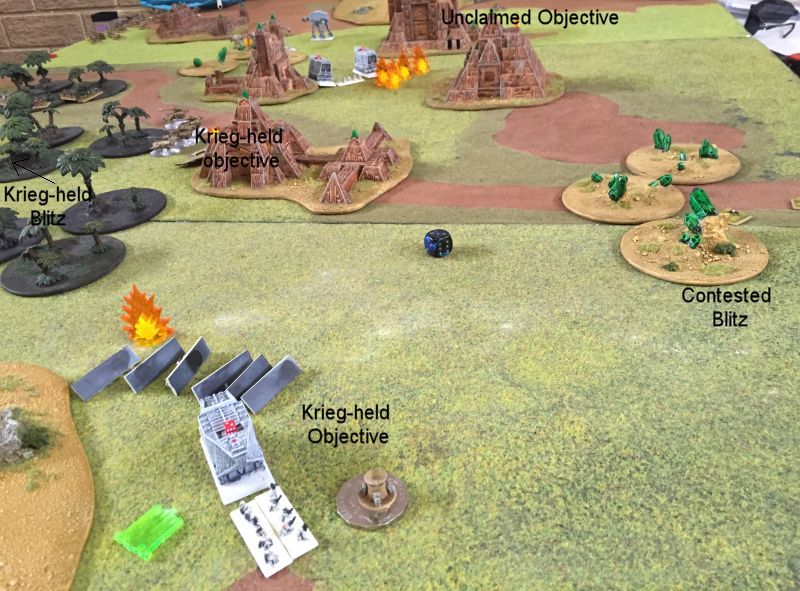
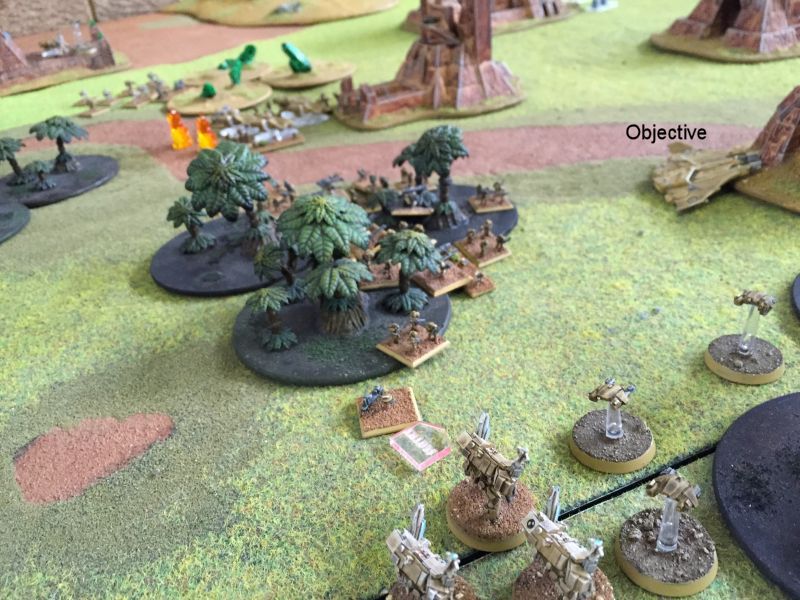
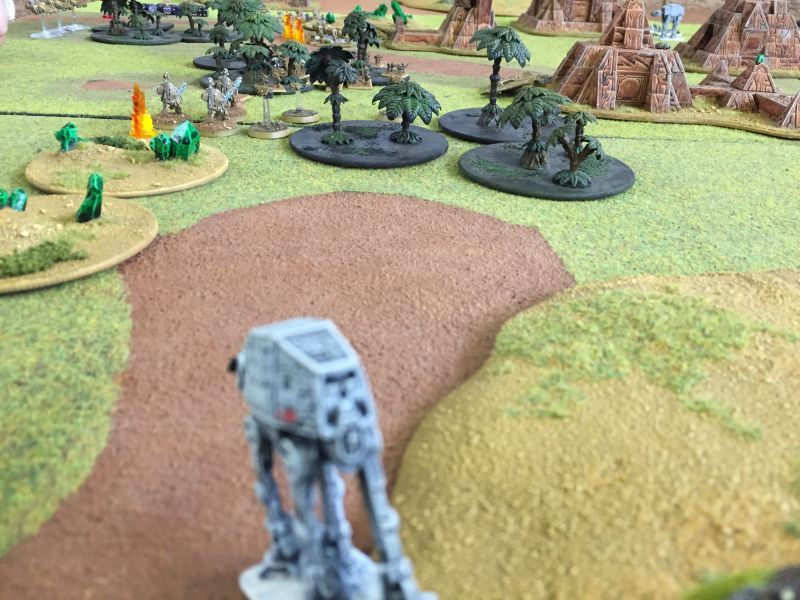
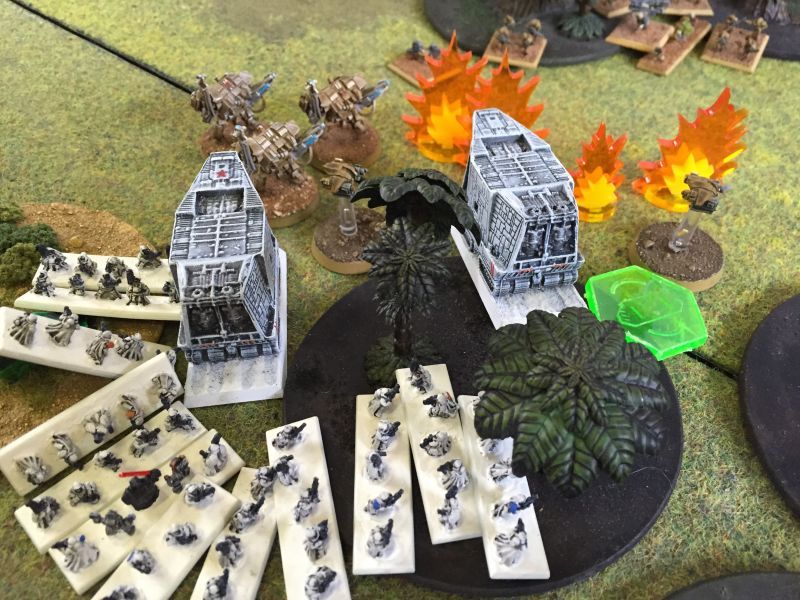
DeploymentThe Tau set up their Blitz centrally and one objective far right.
Krieg set up their Blitz to the left of centre, and their objectives close together on the left. They're not exactly known for speed.
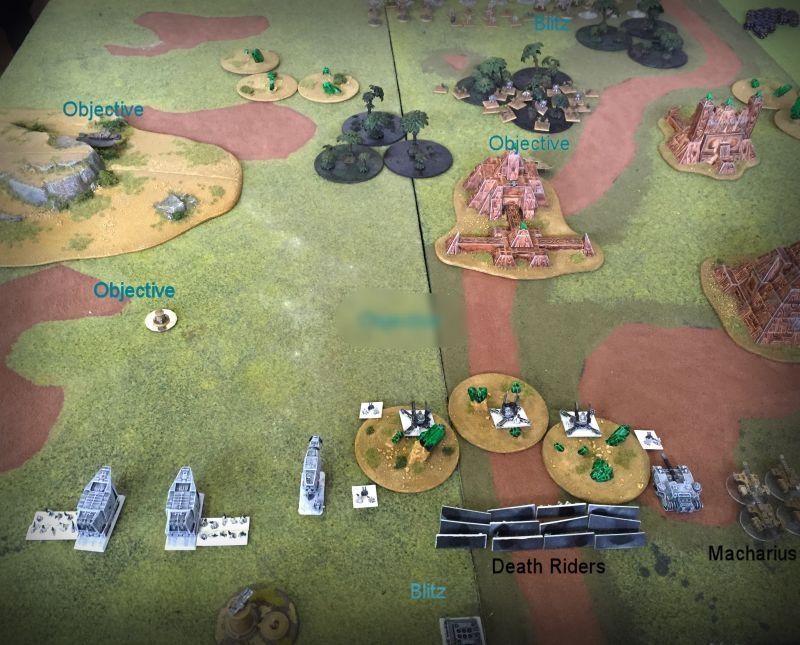
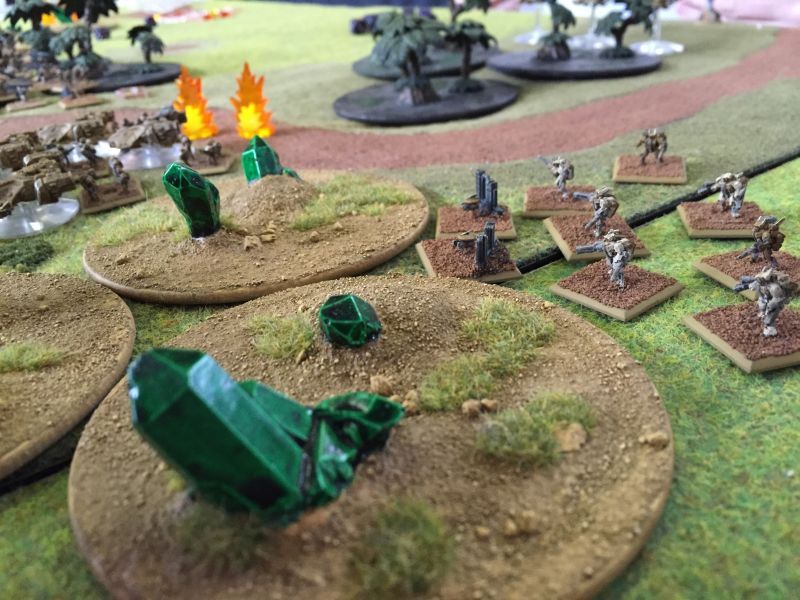
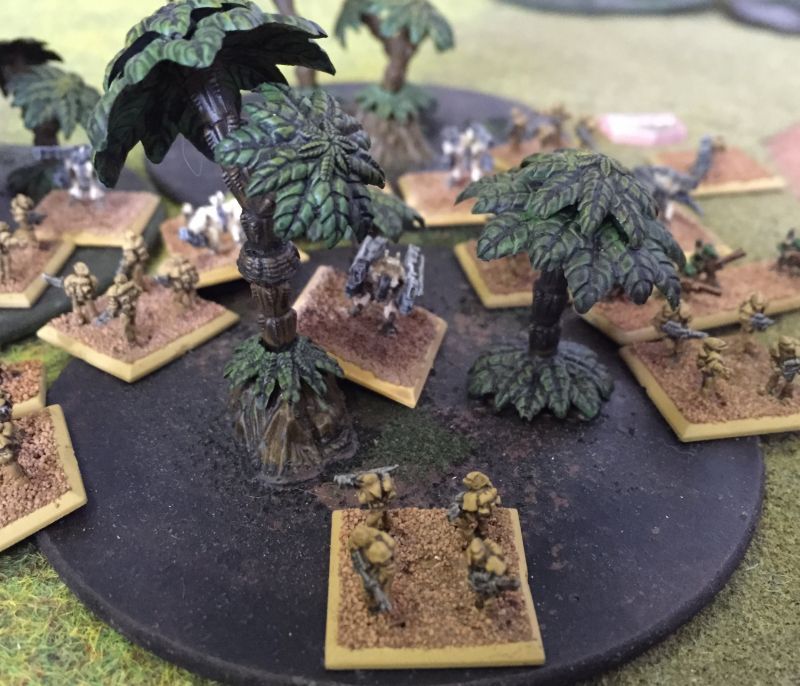
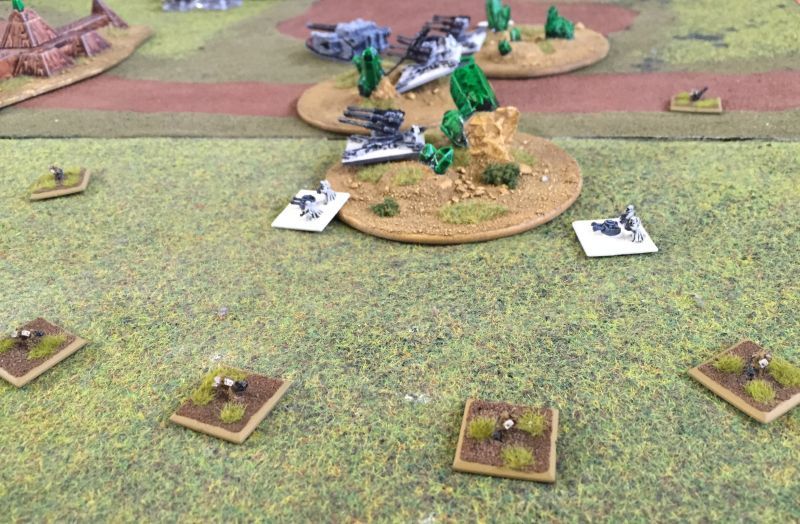
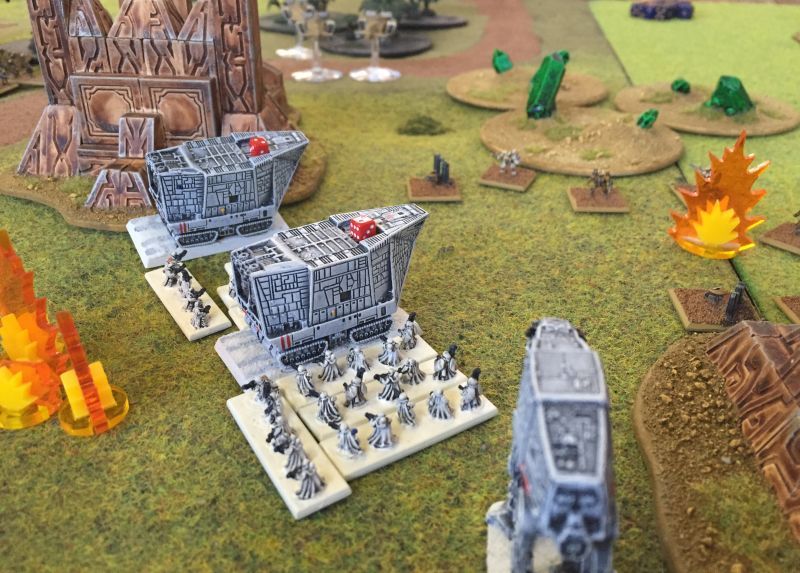
In the absence of any Blast Template weapons in the Krieg army, the Tau were able to set up casually in dense formations. Firewarriors and Broadsides garrisonned forward near an objective.
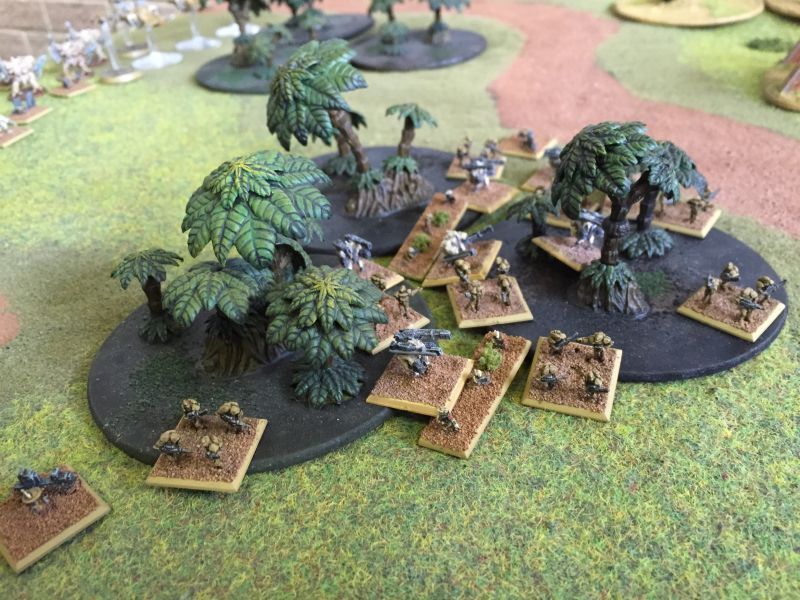
Infantry in Devilfish, crisis suits and Riptides covered the Blitz.
3 Skyrays and more Riptides ready to move up field.
 ==TURN 1==
VT: Tau gain initiative, and since this Tau army is lighter on ranged-firepower than most they sent 3 riptides and their shielded missile drones doubling forward.
DK: The Krieg fire a deathstrike missile at the unactivated Riptides, killing one in a massive fireball. This gives the formation 3 blast markers but leaves it unbroken.
VT: The damaged riptide formation doubles forward.
DK: This move puts them into range for a warhound to move and shoot, so naturally it does. 2 Drones are killed by macroweapons, and the Riptides break and flee.
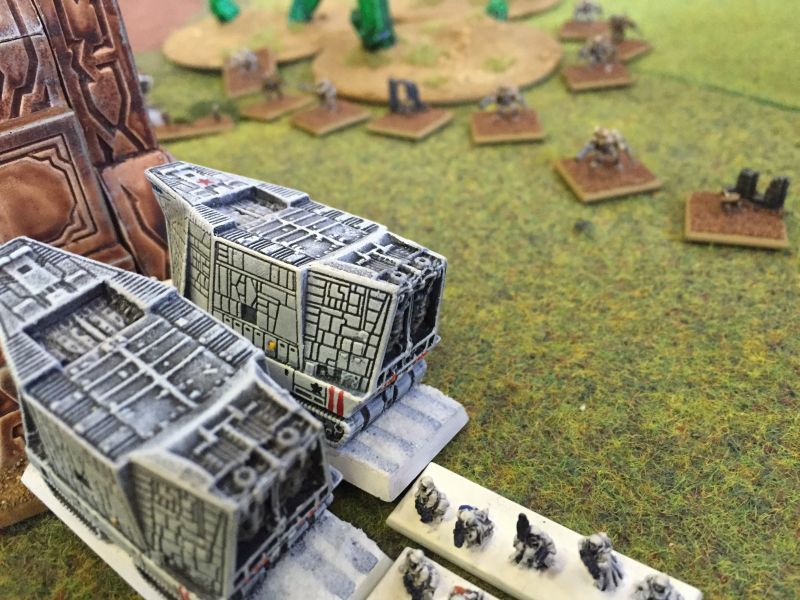
VT: The mechanised Firewarrior formation doubles forward from the Tau Blitz to a central objective.
DK: With a new target in range, the Shadowsword moves forward and destroys one Devilfish at long range.
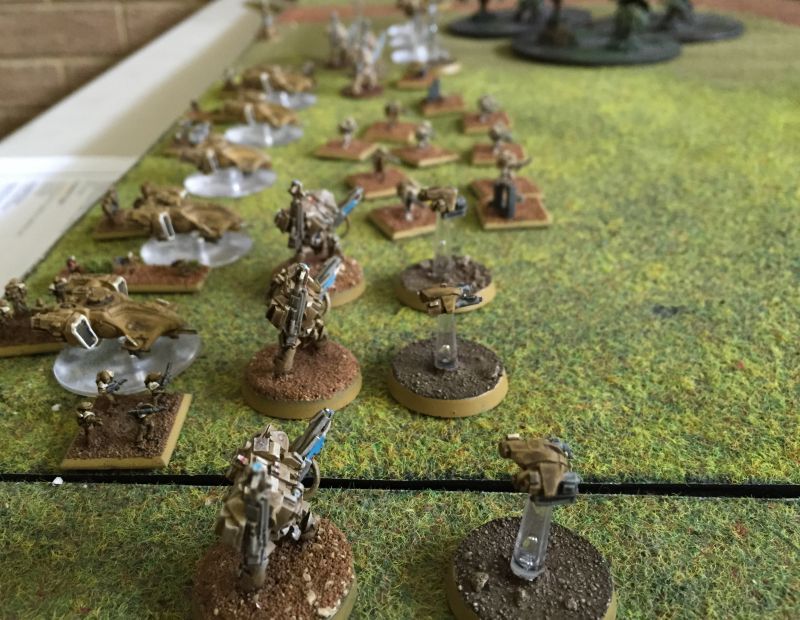
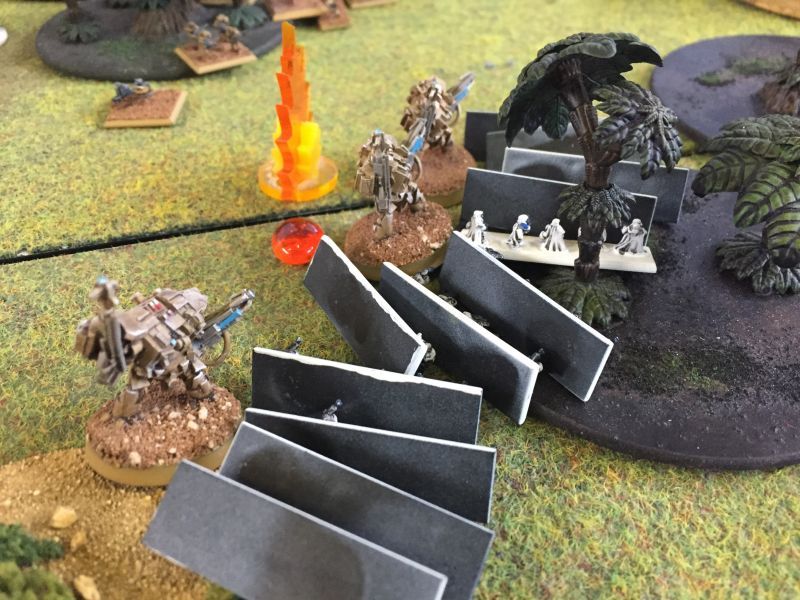
VT: Crisis Suits March (triple move) forward on the right flank, staying behind terrain and near the mechanised infantry.
DK: Death Riders double forward, preparing for a 2nd turn charge.
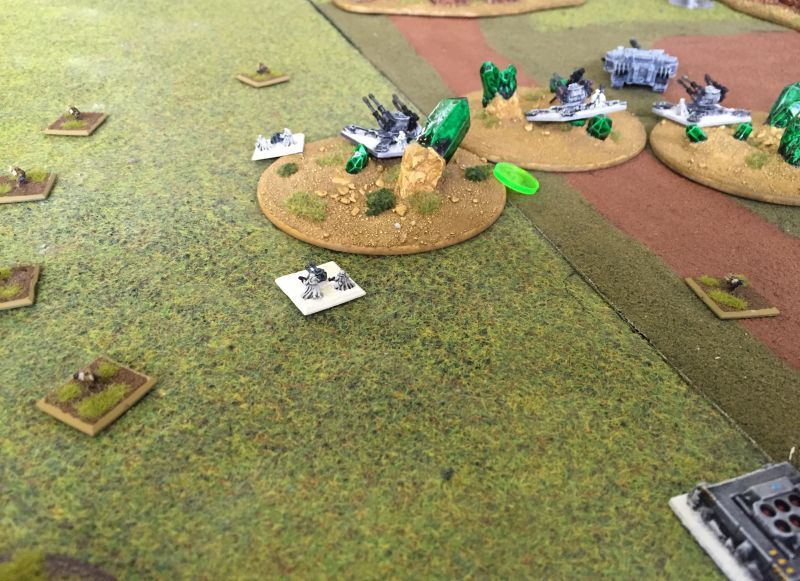
VT: The broadsides open up on the Macharius Tank formation with their long range weapons. The 4 hits are saved, but as Tau's first shot of the game at least it shows intent!
DK: The second Warhound doubles up the left flank and fires on the riptide formation. It uses its slow-firing macro weapons, but no damage is done.
VT: Three Skyrays move up field, providing an absolutely deadly anti-air umbrella as well as markerlight support.
DK: This move does mean however that the broken Riptides that retreated to the right flank are no longer covered by the Umbrella. Sensing their chance, DK Thunderbolts scream in and attack the broken formation. The one skyray attached to the mechanised infantry is in range of them however, and it only took this one to take out a Thunderbolt. In return, the remaining thunderbolt kills a sheilded missile drone.
The Tau have now used all their activations, so Death Korps can finish the turn.
DK: Infantry Gorgons triple forward
DK: The Regimental HQ had its Mortars removed when they became expensive, so also triples forward
DK: Death Riders triple forward
DK: Macharius tanks double move forward, reducing their firepower but they still manage to kill 2 gundrones from the firewarrior formation
==END OF TURN 1==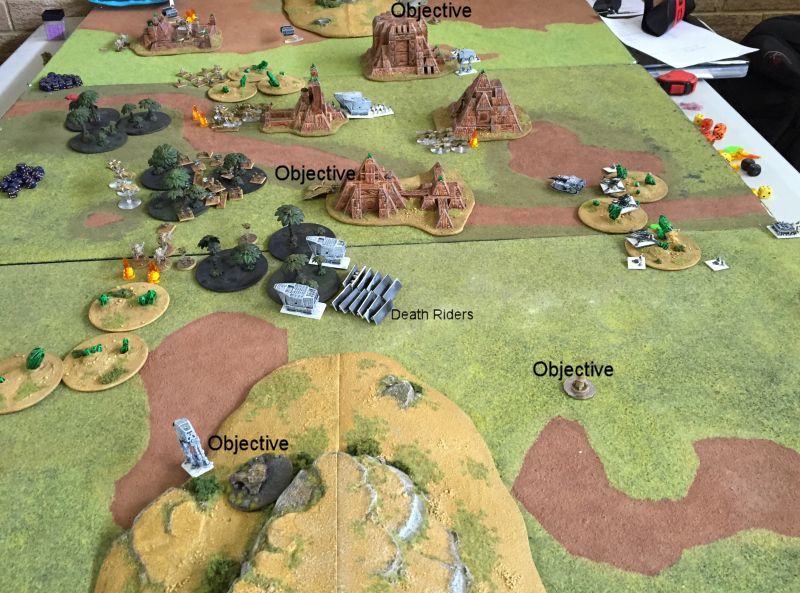
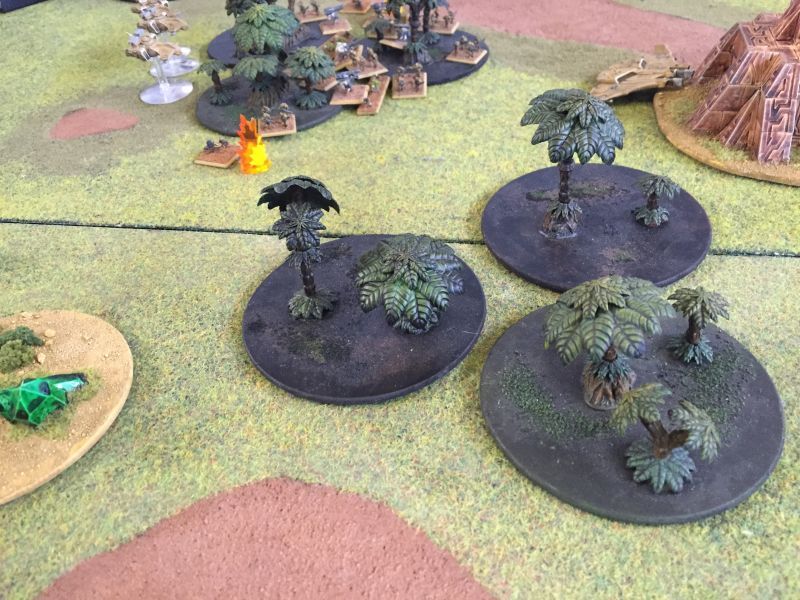
The broken Riptides rally and the other riptides clean all blast markers.
With so many units in the centre of the board we're now set up for an EPIC turn 2.
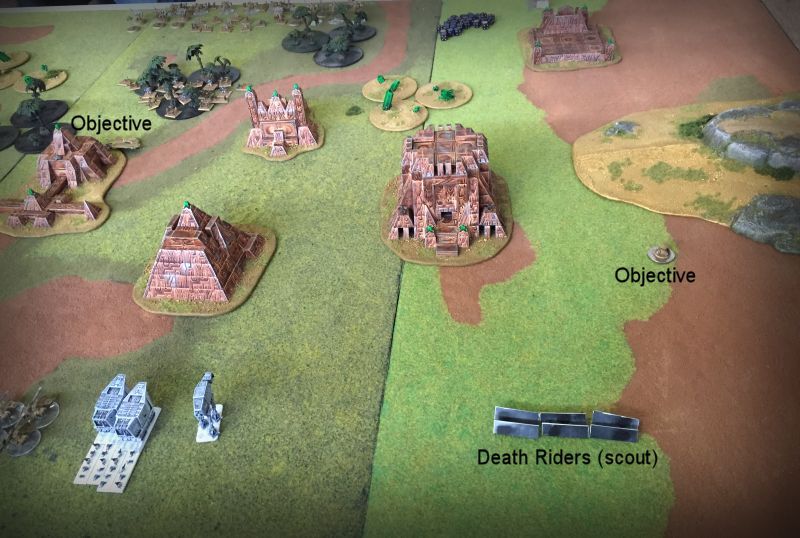
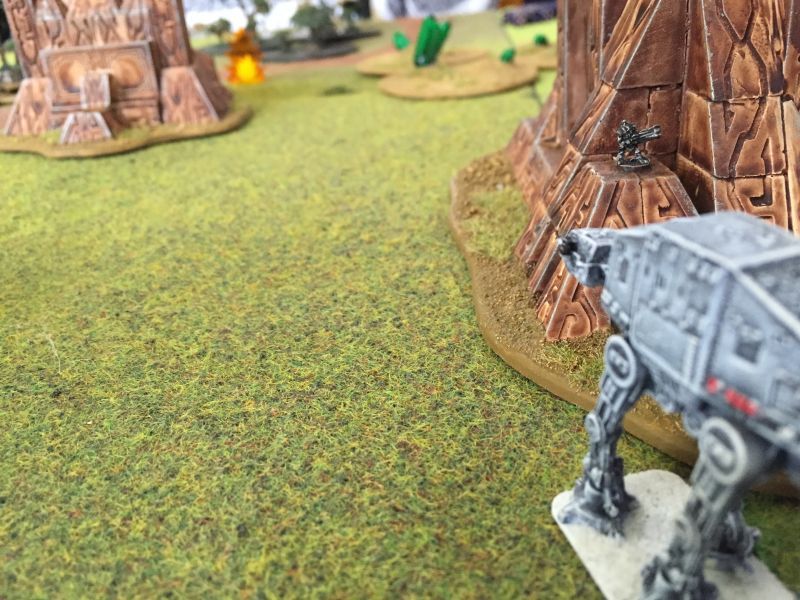
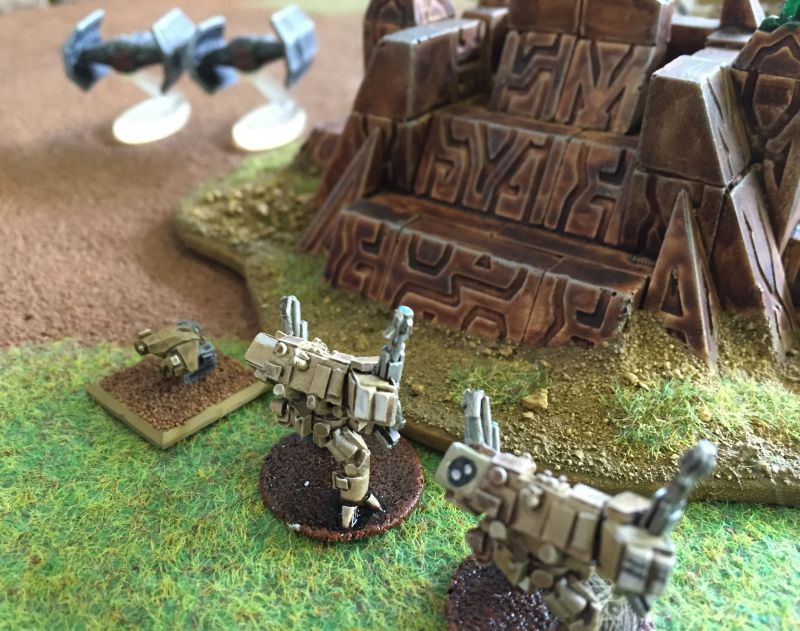
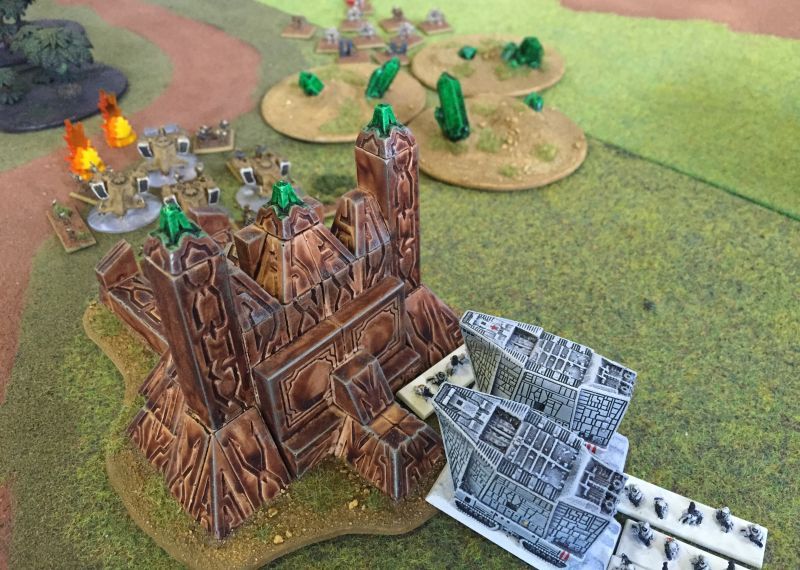
==TURN 2==VT: Before the roll for initiative, Tau Stealthsuits teleport in near the Death Korps Blitz objective. This puts them miles behind enemy lines, and right near the DK anti-air formation and Deathstrike Missile Launcher.
DK: Despite their lower strategy rating, the Death Korps win initiative! This is not great news for the Tau, who really wanted to lay down some impressive firepower before the assaults begin, but it was the will of the Emperor.
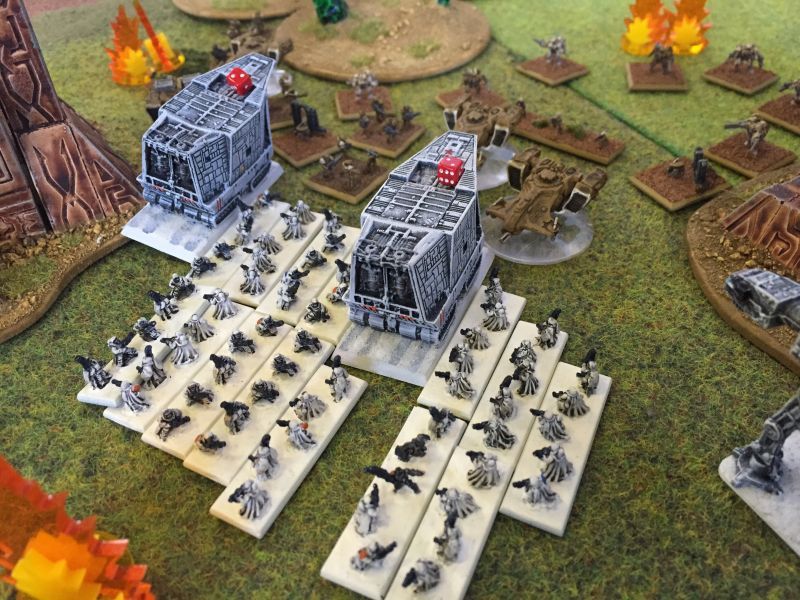
The Regimental HQ Charges forward to assault the riptides - however in a surprise upset a Gorgon fails a terrain check and takes damage - which then escalates as a Critical hit is rolled! The Gorgon is immobilised, and shrapnel from the explosion fills its infantry hold, killing 3 stands of men.
This gives the formation 4 blast markers. As the surviving infantry unload from within, Tau firewarriors and gundrones open up on them with overwatch firepower, killing another 5 stands of infantry.
Combat begins, with the still massive Krieg formation putting 5 hits on the Tau and killing 2 shielded missile drones and wounding a Riptide, for 4 hits. Combined with Tau supporting fire this is enough to kill 1 more infantry stand and destroy the immobilised Gorgon.
 TAU WIN ASSAULT!
The Tau Riptides win the assault, forcing the Regimetal HQ formation to flee backwards as fast as they can. Unfortunately this mighty RHQ would never rally again, but that's what it deserved for losing an assault to Tau.
You had one job.
DK: After this massive set back, the Death Korps manage to retain initiative and send their formation of 12 Rough Riders into combat with the victorious but damaged Riptides. They score an impressive 8 hits with their power lances, killing a riptide and wounding another.
The Riptides and their supporting fire kill 5 Rough Riders in return, but Death Korps win this combat and the non-Fearless Riptides are cut down in the assault resolution. The Riders are also broken by their losses and flee, leaving a large, peaceful clearing where previously three large formations had been.
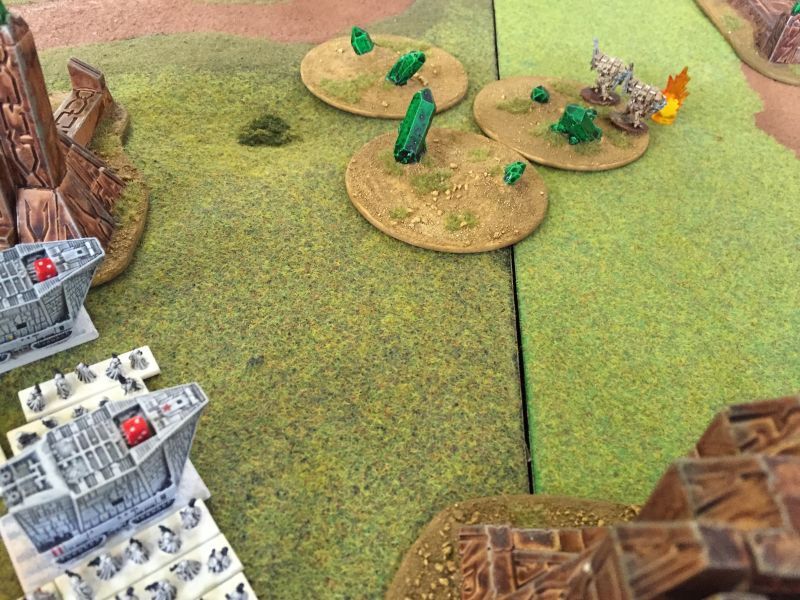
VT: Now it was the Tau's turn, and they activated their Stealth suits and fired on the Anti Air formation. These are Light Vehicles, so vulnerable to the Stealth Suit's anti-personnel firepower, and the Tau managed to kill three and easily break the formation. As they are immobile, two others were unable to flee and end a move more than 15cm from the enemy, so were cut down. Only one trojan towing vehicle made it out of this carnage alive.
This was a clever use of the Stealth Suits disrupt weaponry and control zones.
VT: The Tau Crisis Suits called a coordinated fire order, allowing them to activate both themselves and the nearby Mechanised Firewarriors.
Both rushing forwards and firing on the Gorgon formation, even with some below average rolls they managed to kill 4 infantry stands and damaged both Gorgons.

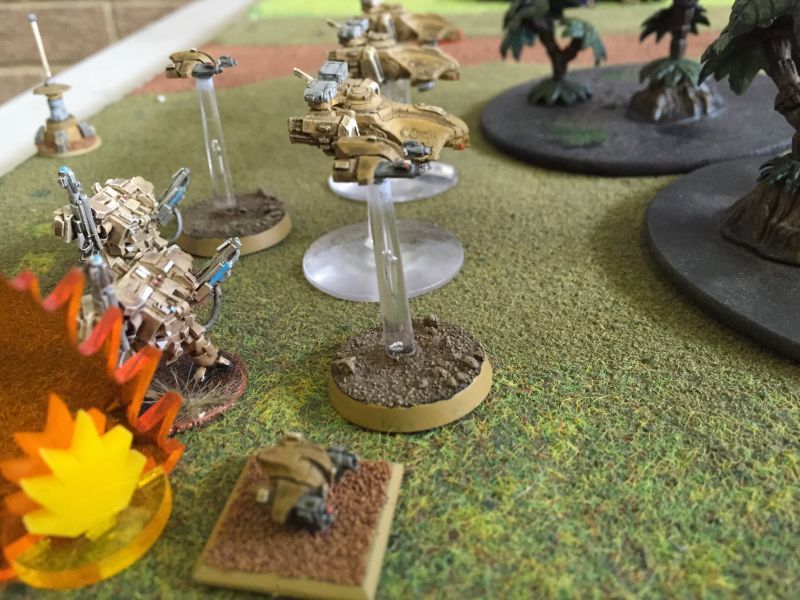
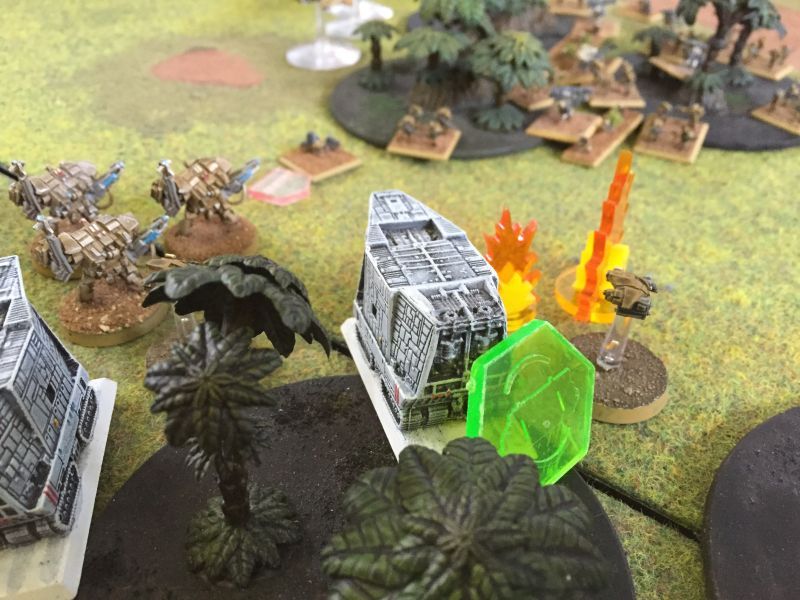
DK: The nearby warhound charged forward and opened fire on the Crisis Suits, killing one and setting itself up to support the coming assault.
DK: The Gorgons attempt to retain initiative, and while they failed due to the Blast Markers they were now carrying, the Supreme Commander used his reroll and passed the second attempt. Rather than assaulting both enemy units that are so close together they can be declare a single intermingled formation, the now-damaged Gorgon formation just went for the mechanised infantry.
With Warhound support, 9 Tau units are hit and 5 killed while 4 Krieg infantry are killed in return. The Tau formation is wiped out as it tries to flee.
VT: The Broadside formation sustains fire on the Macharius tanks, although terrain blocks two from shooting. The Macharius tanks save the hits.
VT: Skyrays retain, move and shoot, killing one more infantry stand.
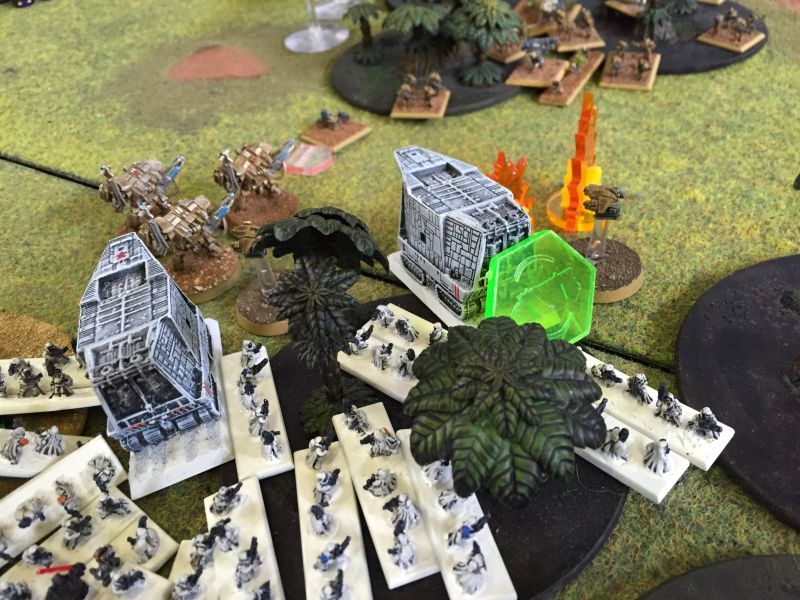
DK: Death Riders (excuse the lack of models while more Taun-Tauns are being made) followed up wiht an assault on the blast-marked Crisis suits. Both sides kill 2 enemy units, but with support fire from the Gorgons and Warhound the Death Riders win. The Tau Supreme Commander is the only survivor, and runs back to cover.

DK: The Deathstrike missile launcher fires its 2nd and final missile at the skyrays. This is overkill, but taking one out breaks the formation.
VT: The Riptides that rallied more and shoot death riders, killing all 4 that survived the combat and wiping the formation out.
DK: The surviving Thunderbolt took 3 blastmarkers with it last turn, and fails to activate.
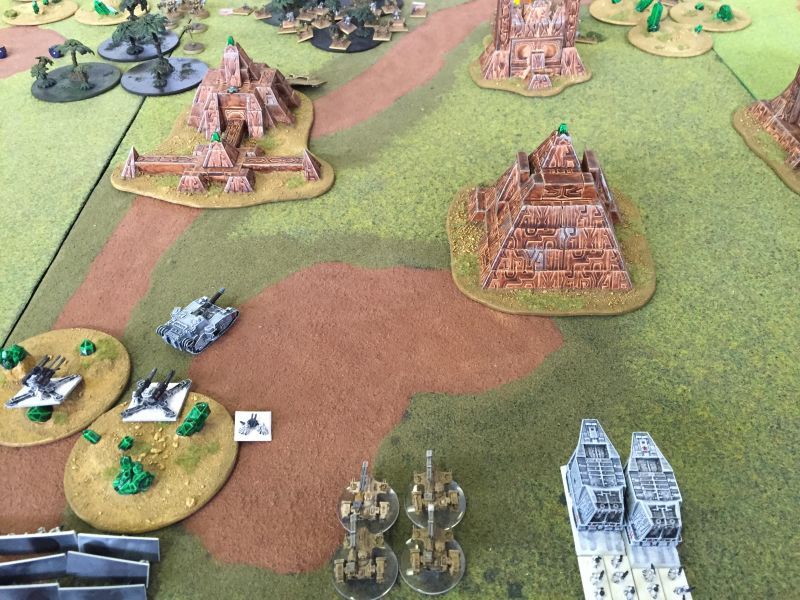
DK: The Macharius tanks (traitorous Hammerheads) roll slowly forward, and fire on the Broadsides. Unfortunately poor saving throws mean 4 of them are killed and the unit breaks.
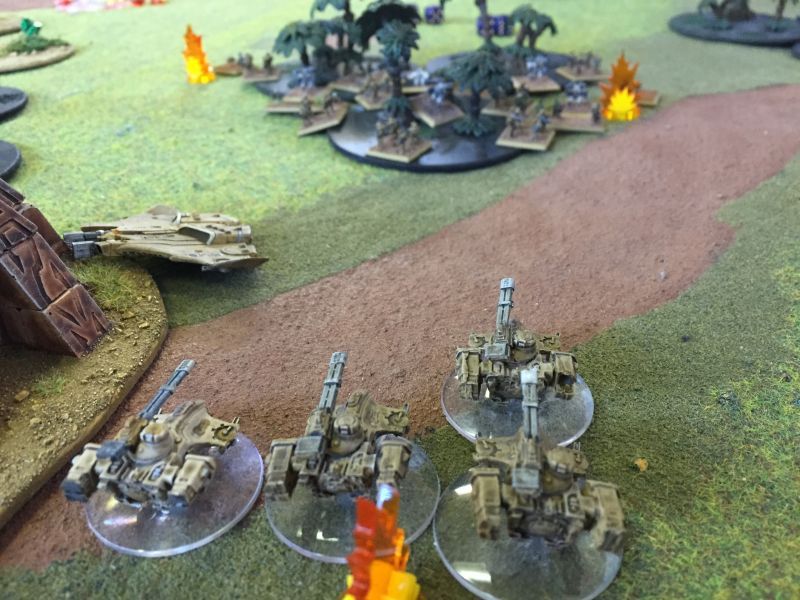
DK: The Shadowsword fires on a broadside but misses. The broken formation loses 1 member for being shot at, leaving 1 survivor.
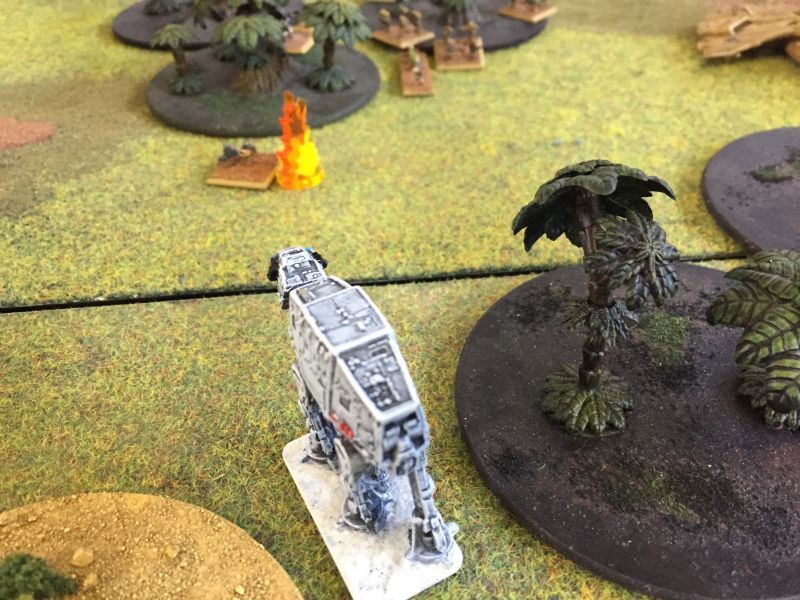
DK: Finally the Warhound moves towards the central objectives and fires on infantry, killing one.
 ==END OF TURN 2==
Tau units rally, the Death Korps RHQ and surviving trojan stay broken.
End of Episode 1. Don't miss the exciting conclusion of the battle, coming soon.