Another IW vs SL battle report for you. Apologies for the huge post
IW (v2) - 3000IW SC, Stalker (400) BTS
IW Stalker (350)
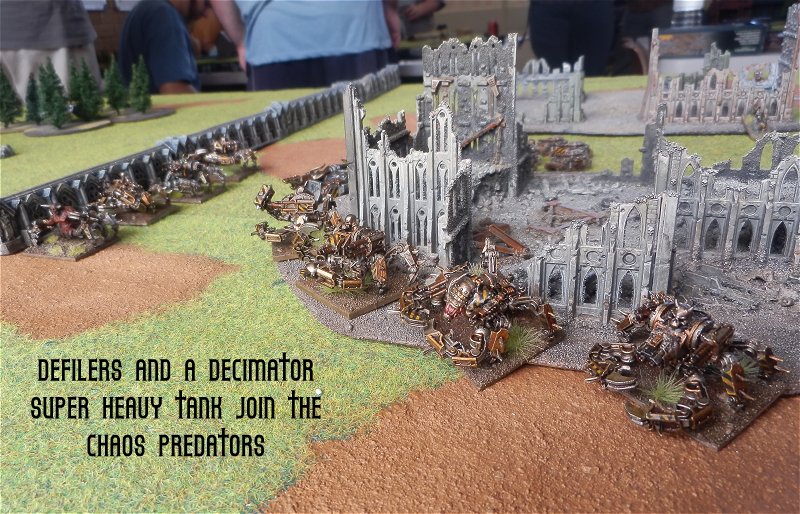
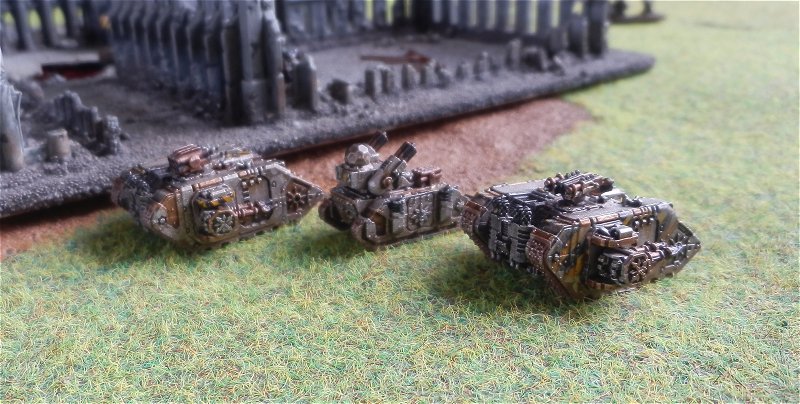
Defiler Assault group + 1 vindicator (285)
Defiler Assault group + 1 vindicator (285)
Artillery Battery + emplacements (325)
Cruiser (150)
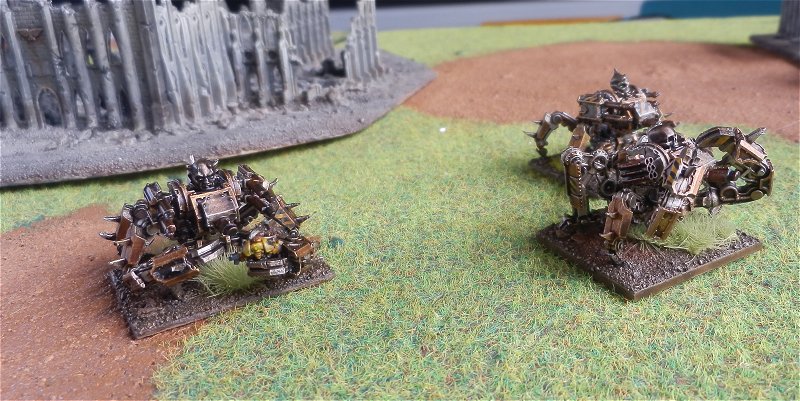
Dreadnought pack + dreadclaws (250)
Dreadnought pack + dreadclaws (250)
Dreadnought pack + dreadclaws (250)
Dreadnought pack + dreadclaws (250)
Hellblade flight (200)
Thought I'd try something a little more extreme than my usual lists, trying to stretch the army list a bit.
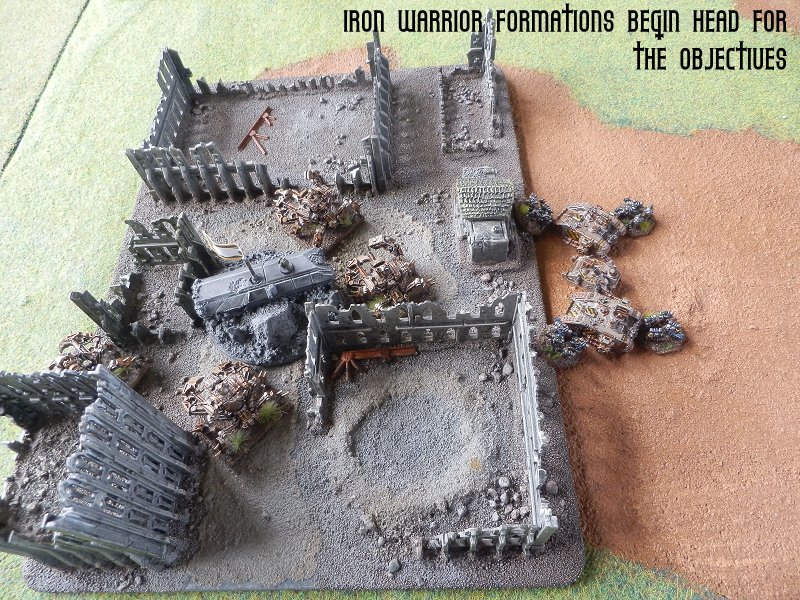
IW formations (with stalkers) garrison on overwatch trying to pen the enemy in ready for the drop. SC placed on "safer" objective.
Wanted to try defilers as haven't used them yet. Took one vindicator to bulk the formation out a bit as 4 strong formations look a bit fragile (would have liked more but ran out of points, also noticed no stalker option).
One artillery battery (couldn't bring myself not to have one). Will be useful hitting fragile support formations or prepping assaults.
One flight of hellblades for AA work and harrasment
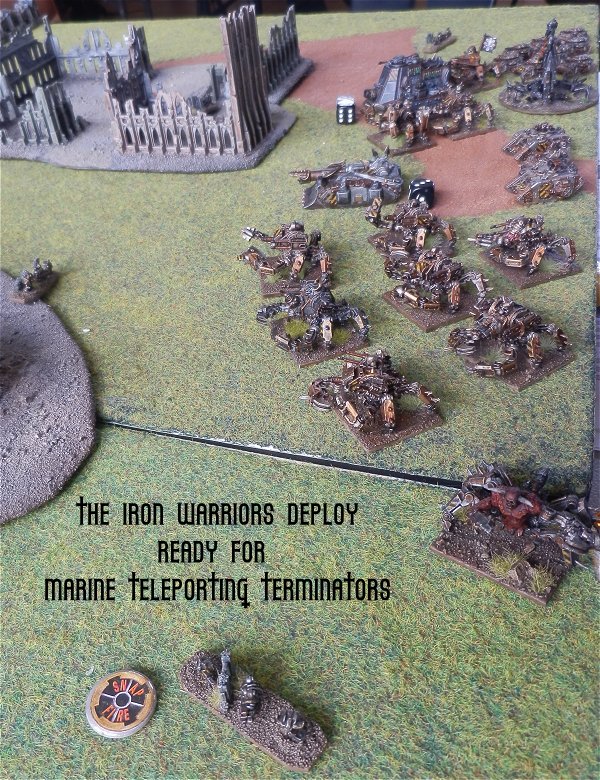
Finally a cruiser full of fearless dreadnoughts in drop pods. I'm interested to see how that many Armoured Vehicles being dropped will work as AT firepower is usually weaker than AP (massed landraiders aside).
Steel Legion (Tournament pack 2013) - 3000Reg HQ + Hydra (commissar) (550)
Mech Inf + Hellhounds (commissar) (525)
Tank company + Hydra + Hellhounds (commissar) (825) BTS
Inf Company + Fire support (commissar) (350)
Sentinels (commissar) (100)
Sentinels (commissar) (100)
Artillery Battery (Bombards) (250)
Thunderbolt (150)
Thunderbolt (150)
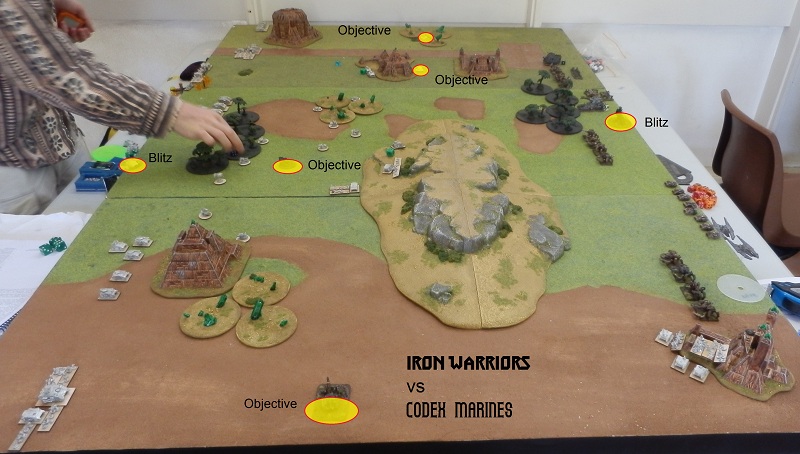
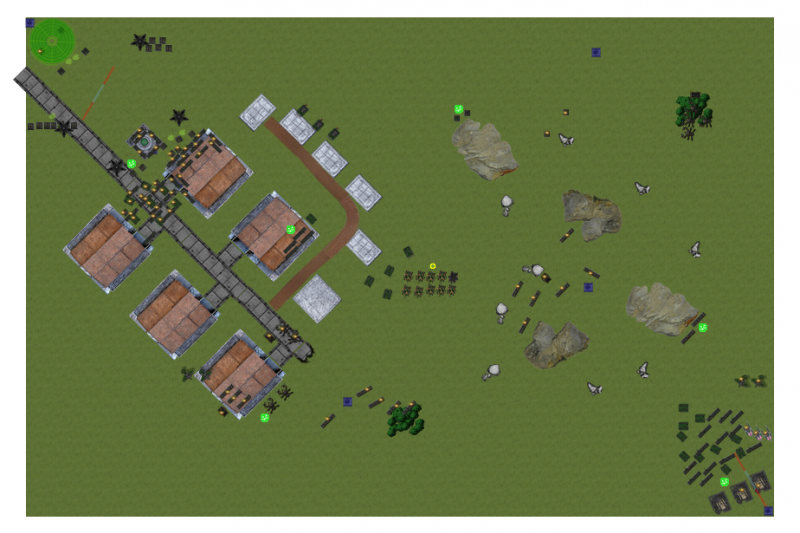
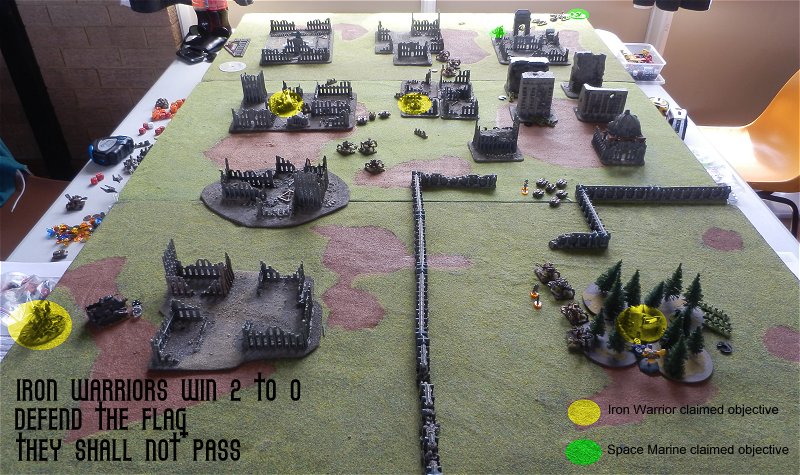
Objectives and deploymentIW choose corner deployment taking the bottonm right putting SL in top left. Based on problems in previous games wanted to try and restrict SL fire lanes. Less concerned about IW fire lanes as shorter ranges or barrage.
IW place blitz right in corner to maximise distance and reduce approach angles, SL do the same
IW place next objective as close as possible to blitz to reduce area dreadnoughts will be fighting for. (As a bonus this looks like some sort of control building for the factory).
SL place one objective on left, want to use unit number advantage so try to force IW to spread out.
IW place last objective on far right to try and force some SL away from main target, probably won't make any effort for this obj (unless its undefended)
SL place last objective fairly centrally planning to push tank through open ground and this objective onto blitz (quite a distance so may need to force extra turns).
IW declare cruiser to arrive turn 2 (hoping to either catch SL spread out after one turn of movement or to delay their advance.
Dreadnoughts to drop at (7,15) ,(15,7), (35,30), (25,35)
Bomardment centered on (7,7) all relative to top left corner.
Plan to put pressure on both objectives. Bombardment hopefully clearing blitzkrieg objective allowing dreadnoughts to face outwards towards SL
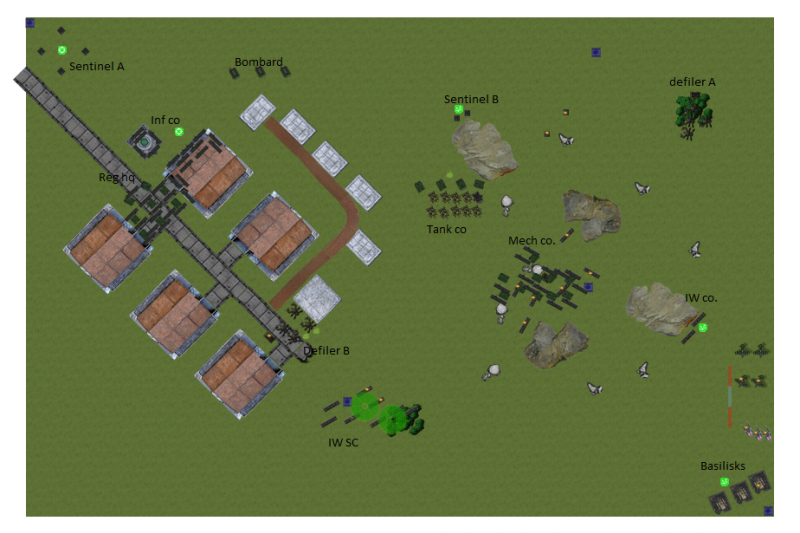
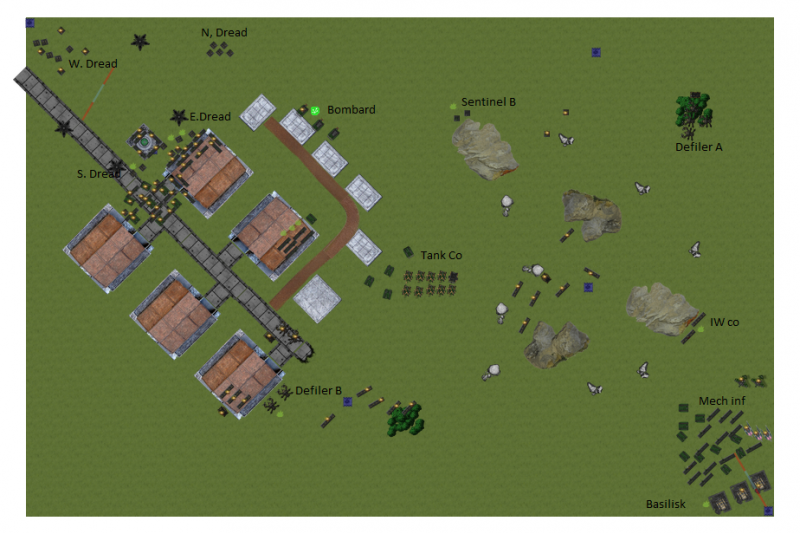
GarrisonsIW garrison IW company on rightmost objective.
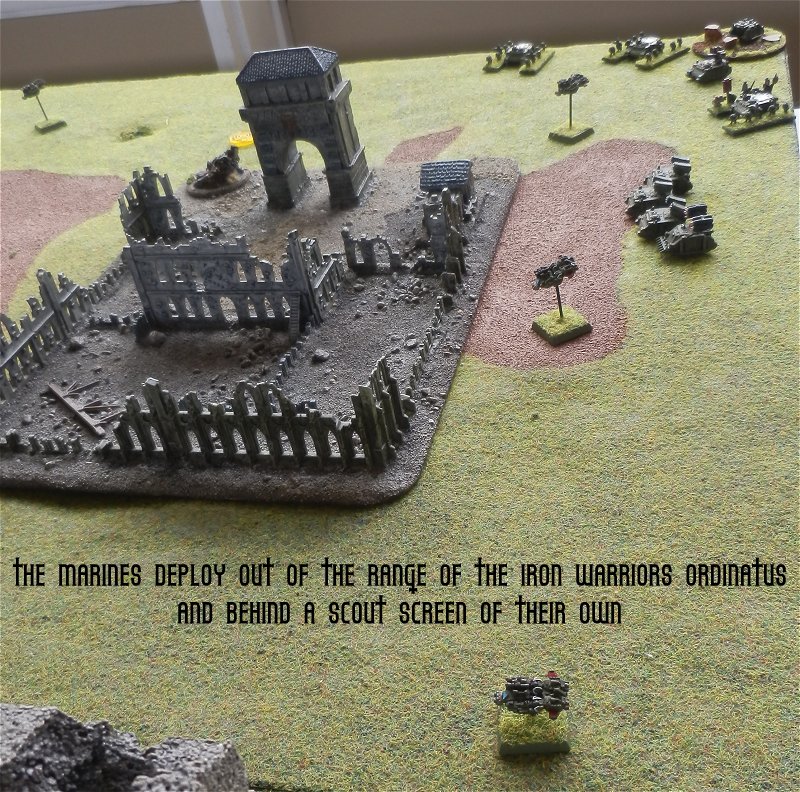
SL garrison infantry company in buildings by left objective. Wanted to avoid deploying in open as only have a cover save when on overwatch.
IW garrison IW SC formation on left objective
SL deploy sentinel B unit on right objective to stop any march games
Normal deploymentIW deploy basilisks on their blitzkrieg
SL deploy sentinel A near blitzkrieg and near objective laying down ZoC
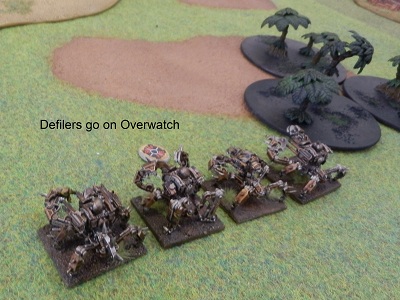
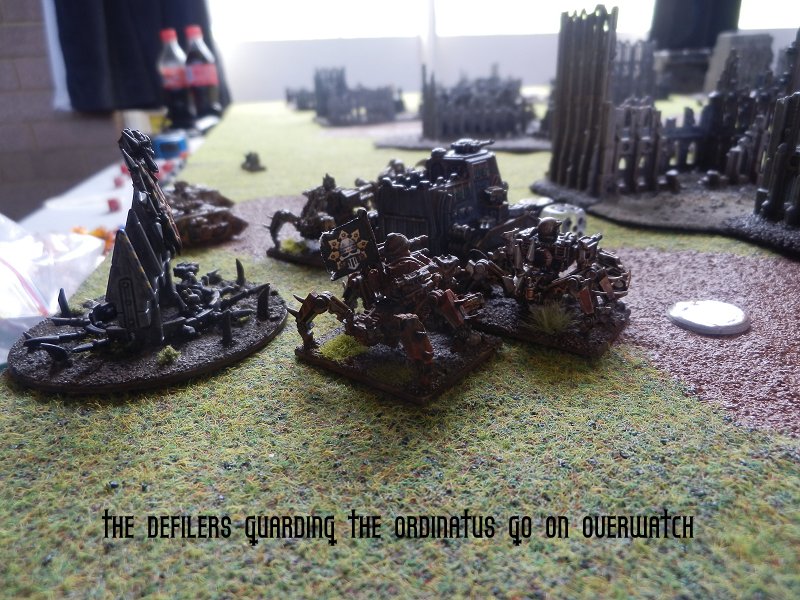
IW deploy defiler B ready to support drop
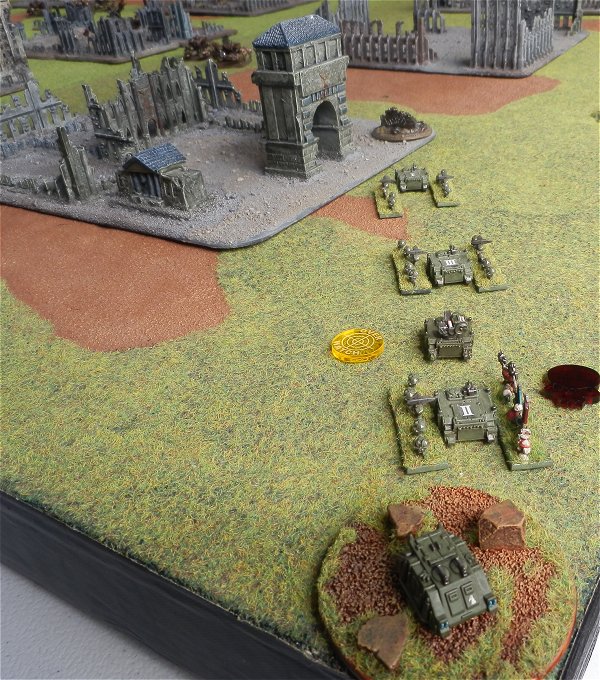
SL deploy bombards threatening both IW garrisons
IW deploy second defiler A on right flank to threaten other objective
SL deploy tank co and mech co on right flank to push at IW, SC on left ready to reinforce thier own blitz if needed or press forward if safe. All slightly spaced to try and reduce impact of basilisks.
 Turn 1
SL win initiative (8 to 7)
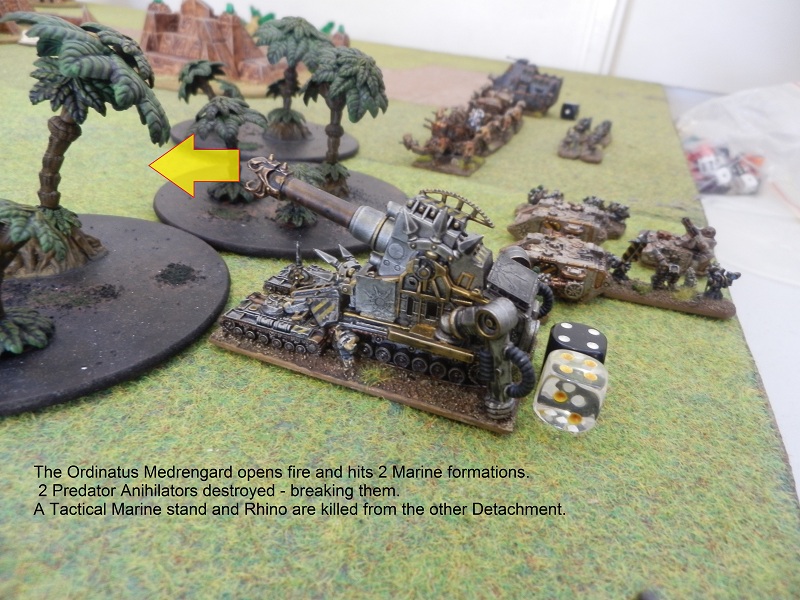
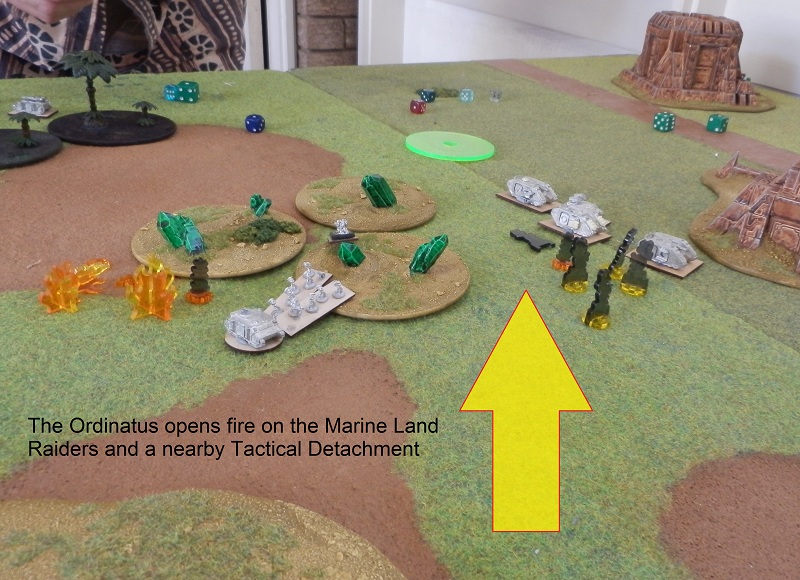
SL bombards, unused to not being immediately shelled, sustain at IW SC, killing two stands but missing the SC and the attached stalker.
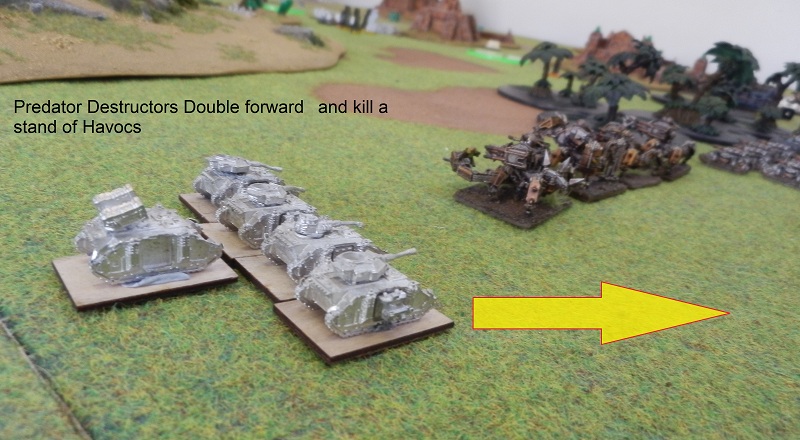
SL sustain with thunderbolt a ground attacking IW basilisks, killing 1 basilisk, breaking them.
Good start for SL although killing the stalker in the IW SC would have given the Thunderbolts a safe exit route (assuming they survive the hellblades).
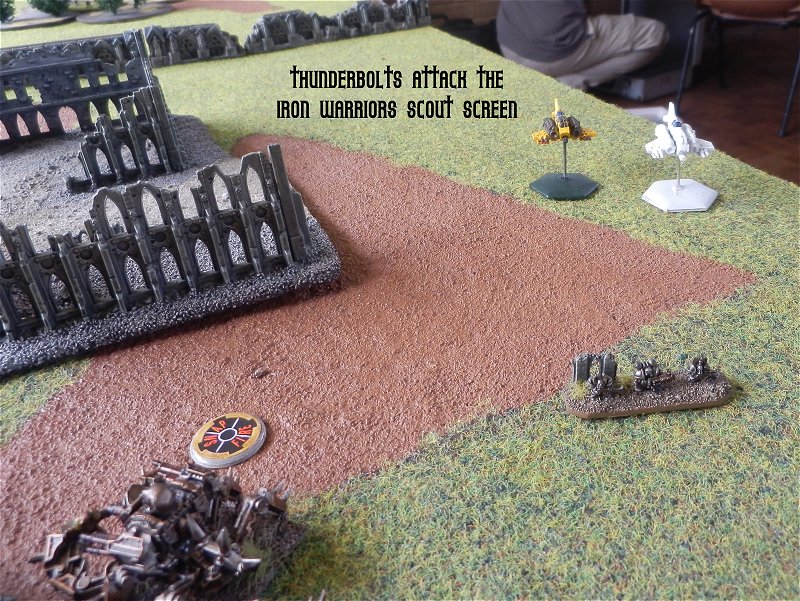
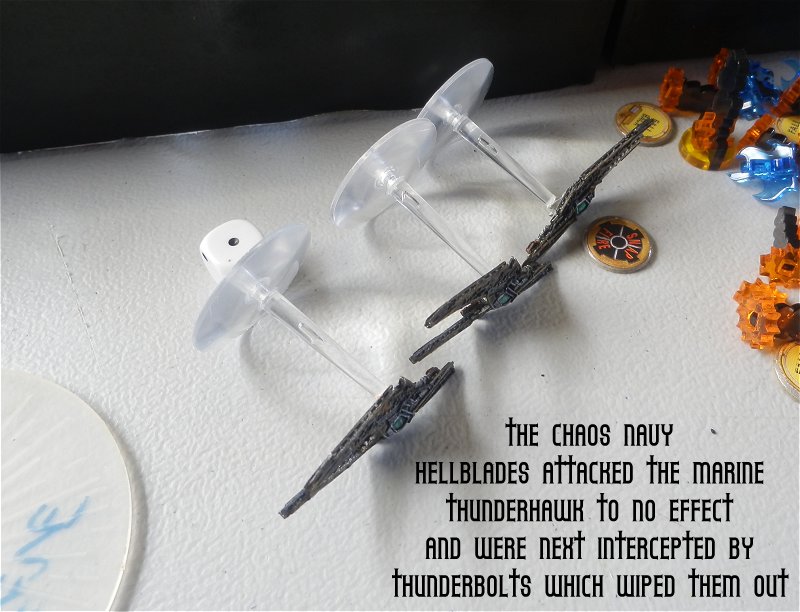
IW hellblades intercept thunderbolt A. Take a risk and frontally attack thundebolt A so as to force thunderbolt B if/when they intercept to either fly through stalker flak or attack hellblades from front. Alternative was to outflank thunderbolt A but leave themselves open to outflank by thunderbolt B.
Thunderbolt A kills 1 in defensive fire. Hellblades then kill both thunderbolts despite jinks.
SL Thunderbolt B intercepts hellblades engaging with rockets only from outside hellblades range, killing both remaining hellblades despite jinks! (unlucky saves by hellblades here).
IW IW co on right go on overwatch again
SL sentinel A on blitz go on overwatch
IW defiler B march into built up area
SL inf co go back on overwatch
IW IW SC marshalls removing all markers
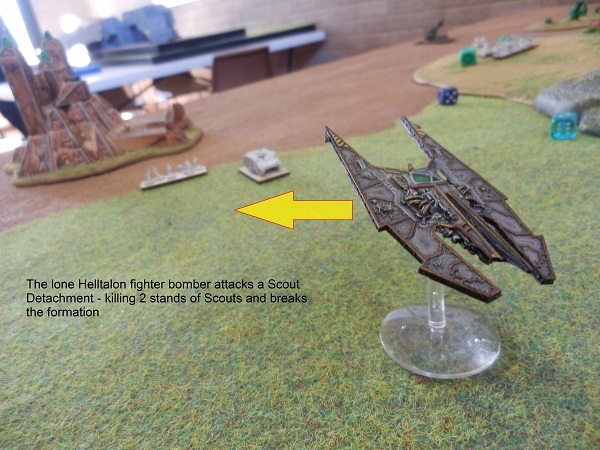
SL sentinel B advance toward centre of board, firing at IW co, no hits 1 bm.
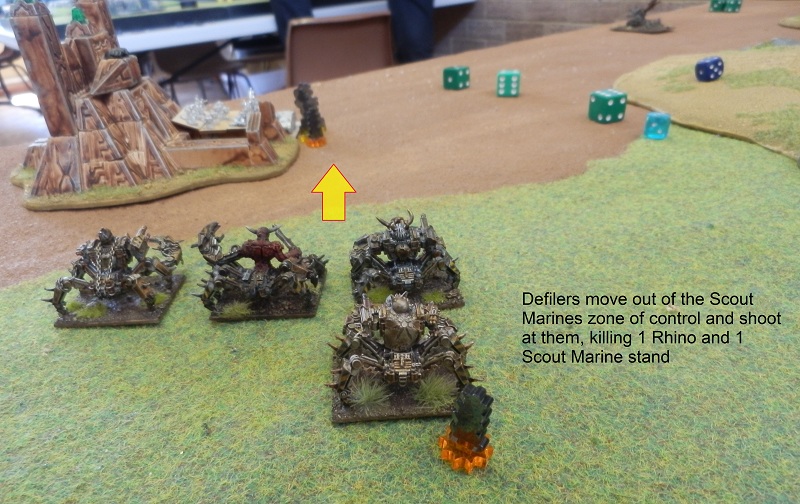
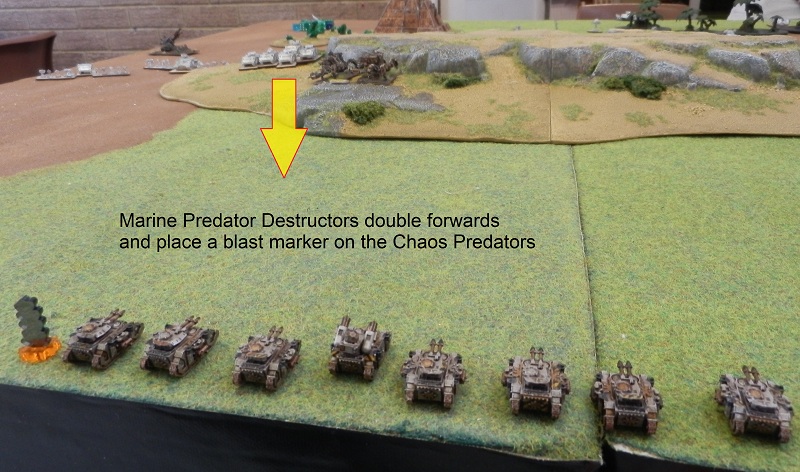
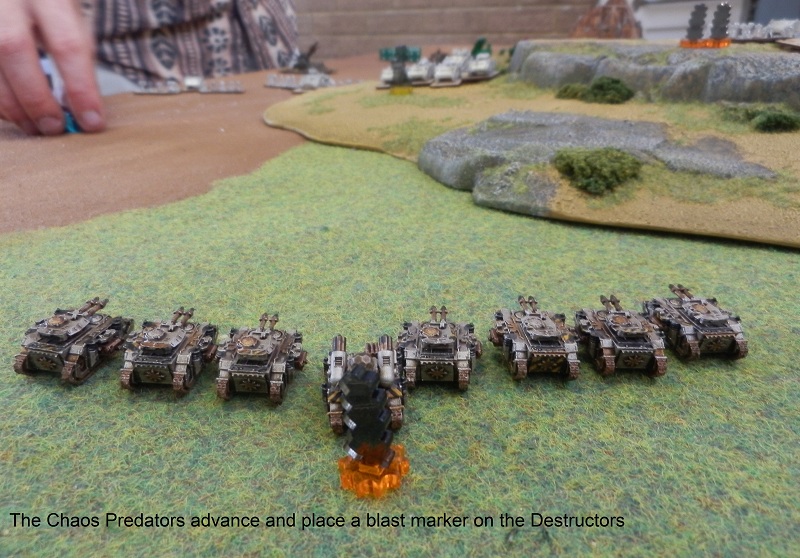
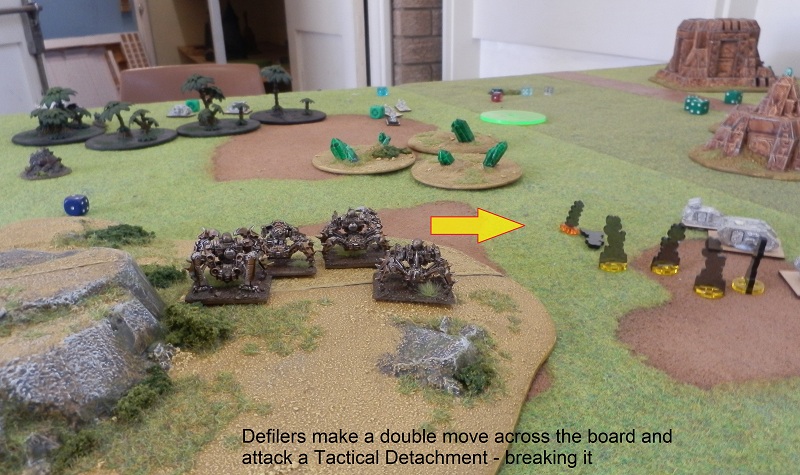
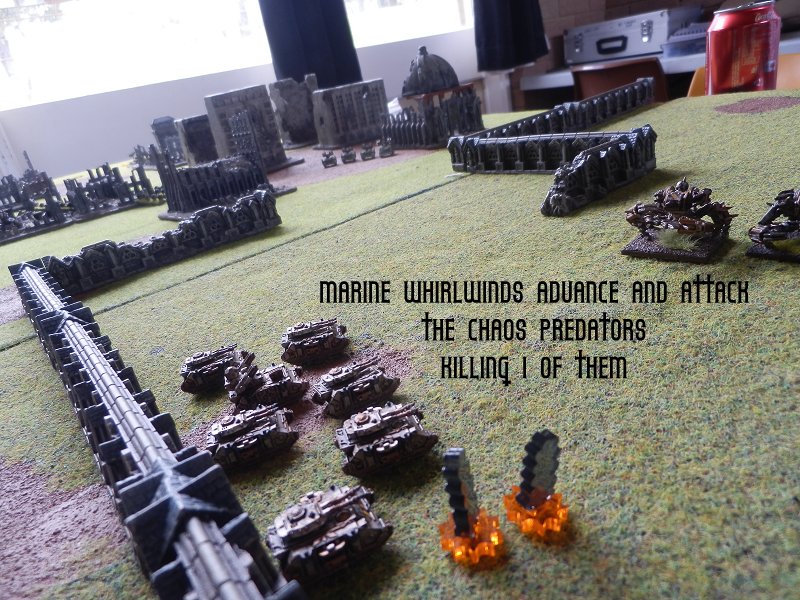
IW defilers A double into woods, firing on sentinel B (did think about firing battlecannons at tanks but decided little benefit from 4 shots, might have tried it if SL SC reroll had been used this turn). Kill 2, breaking the sentinels. Sentinels fall back behind rocks. IW now out of activations
SL tank co doubles towards IW co who overwatch, 11 shots, no hits! placing 1 bm, tank co return fire, lascannons and vanquisher firing at vehicles, everything else firing at foot. Stalker is hit twice and killed, 8 hits on inf (would have been 5 if still in cover) killing 6! (lord and 1 havoc survive). Formation broken. They retreat out of sight.
SL mech inf march onto freshly cleared objective, disembarking into cover (either base contact with vehicles or actual cover).
SL SC advances down road towards defiler B and disembark firing at defilers. 2 hits. killing the vindicator
 End phase
Thunderbolt B on intercept leave off their won board edge managing to avoid flak by doubling back on themselves
Rallies
SL tank co rallies removing blast marker, broken sentinel B fail even with SC reroll.
IW defiler A rally removing 1bm, broken IW co and basilisks fail even with SC reroll.
Turn 2SL retain initiative! (8 vs 5). This is really good for SL
SL mech doubles onto IW blitz firing at remaining basilisks, no hits, kills 1 for shooting at broken formation
SL retain initiative, SC sustains on defiler B, 3 hits, 2 kills breaking them
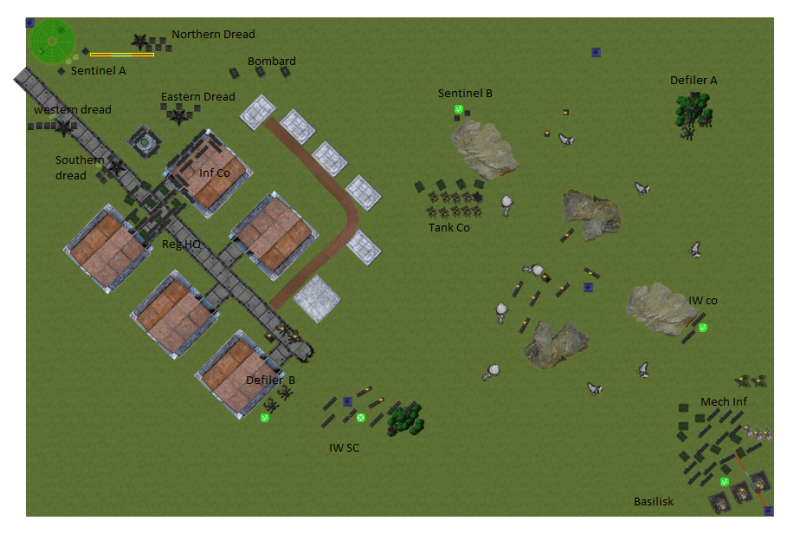
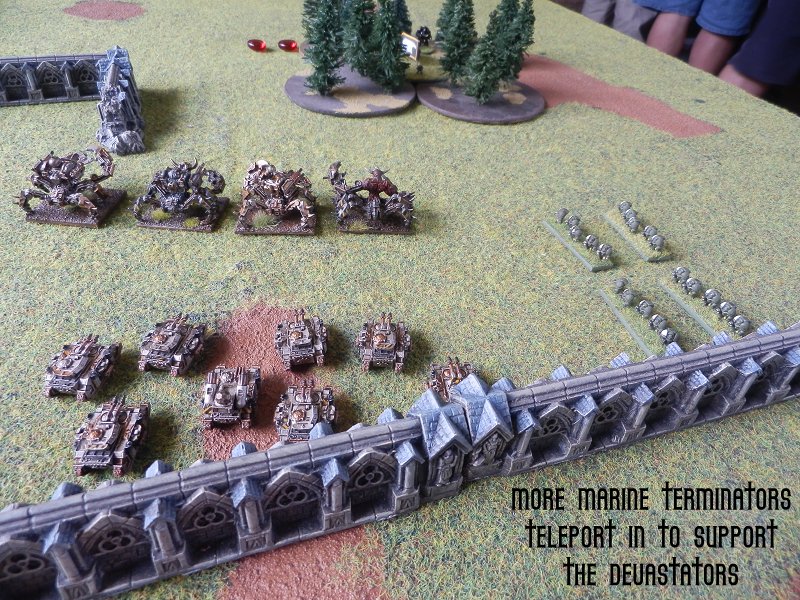
IW desperate to turn the tide the IW call for their space support which arrives (it was probably game over if this had failed).
Bombardment kills 1 sentinel from sentinel A
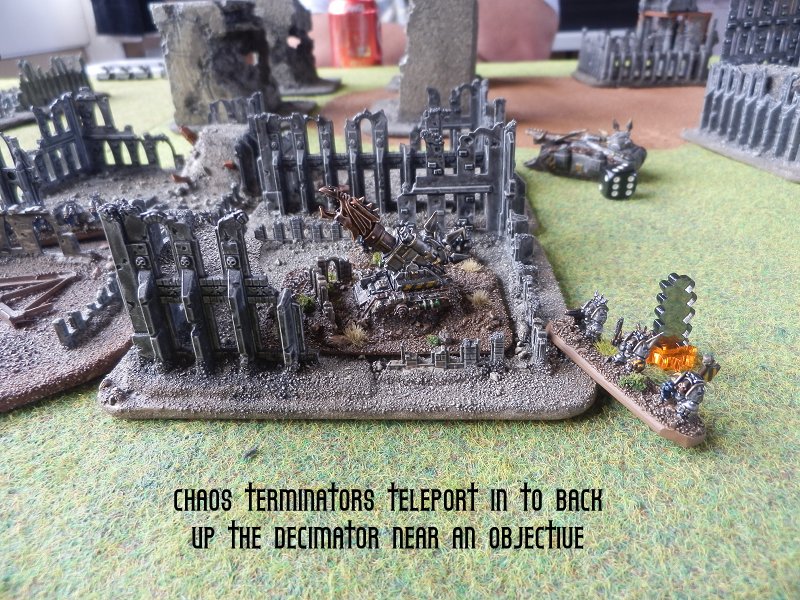
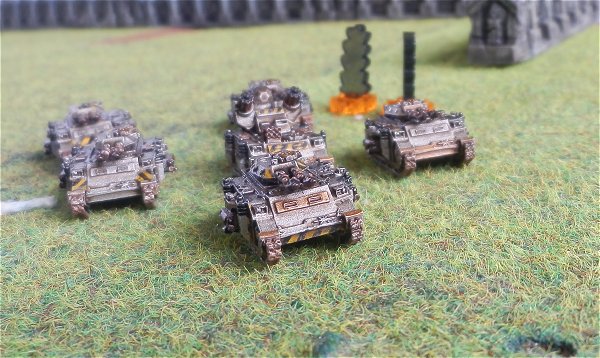
Dreadclaws arrive, all are pushed back by ZoC, those arriving near blitz are pushed further by sentinels than those arriving near infantry co.
Dreadnoughts disembark.
SL overwatch fire at disembarking dradnoughts.
Inf co fires at formation nearest SL SC, 1 hit, no kills
Sentinels by blitz fire at leftmost sentinels, no hits
IW retain initiative, SC, concerned by tank co goes on overwatch (to pick up cover if nothing else)
SL Tank advance towards IW SC. IW decline overwatch to keep the cover modifier (cover modifier stopped 6 hits, although there would have been less shots incoming). Tank co fires at them, 7hits, killing 3 and breaking them.
IW northmost dreadnoughts sustain at inf co, killing 2
IW retain, eastmost dreads engaging inf co.
IW 8 hits!, 8kills (MW attacks)
SL counter attack, 4 hits, 1kill
IW support fire, southern dreadnoughts, 5 shots, 1 hit, 0kills.
SL support fire, bombards 1 shot, 1 hits, Reg HQ, 3 shots 1 hits, 1 kill total
Combat res IW, 5 (dice) +8 (cas) + 2 (bm factors) SL, 3(dice)+2 (cas) + 2(outnumbering) +1(commissar)
IW win by 7 which is enough to completely wipe out inf co. Surving dreads advance towards objective.
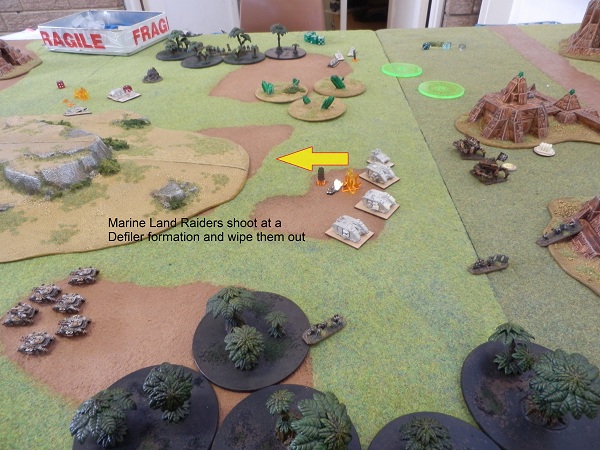
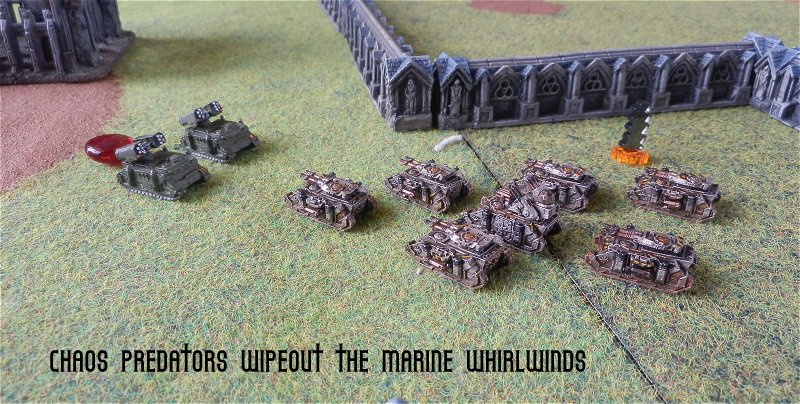
SL Thunderbolts ground attack IW SC, killing stalker and one havoc and wiping out formation through blast markers. (should warlord have got inv save againt these hits?). BTS acheived by SL.
IW western dreads sustain st reg hq, targeting infantry killing 3. (would have retained here but 3+ with no reroll is risky, no real need as SC has already activated).
SL bombards marshall, moving away and removing blast marker
IW southern dreads attempt to engage reg hq. All make it into base contact.
IW 7 hits, 7 kills (MW attacks)
SL 7 hits, 3kills
No support fire
Combat res IW 5(dice)+7(cas)+1(bm) SL, 2(dice)+3(cas)+2(outnumbering)+1(inspiring)
IW win by 5 (hackdown hits kill SC). Reg HQ withdraws into a nearby building.
IW dreads take 3 bm from casulties and break.
SL out of activations
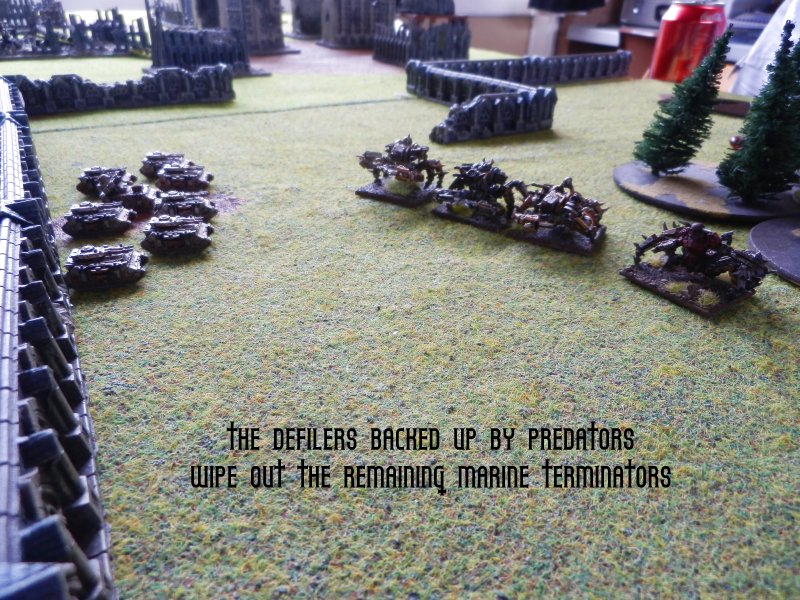
IW unbroken defilers A advance. Shuffle round in woods and fire at tank co. 1 hits no kills.
End phase.
Thunderbolts leave from their own table edge.
Rallies
SL Both sentinels rally, remains of reg hq rally, tank co rallies
IW basilisk rallies, IW co rallies, defilers rally, broken dreads rally, eastern dreads fail, western dreads rally
T3 IW win initative.
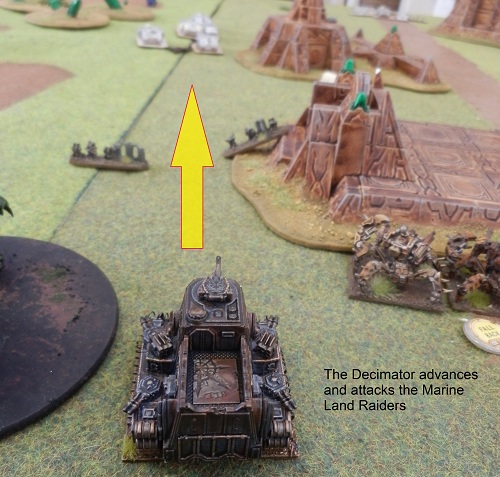
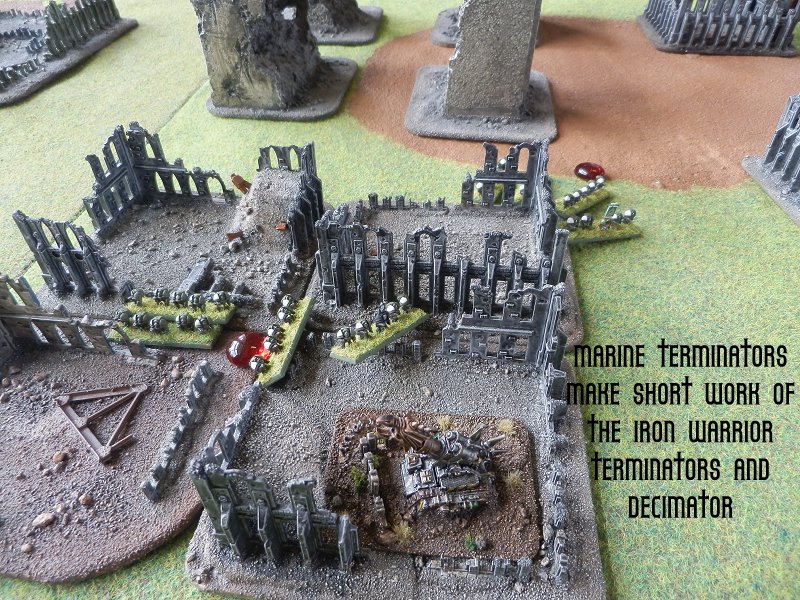
IW western dreadnoughts engage sentinel A. 2 reach b2b. all sentinels killed in return for no hits. Consolidate towards blitz.
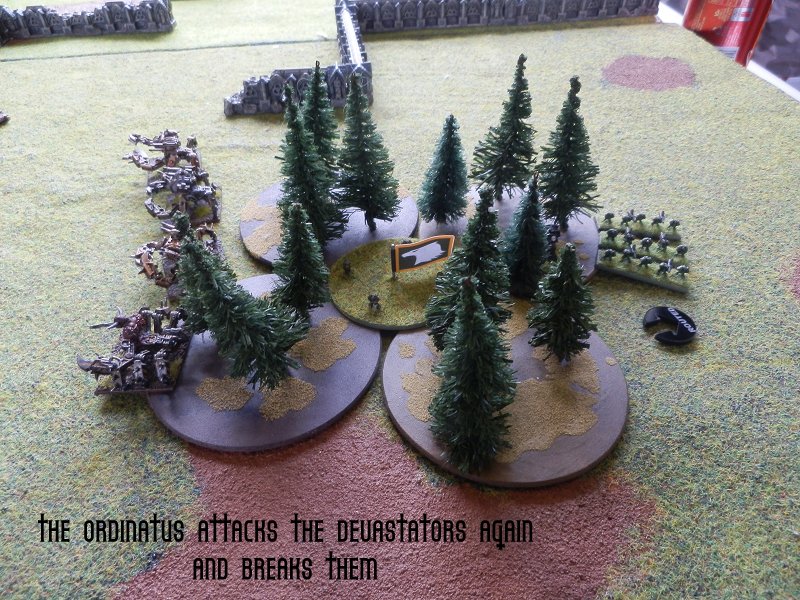
IW retain. Northern dreadnoughts advance towards bombards, firing at them, 2 hits, 1 kill, 1 breaking them. (logic here was to neutralise only SL formation capable of hitting multiple formations, both southern and eastern dreadnoughts are very brittle at the moment).
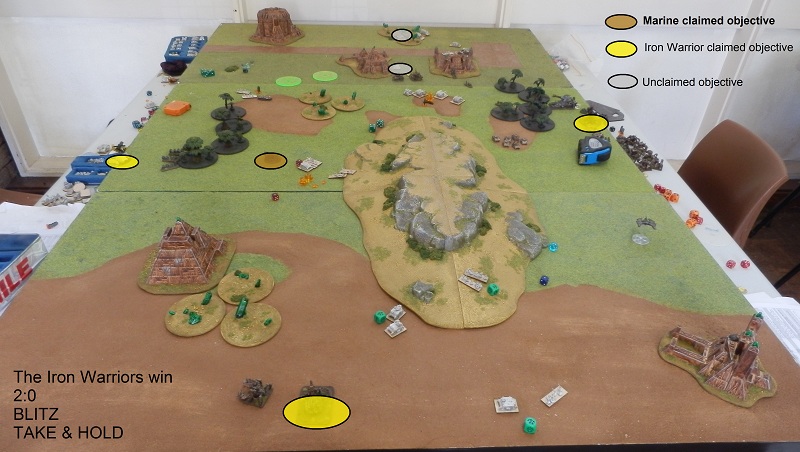
Game called at 3-2 victory to SL (Take & Hold, Blitzkrieg and Break Thier Spirit vs Take & hold, Blitzkreig).
 Thoughts
I've not played a drop army before, which probably shows. Certainly learned a lot. Some good dice for the SL certainly didn't help!
I'm not sure I'd focus on the blitz objective again as it leaves the dropped troops unsupported, although the 20 dreadnoughts did pretty well. With a turn 2 drop your initial forces need to be numerous and resilient (maybe focus on land raiders and infantry rather than defilers?).
Playtest feedback The defiler formations didn't seem unreasonable at the current cost (they do look odd as cheaper for a formation than as an upgrade). They're quite fragile without any upgrades and don't get any resilient (ie reinforced armour) upgrades so will always be a fragile formation. I may still be adjusting to E:A here as most formations feel fragile to me (40k and Flames of War background)
The cruiser full of dreadnoughts I'd use again. I'm assuming the dreadclaws are reasonably balanced as they're in use in the black legion list.
I'm not aware of any lists that can do a full drop of AV's which might be worth keeping an eye on (Tau in particular as they won't want to assault 20 dreadnoughts!). I'd like to keep it as an option as it seems fitting and their aren't many formations in the list that can be dropped (which is a clever bit of design).
Planning on doing another game although may adjust lists slightly.
EDIT : Corrected image tags


 .
.