Finally managed to meet up with Glyn G for some Epic in the Antipodes. Decided to try out the Mymeara list,
and perhaps contribute a little to play testing.
Standard tournament, 3000 points, area terrain blocking line of sight, including low elevation contour hills.
Take and Hold objectives measured from centres and Blitz from a point on baseline.
Having only ever deployed War Walkers on one previous occasion, and their one formation of six died quickly and fruitlessly, I thought it would be
interesting to try them out in greater numbers. Yes, I decided to spam them in formations of 3 War Walker units that are currently an option in the list.
Other aspects of the list that attract me are the Warp Hunters (MW goodness) and cheap Mechanized Guardians (3 Wave Serpents, Farseer,
5 Guardians for 275 points). Mymeara 1.06, army list available at: Craftworld Mymeara (Eldar Tank List)
Farseer + Autarch, 5 Guardians, 3 Wave Serpents [BTS, 325]
Farseer, 5 Guardians, 3 Wave Serpents [275]
Farseer, 5 Guardians, 3 Wave Serpents [275]
4 Warp Hunters, 2 Firestorms [300]
4 Warp Hunters, 2 Firestorms [300]
2 Lynxs with Pulse Lasers [275]
2 Wraithgates [50]
6 War Walkers [200]
6 War Walkers [200]
3 War Walkers [100]
3 War Walkers [100]
3 War Walkers [100]
3 War Walkers [100]
3 War Walkers [100]
3 War Walkers [100]
3 War Walkers [100]
3 War Walkers [100]
Glyn used an armoured Salamander force with an Epic spearhead of Salamander Terminators in Land Raiders.
I think it is similar to the list he posted at: 3K Salamanders List?
GlynG wrote:
I've only played with the Salamanders list once and ran it this way:
Term, 4 LR Redeemer, Librarian 700
Land Speeders 200
Assault, Redeemer 225
Scouts 150
Scouts 150
Scouts 150
Thunderbolts 175
Pred Annihilators, Hunter 325
Dev, Sal Dev, Las Razorback 375
Pred Annihilators, Hunter 325
Vindicator 225
It was a fun list and I want to try it again some time.
Term, 4 LR Redeemer, Librarian 700
Land Speeders 200
Assault, Redeemer 225
Scouts 150
Scouts 150
Scouts 150
Thunderbolts 175
Pred Annihilators, Hunter 325
Dev, Sal Dev, Las Razorback 375
Pred Annihilators, Hunter 325
Vindicator 225
It was a fun list and I want to try it again some time.
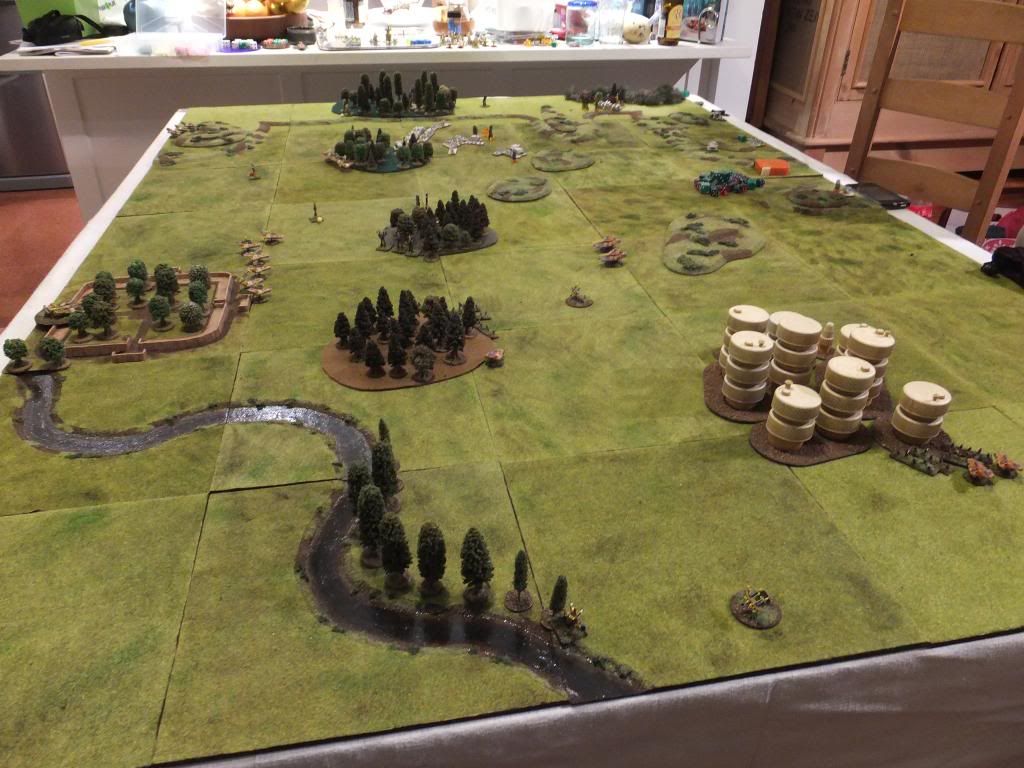
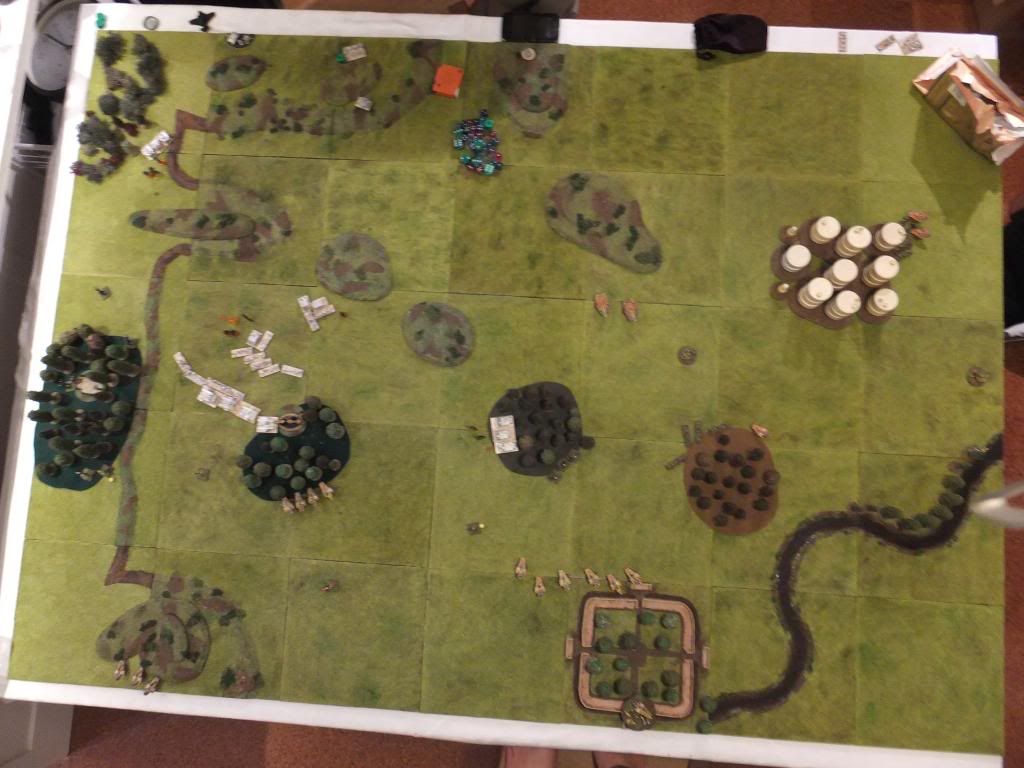
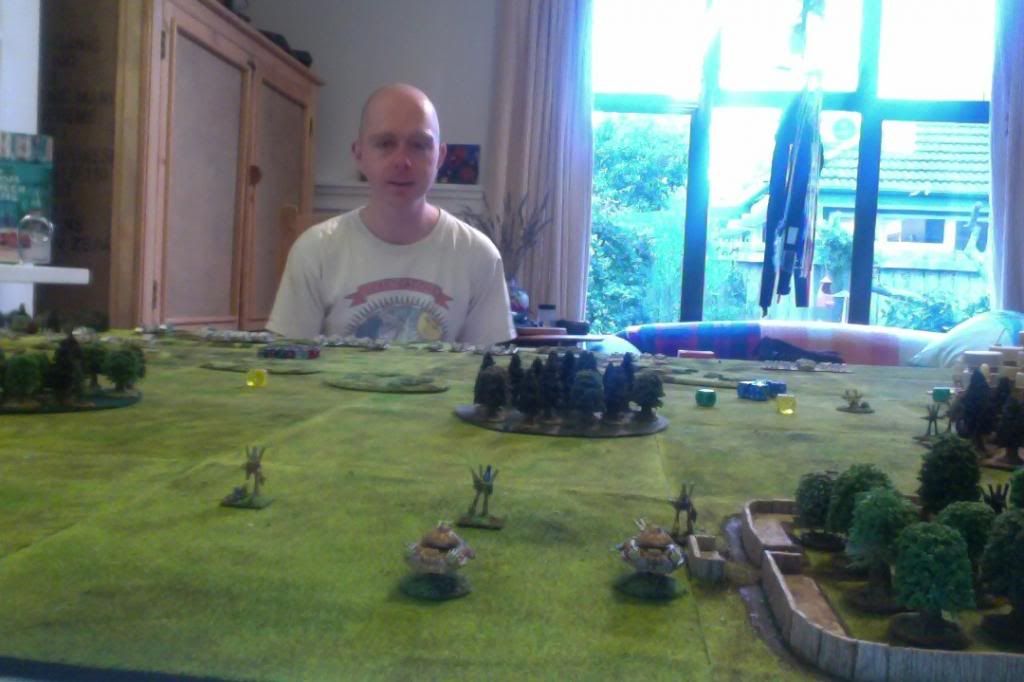
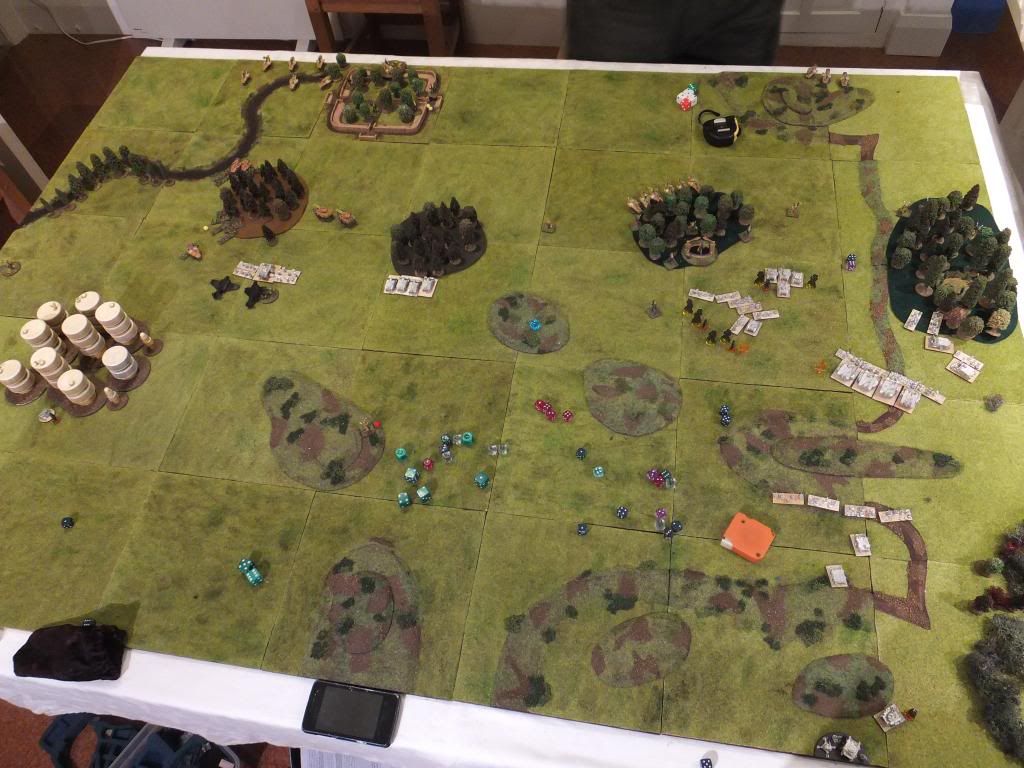
Opening view of the battlefield. Taken with the camera on my laptop so a very substandard eye-in-the-sky.
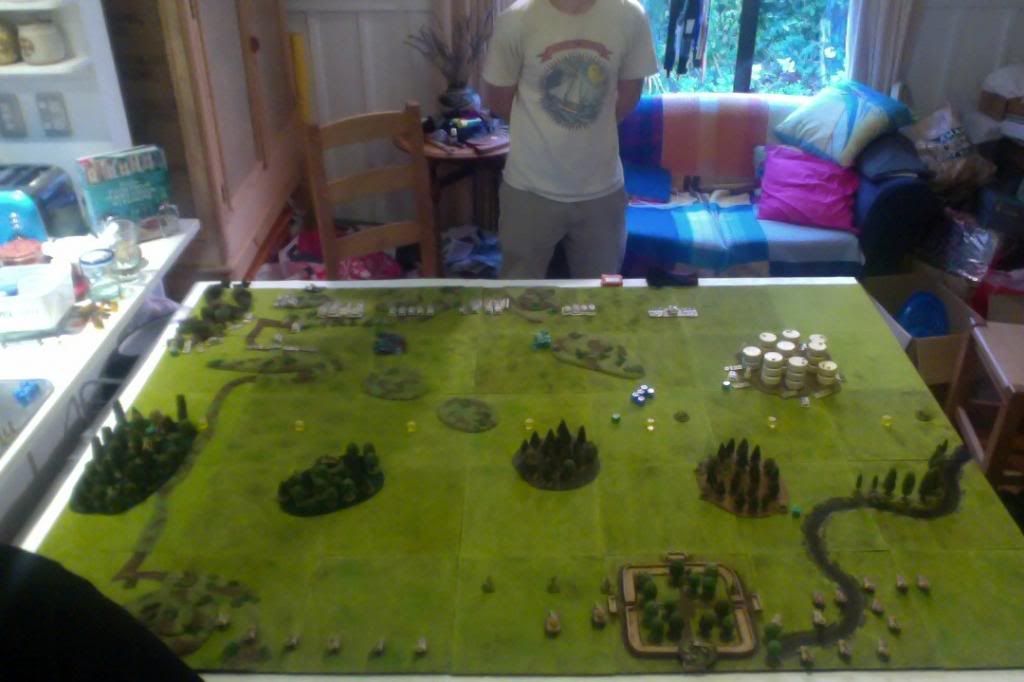
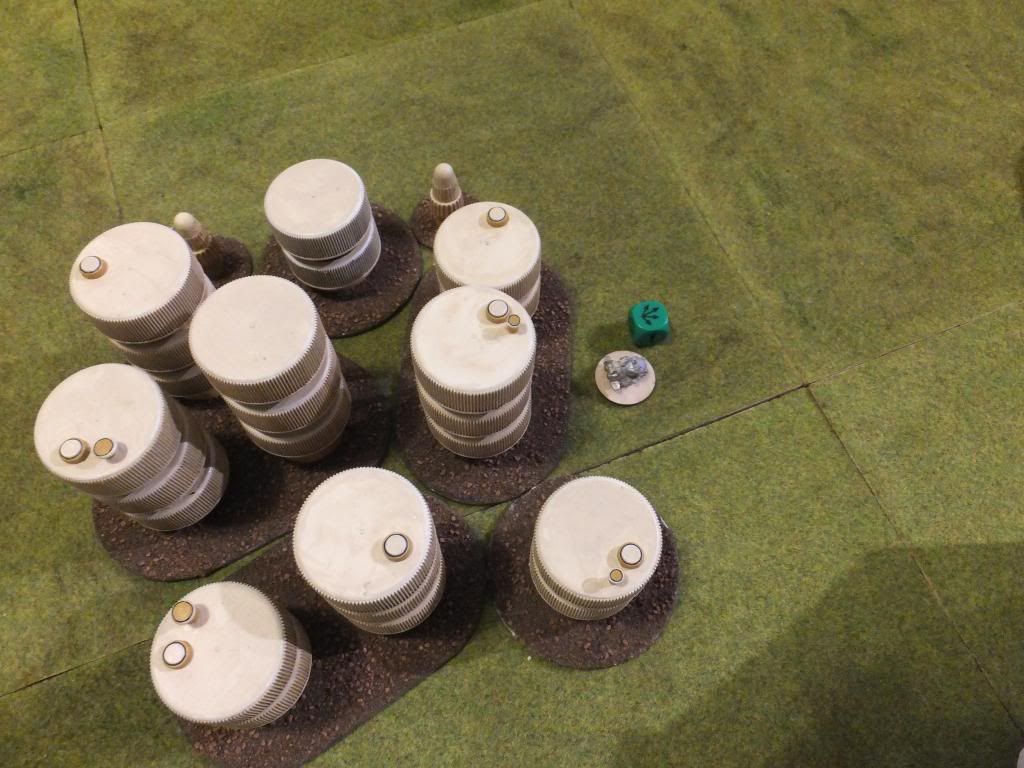
My blitz foolishly placed in the terrain (me with tanks and light vehicles and Salamanders with a major in ignore cover) around the ruins.
Take and holds flanking the milk-bottle top Tau City, more than 15 cm away but within range of an infantry stand partially in the terrain.
Salamander blitz in the hills on far left of the field, and take and holds in the two centre line woods on the left. I replaced both of them
with wraith gates to take the war to the enemy.
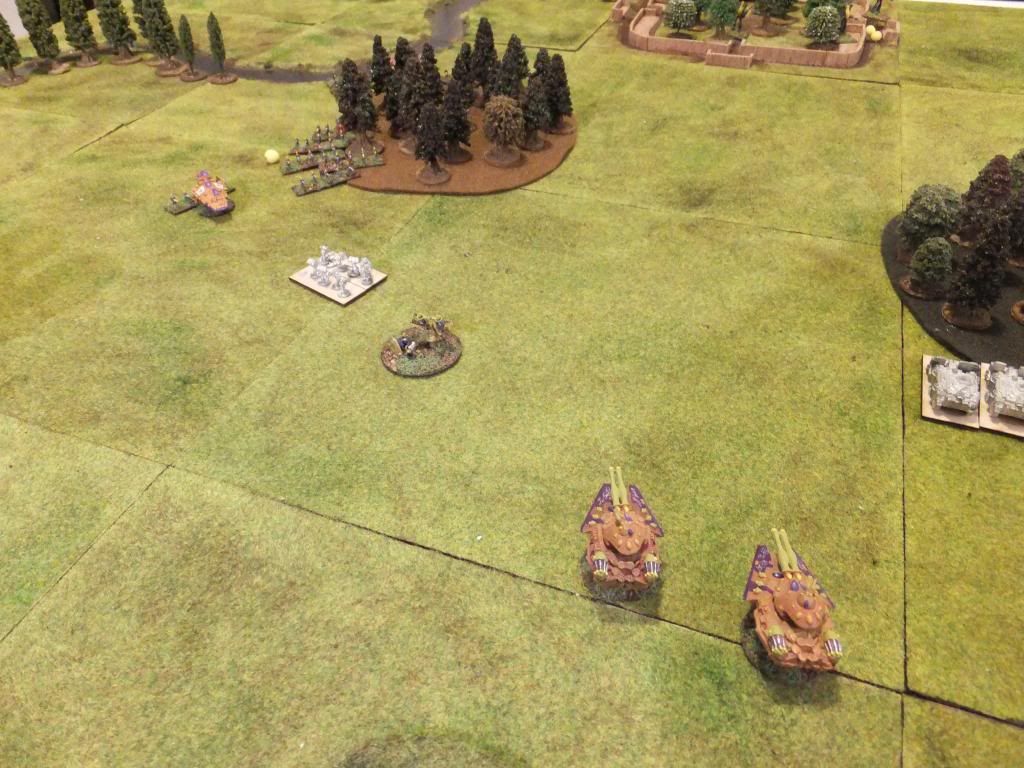
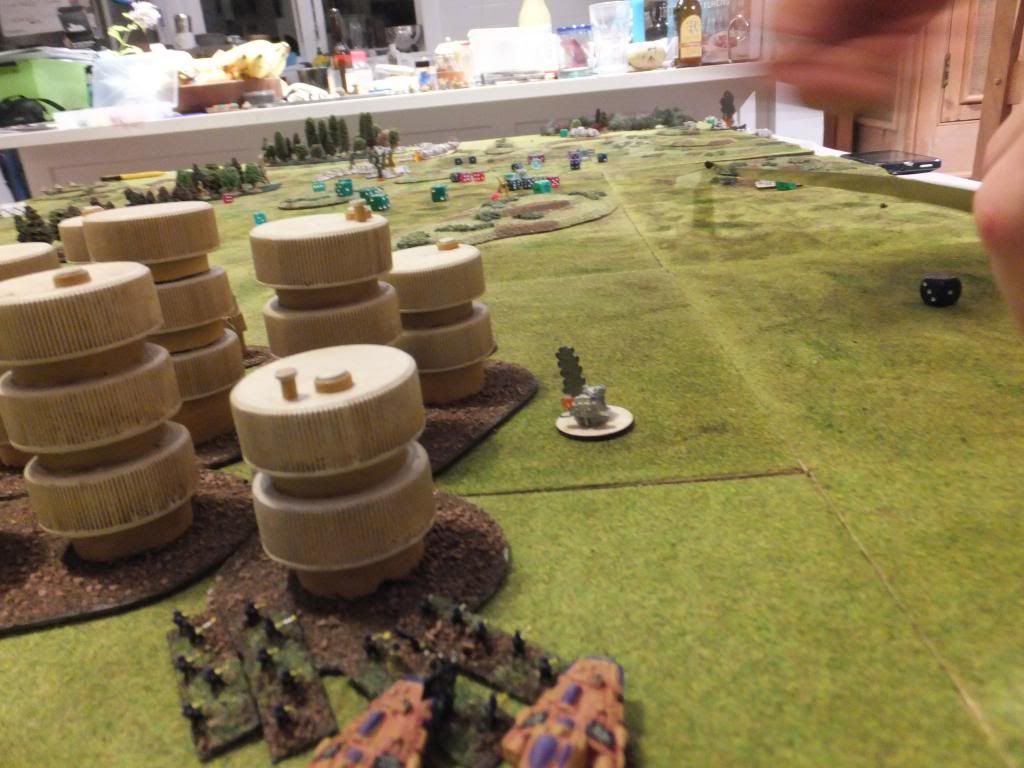
Mymeara forces set up spread across the width of the table but weighted to right. There are war walkers screening everything with
one 6 and three 3 strong units in the webway. Salamanders with an even stronger setup on their right flank (left of photo), with increasingly
heavy forces deployed from the city to the “toaster” flank.
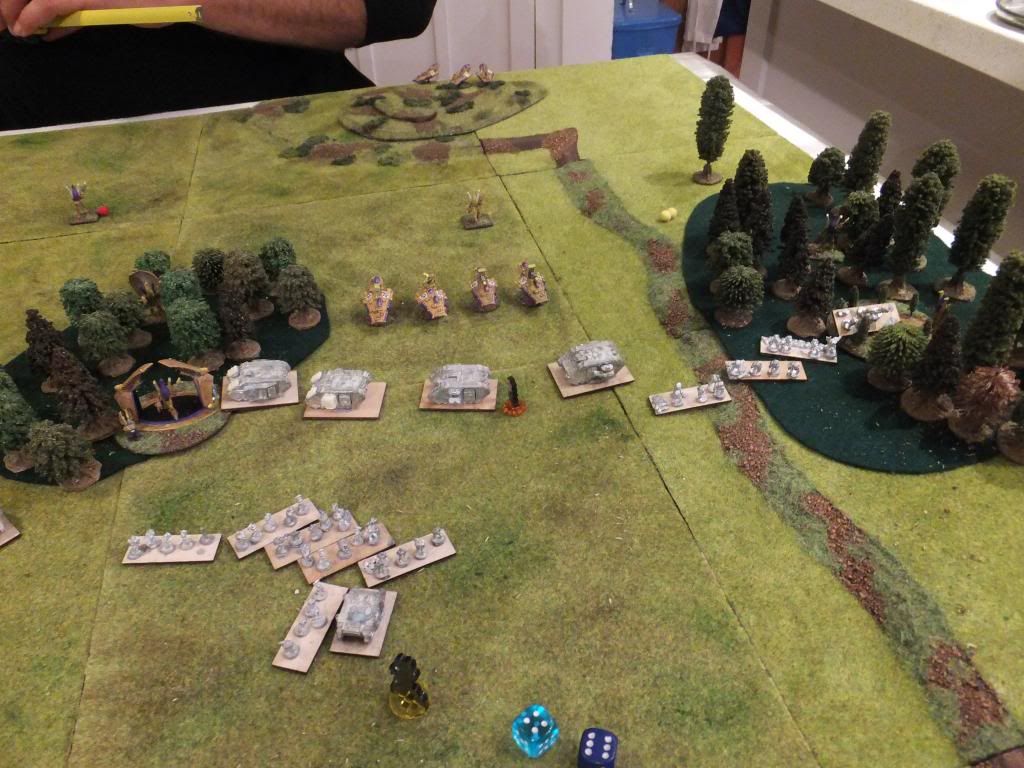
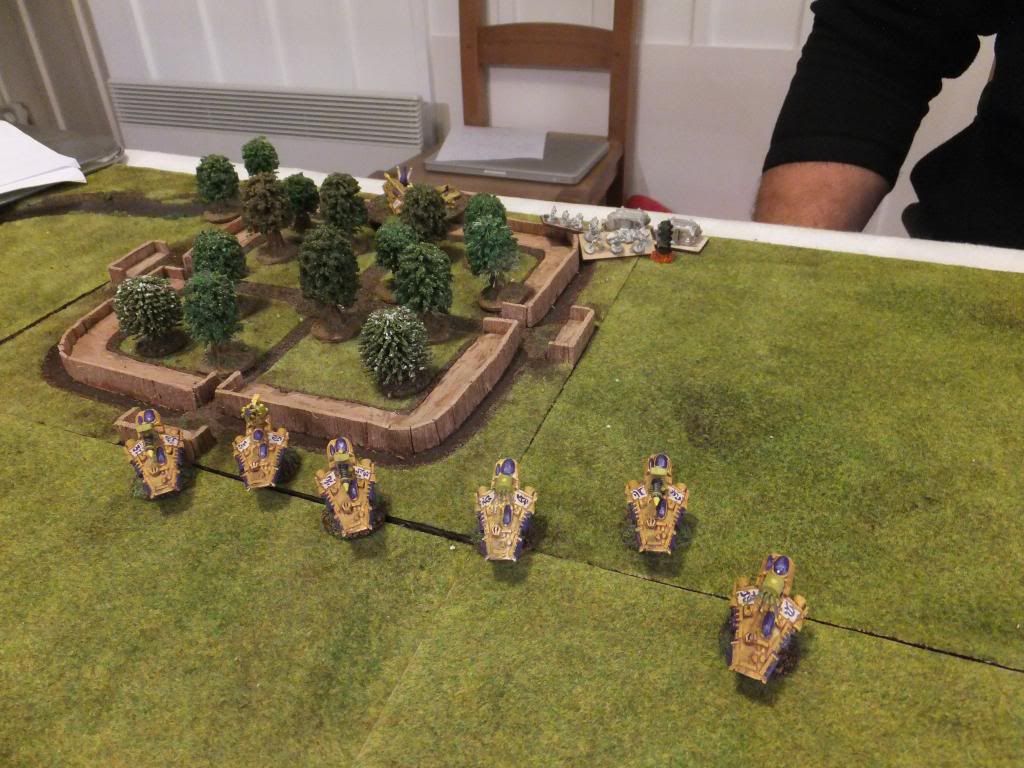
I do have a few unpainted egg capsule war walkers but went crazy repositioning and painting plastic Wraithlords (who would ever use 30?
Even Iyanden!!) so they are standing [sic] in as war walkers. Here seen screening my Tempest, count as Lynx warengines.
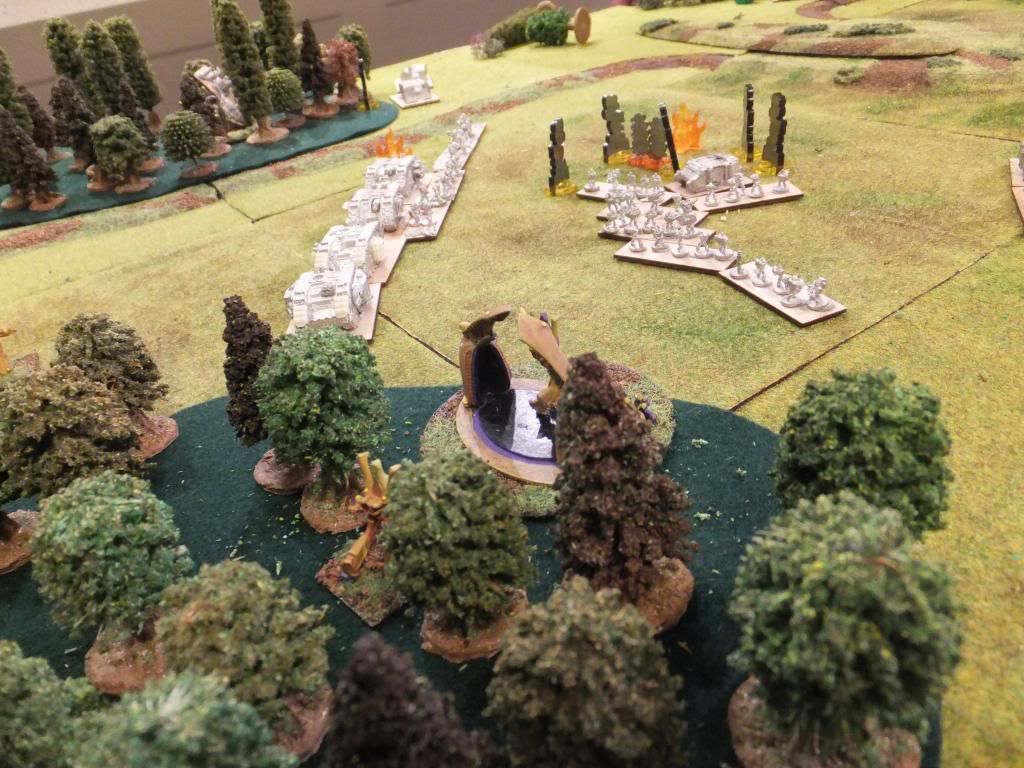
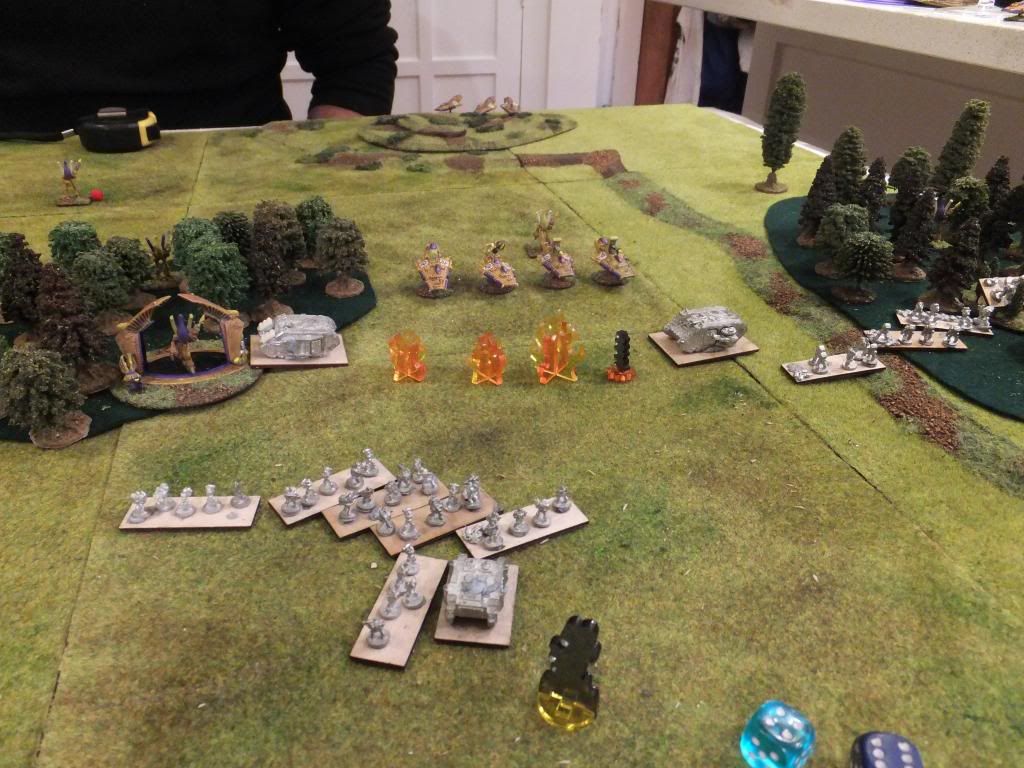
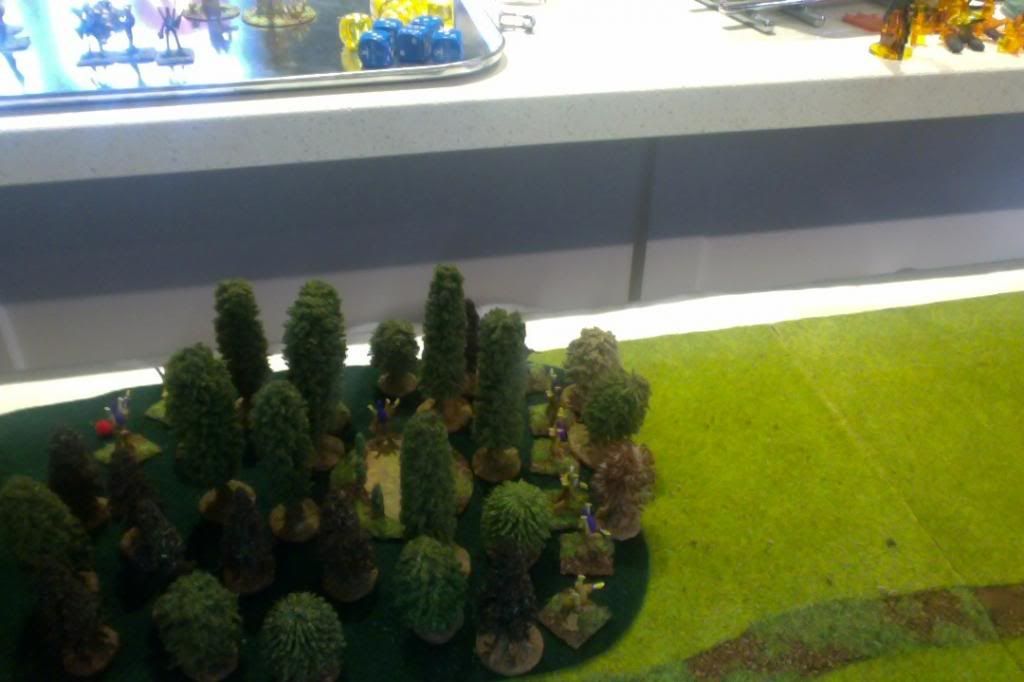
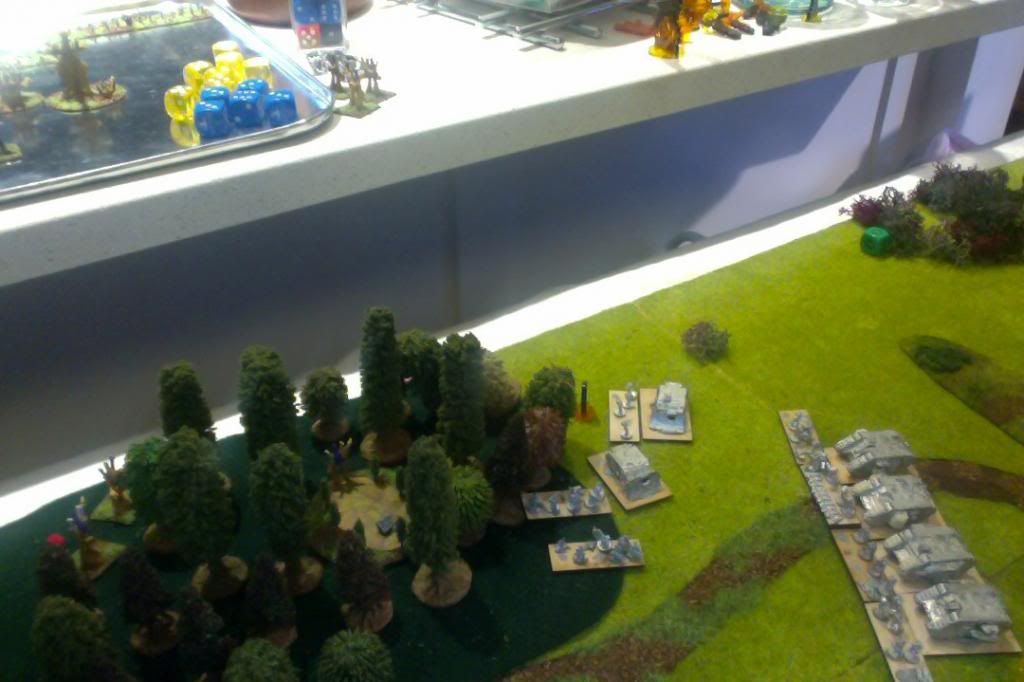
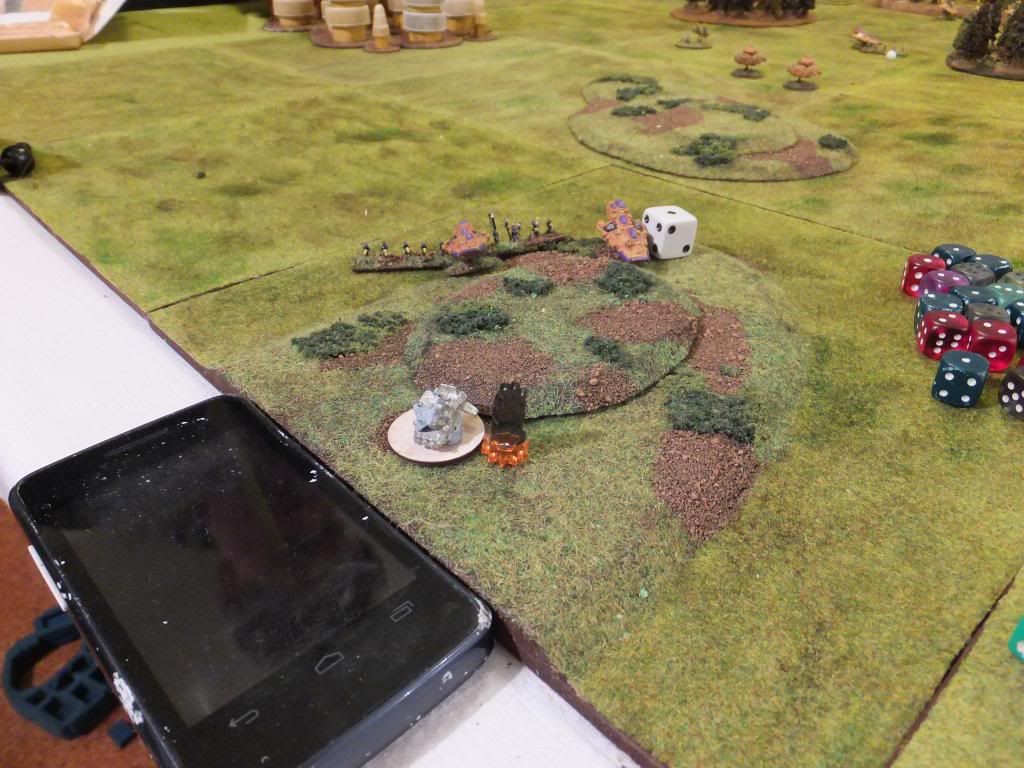
An early assault by the Salamander Annihilators on the kitchen flank
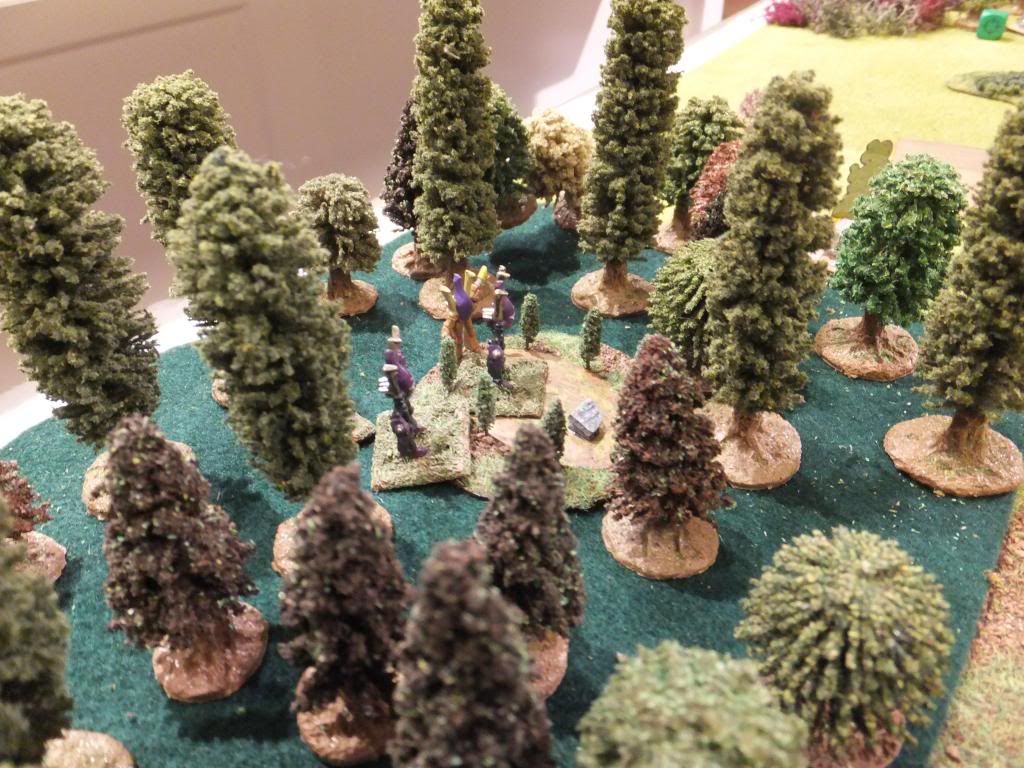
Ran into over-watch fire from 6 war walkers screening the wraithgate, an old stone circle in the woods.
One broken Predator limped back to their blitz. The SM scouts were too concerned by this to come
forward (failed initiative).
The Salamander spearhead did respond and blasted the formation apart.
Another 3 strong warwalker formation emerged from the webway, kept back from the wall of armour,
did its thing but got shifted on by the second scout unit on that flank.
Remarkably there were survivors from both these engagements. These “broken” remnants
courageously moved forward through the Salamander lines to locate and disrupt the second line.
They also often required an extra SM activation to shift.
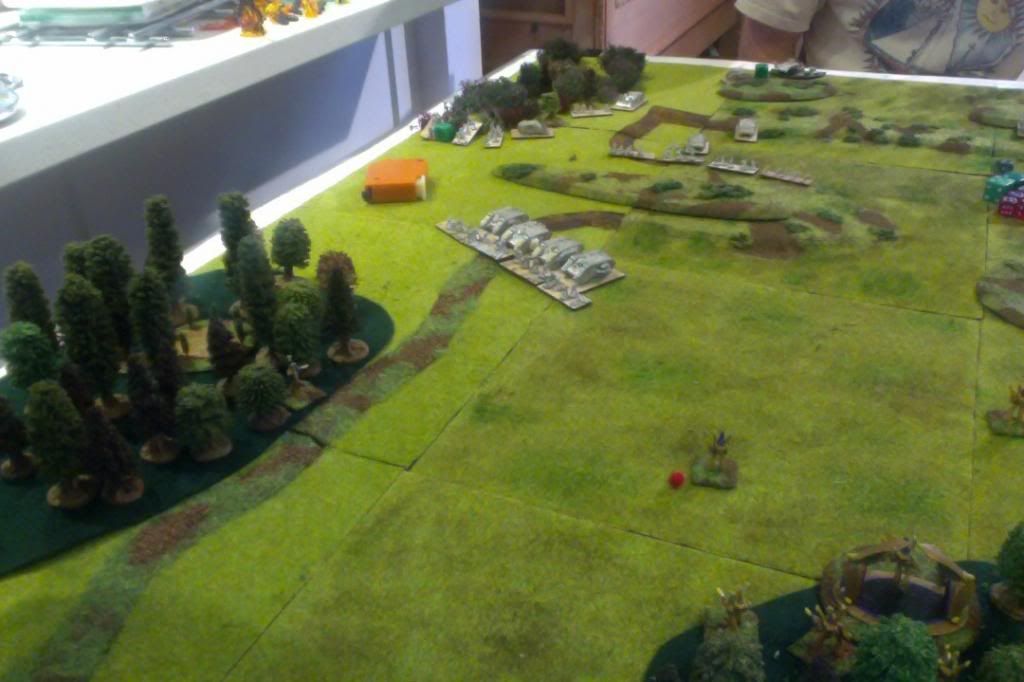
The might of the Salamander army continued to drive towards the pair of wraith gates.
Devastators and the second Annihilators join the party.
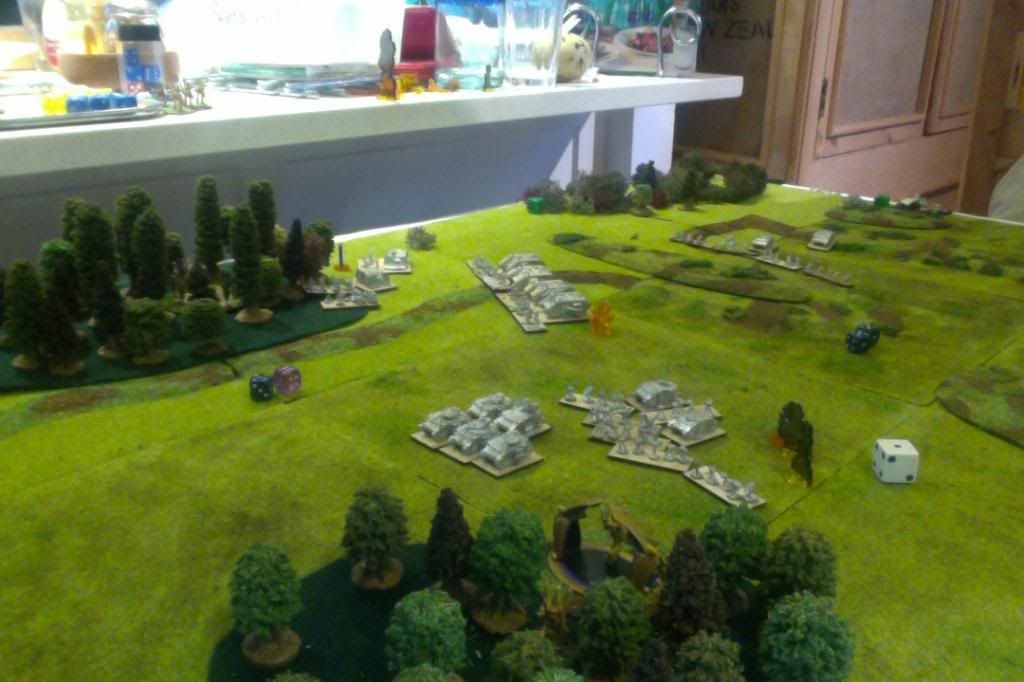
Given there were only three 3 strong war walker formations left in the web this seemed a very large commitment of force to try and shut down
the gates. Not an unreasonable force to try and secure the two T&H objectives, perhaps. Interestingly I discovered the tactic of sitting
scout war walkers in the woods 4 cm back from the objectives to stop normal units putting the wraith gates in ZOC (without the need to assault).
This tended to keep the gates open and chewed up extra Salamander activations.
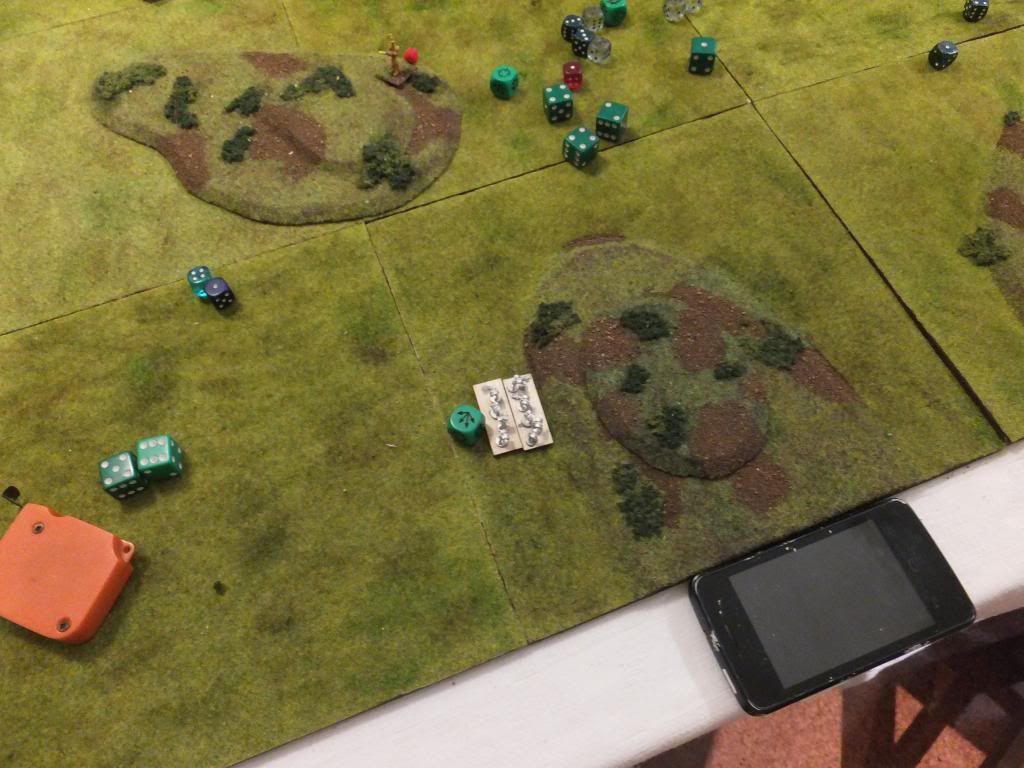
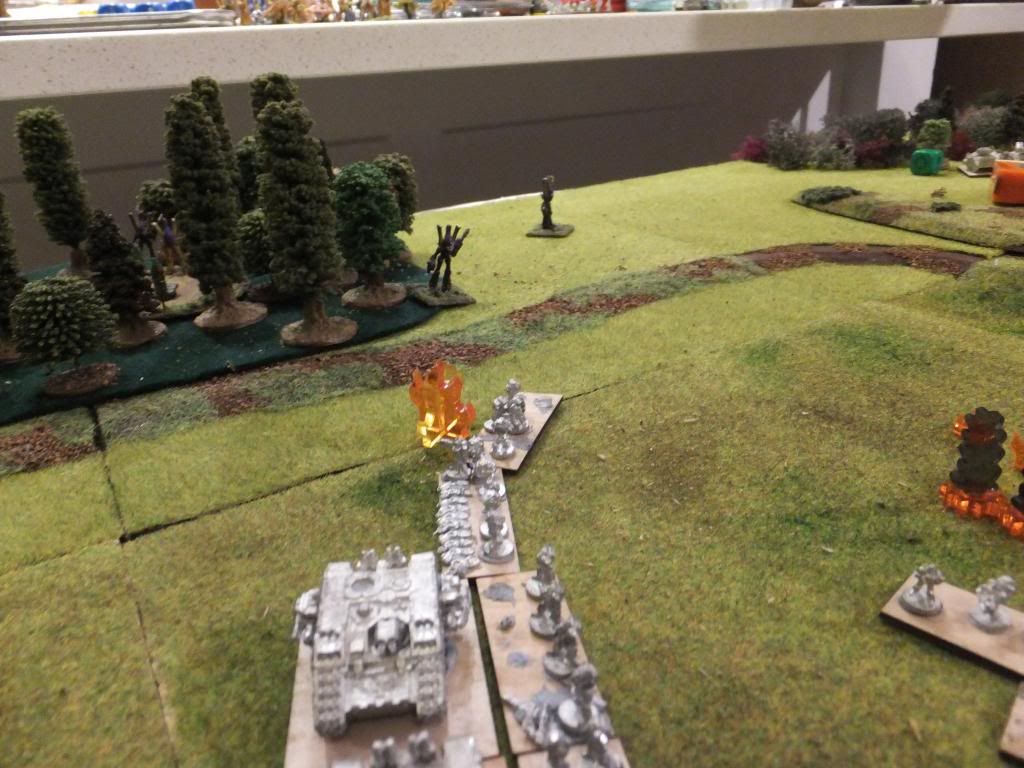
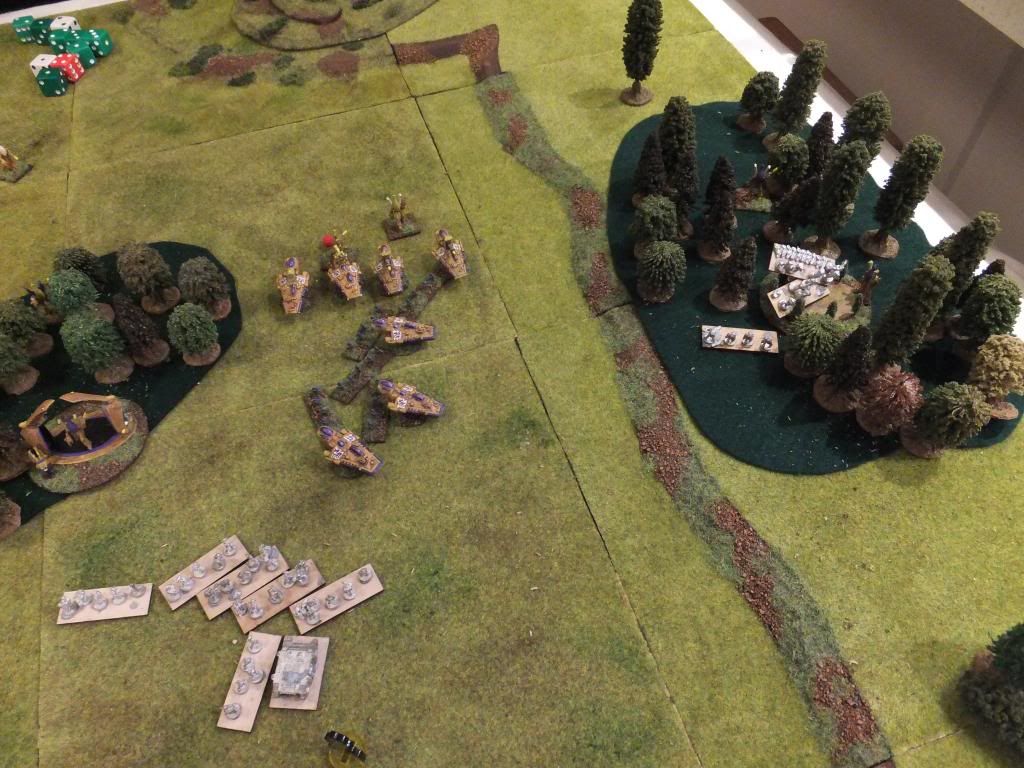
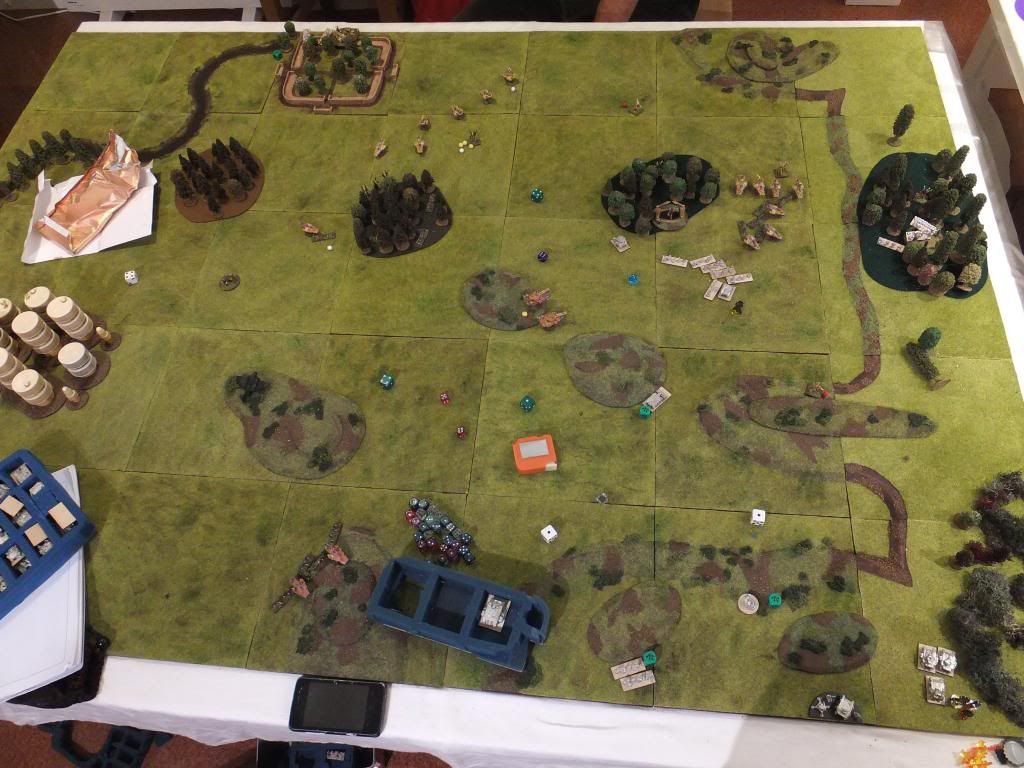
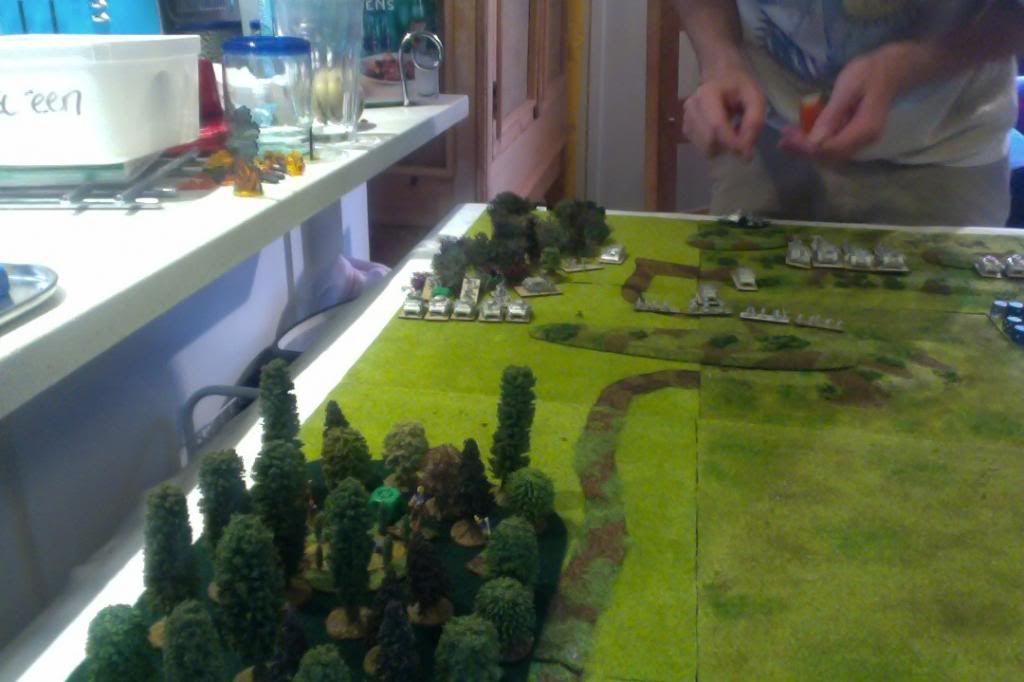
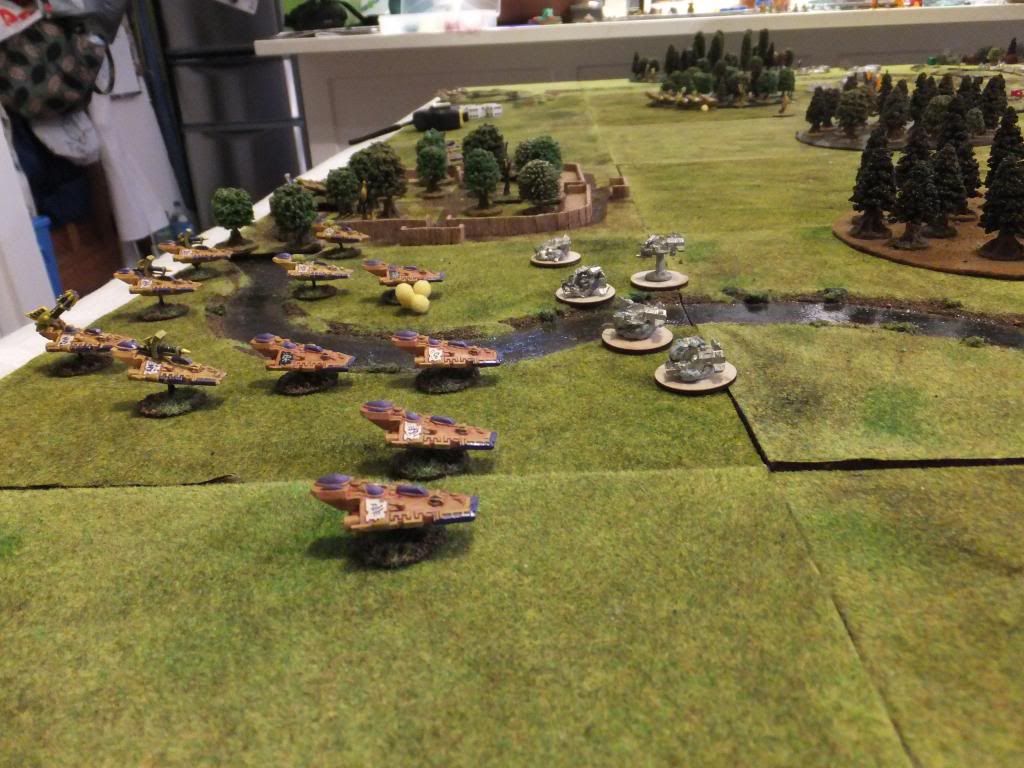
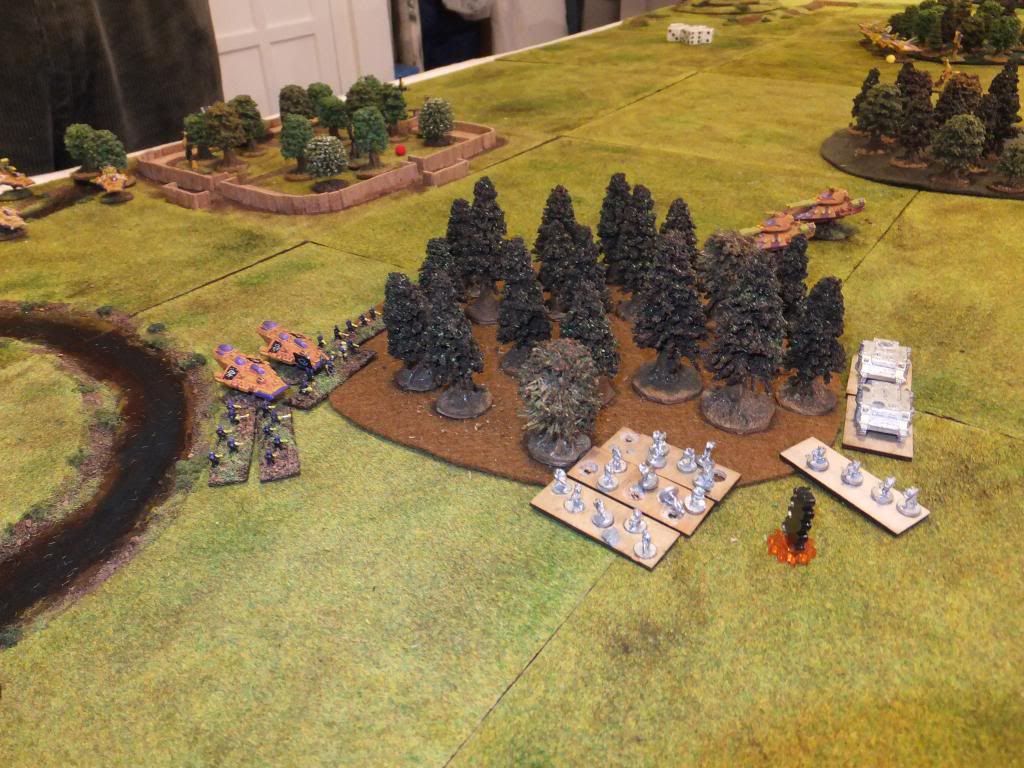
At this point my wife deployed a significantly more capable camera into orbit over the battle field. The focus of combat moved to the river flank.
Since I did not have any bridges at home we agreed that it could be forded by vehicles, although as it transpired only skimmers were operating
on the Eastern flank.
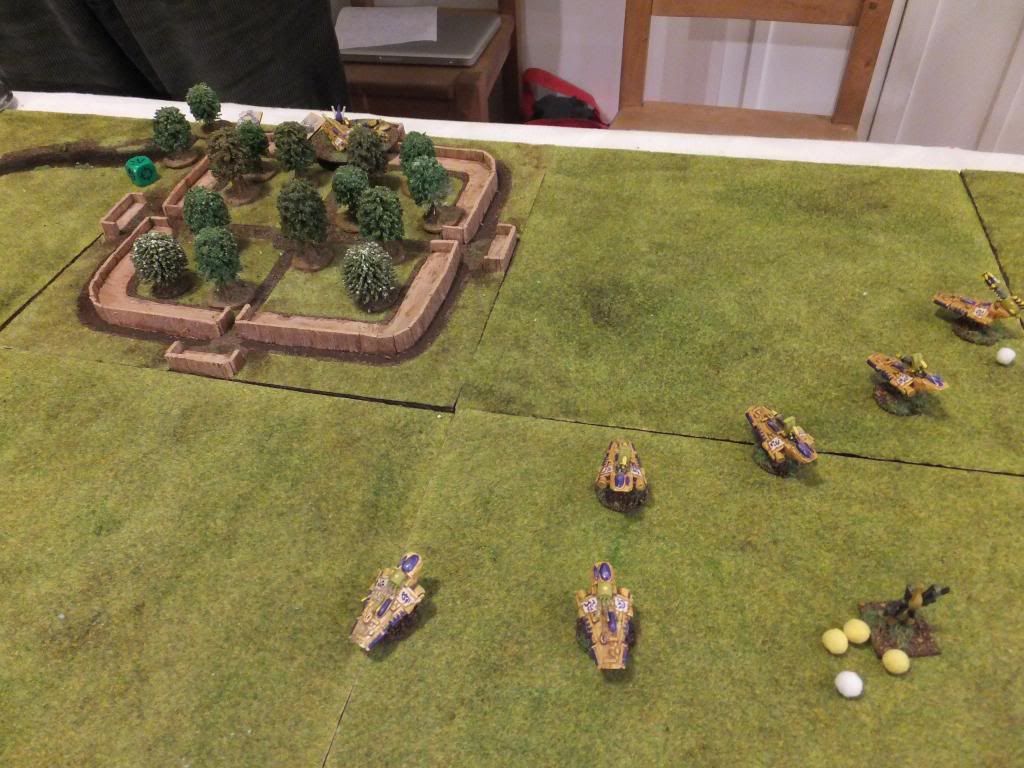
Foolishly I moved my screening war walkers towards the objectives when they broke and this left a hole for the Salamander Landspeeders
to fly through. Glyn did do a good job of opening a hole with Scouts, Assault Marines and Thunderbolts.

Thankfully the eventual Land Speeder attack on the HQ Mechanized Guardians only took out one vehicle and its passengers,
not the Farseer+Autarch. Thank goodness for the reinforced armour save on the Wave Serpents.
Yes, I almost certainly should have deployed them out of the vehicle, but with them loaded they were just within assault range
of the scouts garrisoned in the city. Stupid to have moved their screen. But use em or lose em.
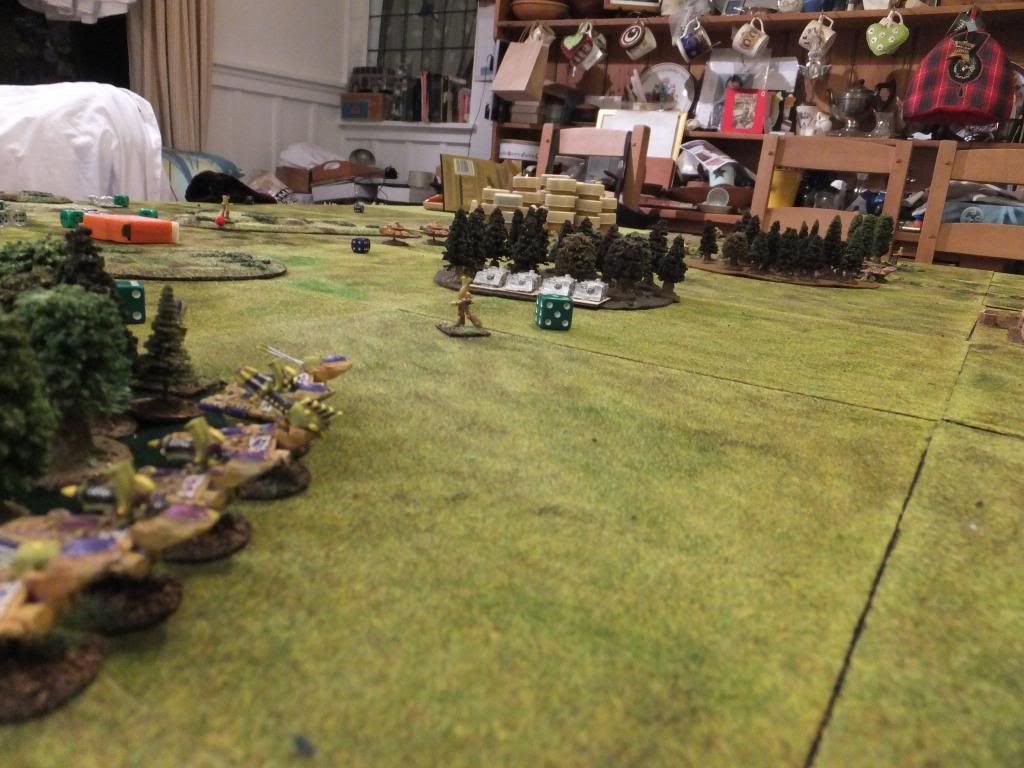
The Warp Hunters and their supporting Fire Storms killed 4 Land Speeders in response;
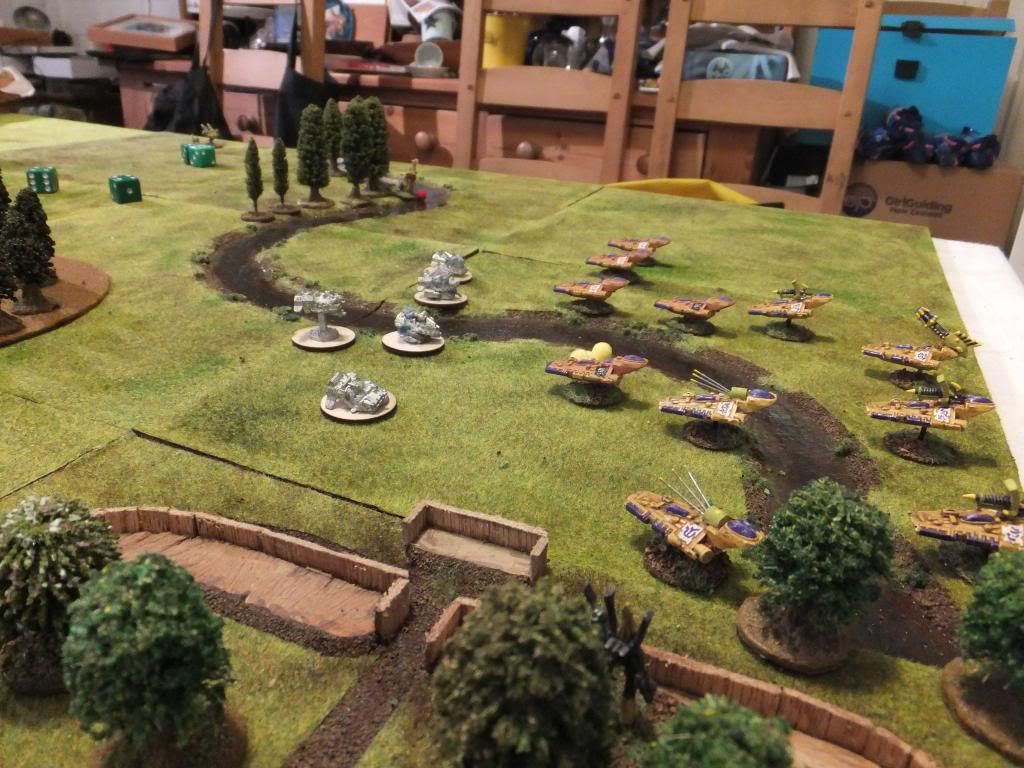
The remaining "broken" Land Speeder fled behind the city.
In later turns the HQ Mech Inf spent their time fruitlessly trying to kill off this lone Land Speeder
(which kept rallying) as the Autarch drove on towards the SM Blitz on the other flank.
Undaunted by covering Imperial Navy airpower

And “hilly” terrain
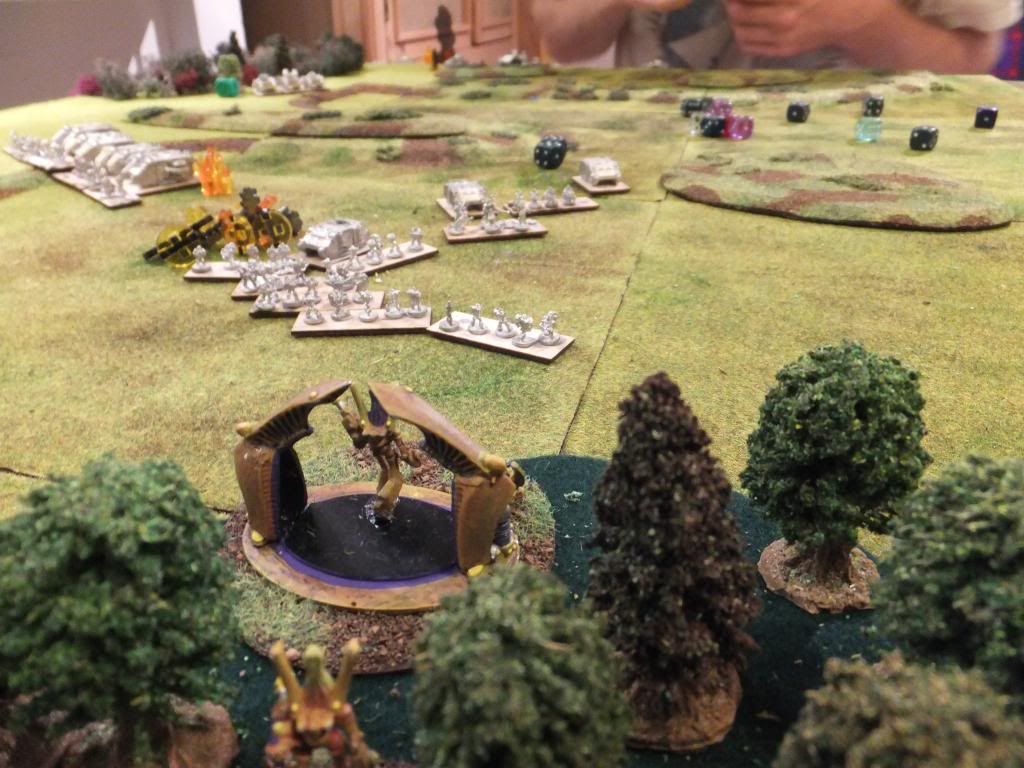
But in the meantime (back to turn 1) the HQ Mech Inf marshaled forward to set up
supporting fire positions to clear the scouts.
The eventual assault wiped out the scouts. You can see the “hole” in the end of turn shot.
And with the end of turn one we took a break for soup, the kitchen flank being hotly contested.
And your correspondent will also now take a break for sleep. More later.