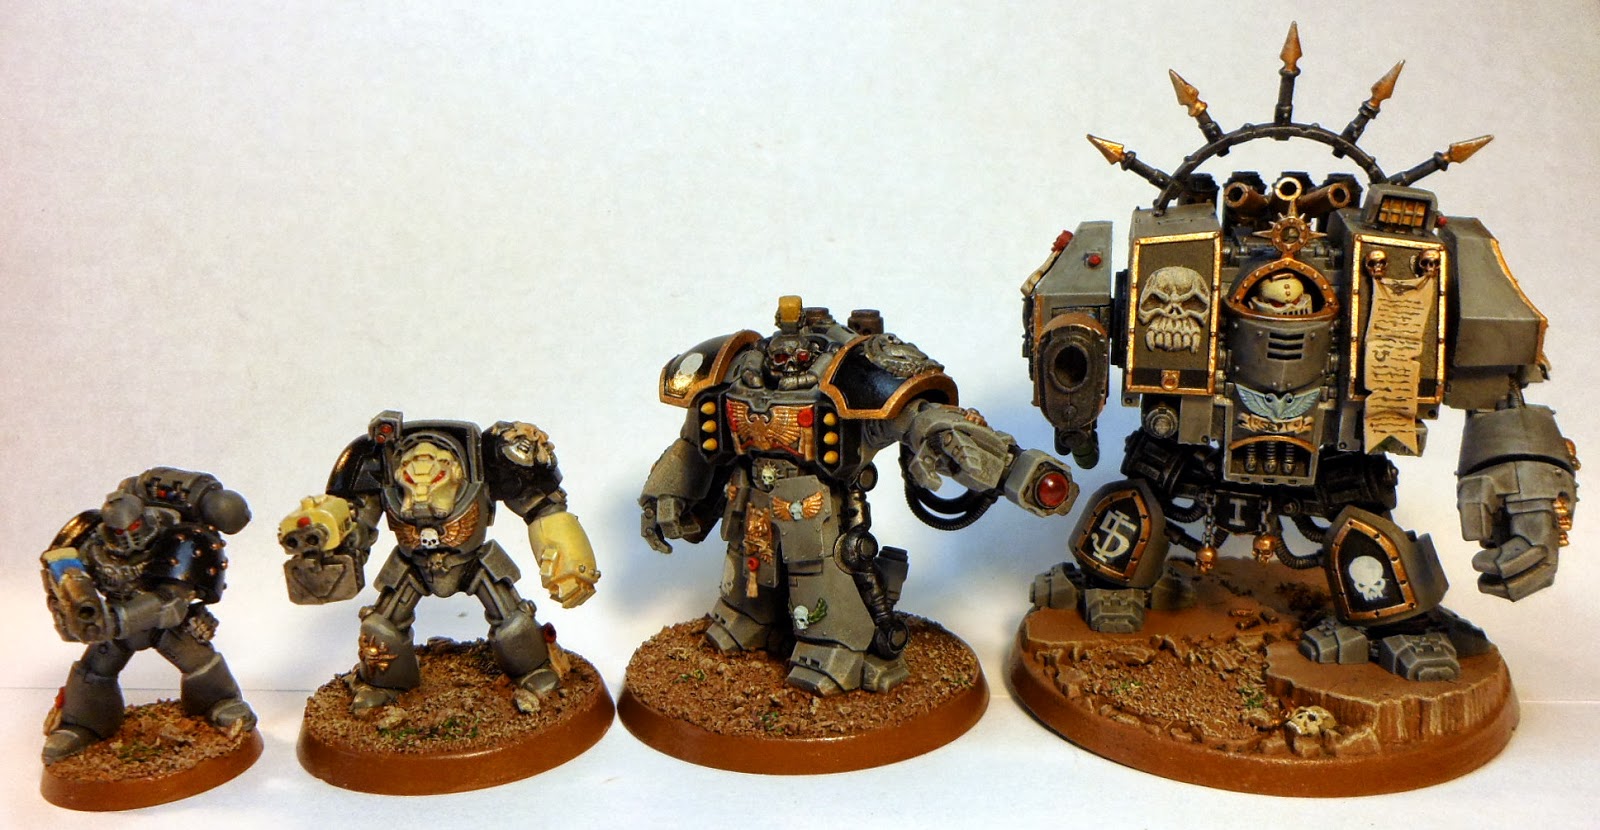
(If you don't know what a centurion is, turn back now, it's a recent monstrosity GW added and ignorance is bliss.) Bit of an odd one this: I have no like or need for centurions … then I kinda just bashed this out this evening to prove a concept to a couple of other people: that the old plastic robot is a great starting point for a centurion conversion.
So, here we are – the basic conversion is very easy, just slice up and glue plastic robots with mk7 tacticals. You can then go as far as you want with greenstuff. (Admittedly I went a bit too far on details in places with the greenstuff given this was just a proof of concept!)
Essentially all you do is: slice the guns and arms off the robot, stick the guns onto the power fists of 2 robots then stick the arms back on. Slice the face off, stick the top of a mk7 tactical on top and … it kinda looks like a centurion, at least as close a basis as you can get for one from basic epic parts.
Parts:
Old plastic robots and old mk7 tactical plastics. And greenstuff is recommended to take it further.
You will need an extra arm per centurion – I used an arm from a second robot, but any other donor arms I couldn’t think or would be fine.
Step by step for basic conversion:Chop the arms and top gun off

Slice the robot face off the front and scrape the front down smooth/curved with a knife – the area where the face was is now the chest plate.

Chop the top off a mk7 plastic marine, just above the bolter.

Glue the mk7 on top of the robot … might need to trim some more off the top of the robot

Take the guns from the robot and stick them onto the power fist. For heavy bolter devs use the back heavy bolter, for las devs use the arm autocannons. You’ll need to do this twice (so will need a second robot to chop up), unless you can find other suitable parts.

At this point I decided to scratch a bit more detail into the chest plate as well.
But aside from that the chop n stick stuff is done, pop the arms back onto the robot and this is the basic centurion build:

I also added exhausts from the tips of the spare autocannons, but didn't think off that until i was halfway into greenstuff, so see below.
Extra greenstuff work:Now to add any details with green stuff. As much or as little as you feel, but the skirts and shoulders are probably the main parts. I didn't green stuff in a very sensible order as I was just messing about with this, but i've shown different stages of it here:

Armpit hurricane bolters look fiddly but are really easy. Glue three lengths of plastic rod together edge on. Let it dry. Then cut thin slices of cross section from this assembly, and just fudge it into green stuff.
If you were going all out the shins and feet need work as well, but by this stage you might as well just sculpt it from scratch … He'd look great with some power/ammo feed cables running from his fists to his back as well.
end result is a bit tall, but close enough
these tubbies are INF in NetEA, but i think you'd only want two to a base all the same, pretty big wing span on em …


