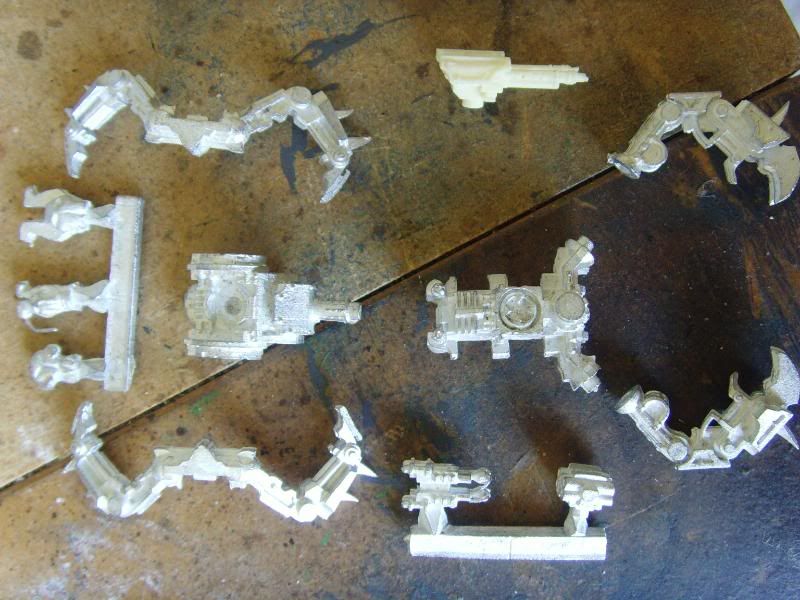
Necron PylonBoy did this thing give me some headaches! My superglue burst and i started rushing to get everything put togethe before it all dried out! Before i could start taking any pictures i'd already put the base together:
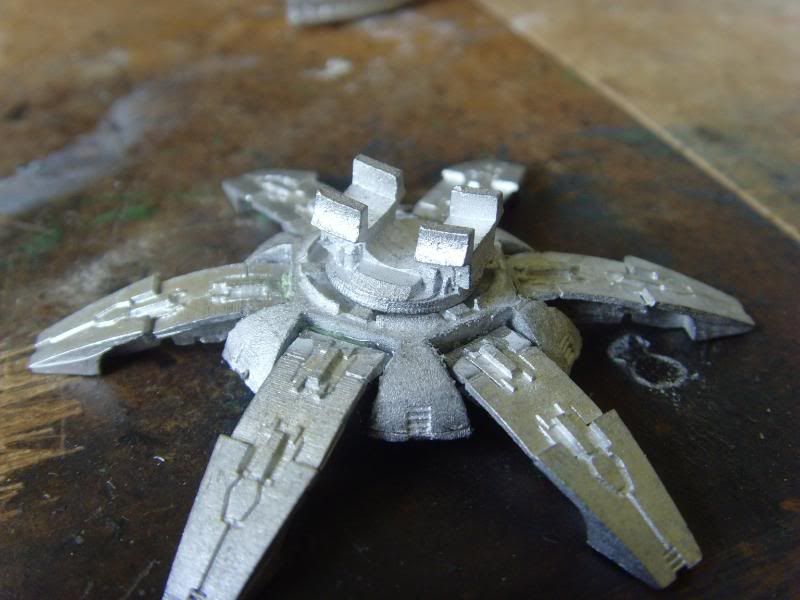
Using a 'shim' of greenstuff underneath and some additional putty to make the support legs joins more viable.
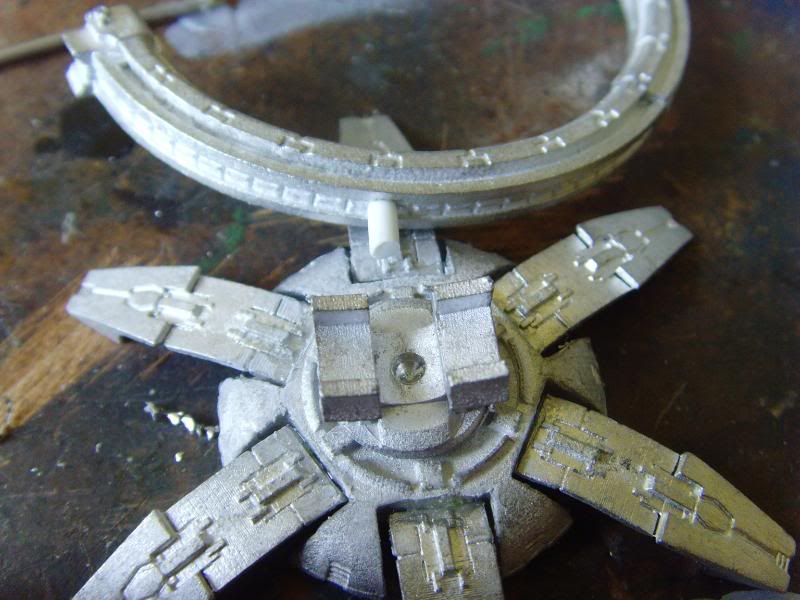
The "C" come's in two parts with flat edges and so requires pinning:

Additionally to get the correct 45 degree angle to hold (you'll see) another pin (i've started using 2mm plastirod actually...) will be needed on the bottom between the body and curvature:
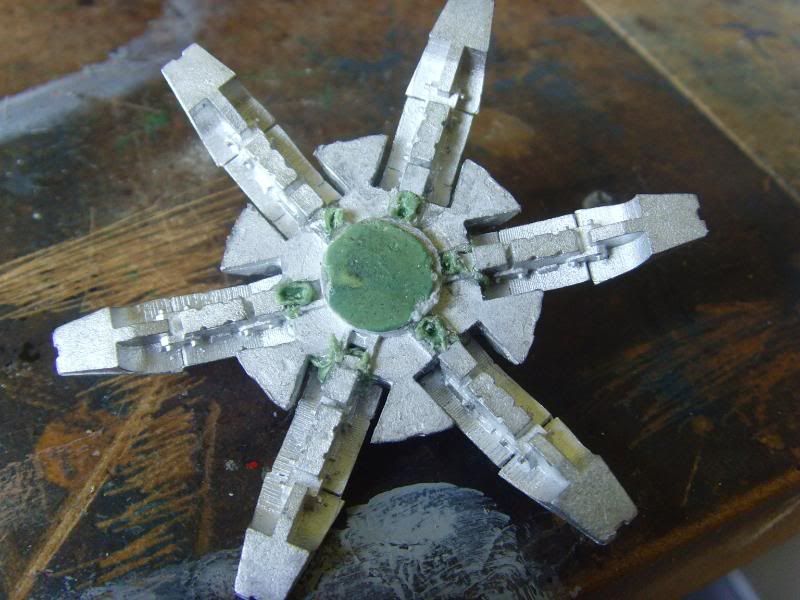
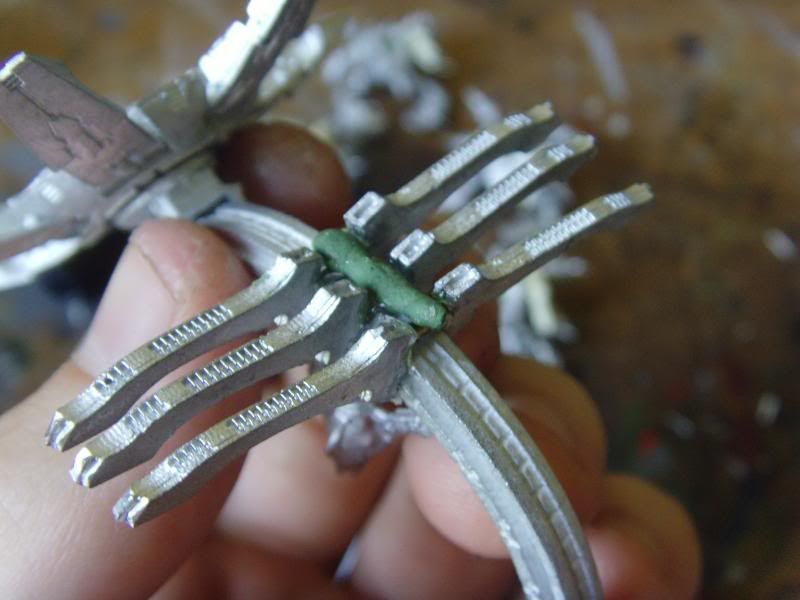
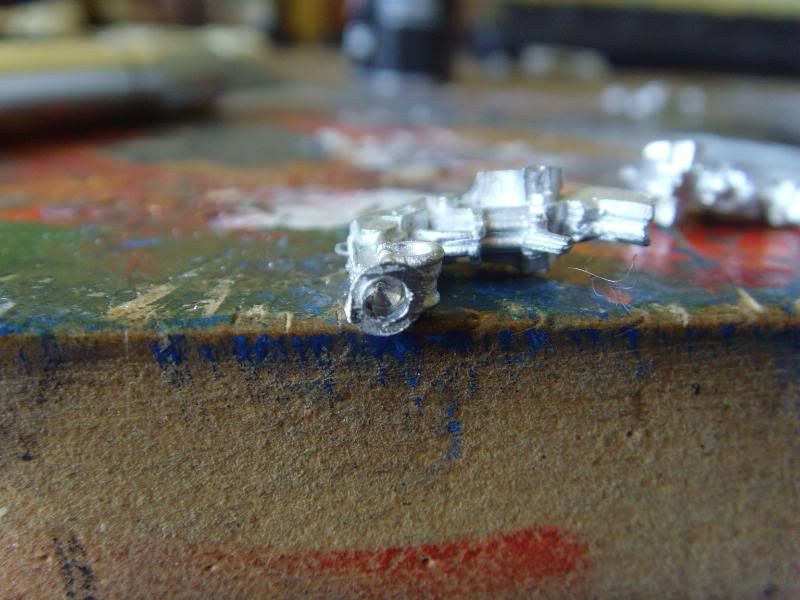
Then i was really dense! It was time to put the cannon on and all those six vanes but it didn't seem to fit anywhere! HOWEVER; there was a little hole in each vane and so i started pinning stuff and throwing putty in there again, like this:
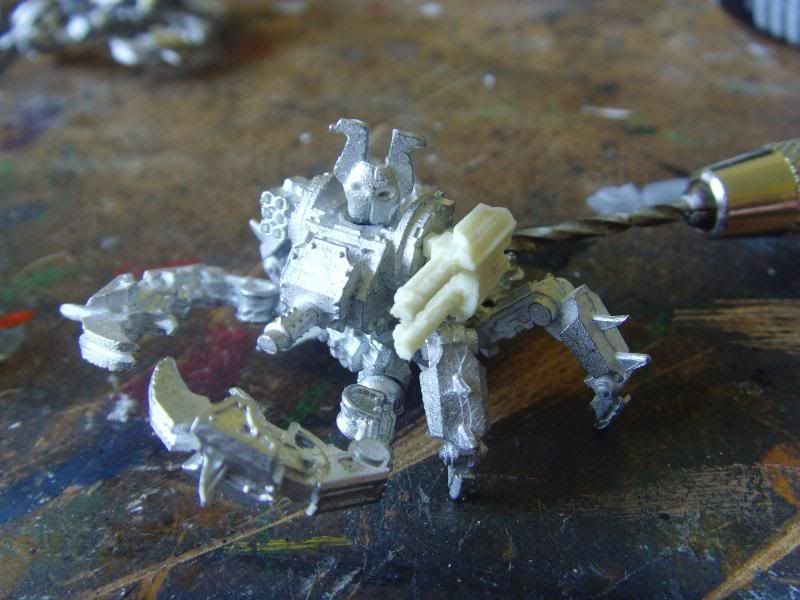
then i glued them on:
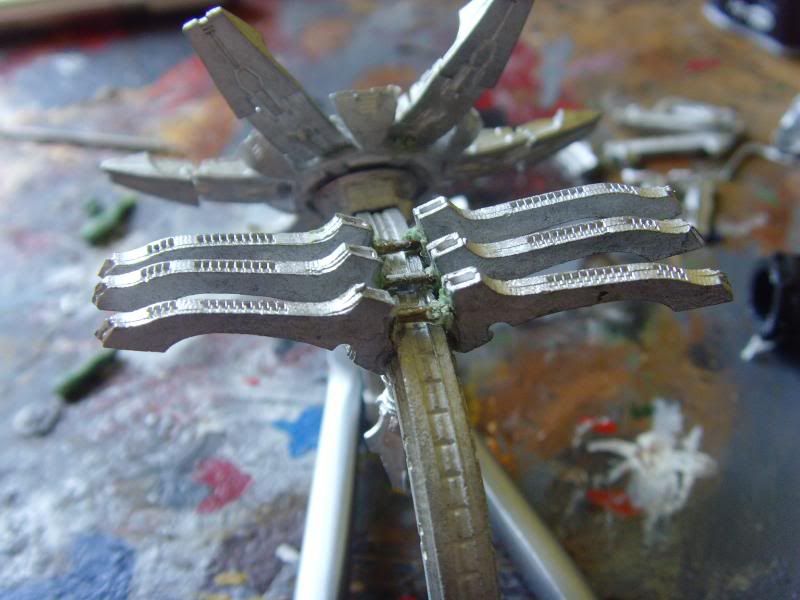
which looked awful so i covered it with greenstuff:
and plasticard with some shims in between at 90 degress to keep the spacing and add structural support:

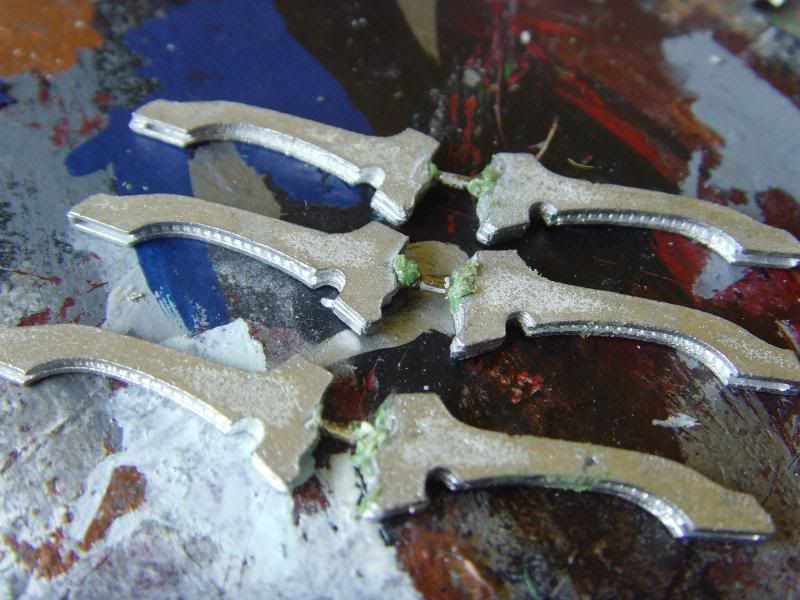
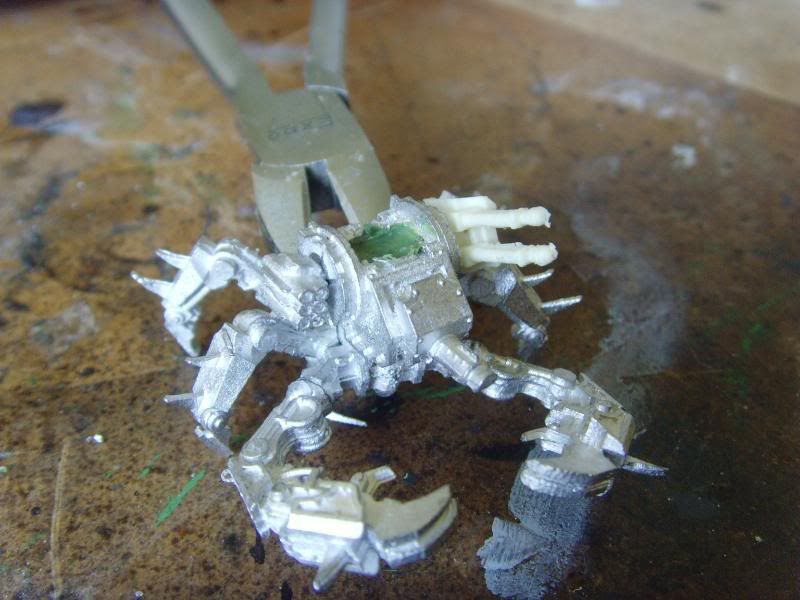
and i thought: "boy, Oman really didn't think this through did he..." until i found this piece lying in the bottom of the box and felt really very stupid:
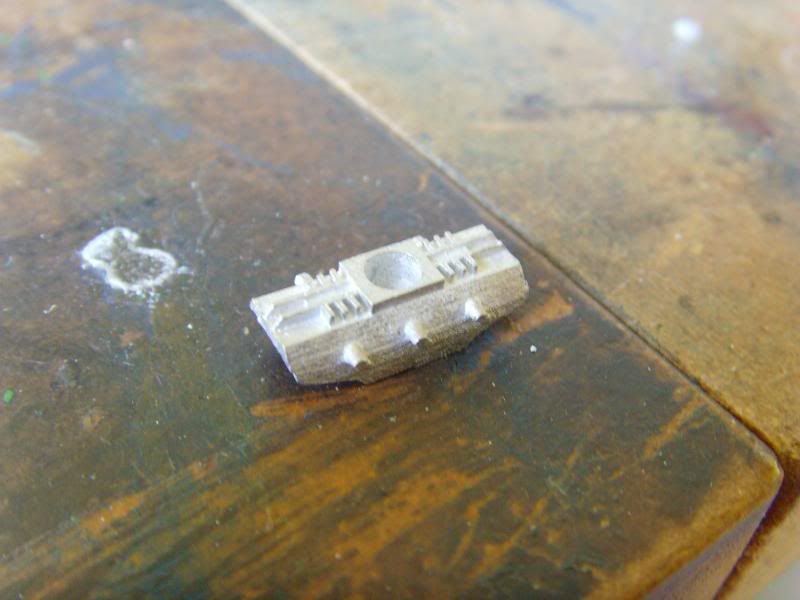
See those six little extrusion there: guess what they're for ;-)
After that altercation everything got put together and it looked beautiful!
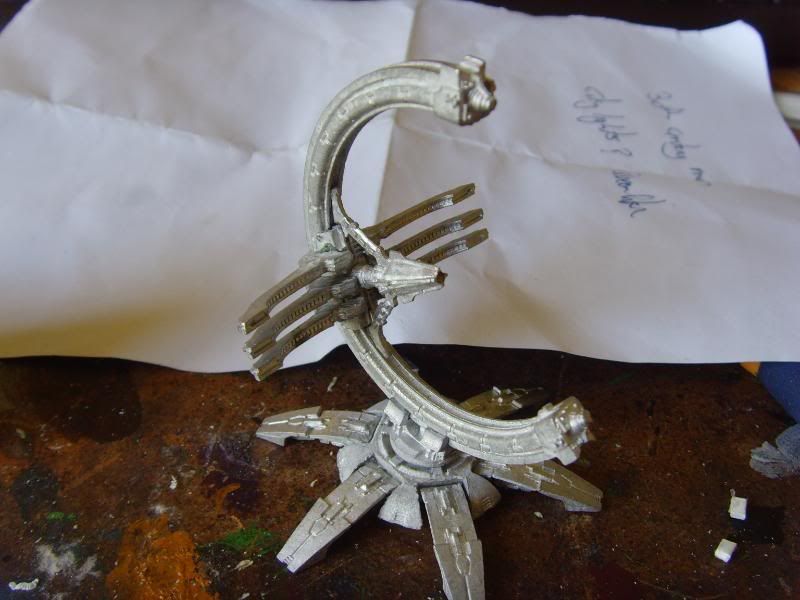
All in all i'd say this is a nigh on perfect scaled down version of forgeworld's 28mm Scale Pylon.
Not decided on a paint scheme for my necrons yet; will have to wait and see what other community efforts create and/or if Wargames Factory Produce and usable necron proxies.
Night folks!
R>
_________________
MoK's Painting BlogNow Showing:Mok's Modular Modern Messy Guard Army


 !
!