My old terrain log was getting a bit off topic so I decided to form a new one.    I apologize for deleting your comments. Please keep them coming.
 My old terrain is looking rather worn so I felt it was about time to update it.
First on my "to-do" list are some Epic scale forests. I bought some trees from an arts and crafts store over ten years ago and was keen to use them. Ready made trees are probably easier, but since I had these I felt it would be a shame to waste them.
I bought several Citadel plastic wood sets and was really impressed by them. Their main feature is removable trees. This allows you to move units through the wood without all of the fuss normally associated with that. I knew that I wanted to duplicate this with my Epic woods.
I usually do a "test piece" for my models and making terrain is no different. To that end I decided to work on one wood from beginning to end before moving on to the others. I plan to do four of them in all.
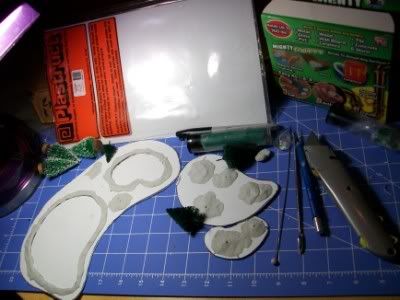
In the past I've had a lot of bad experiences with warped foam-core and cardboard and knew that I didn't want to use any of this in my new terrain features. So I've decided to use plasticard as the base for my woods.
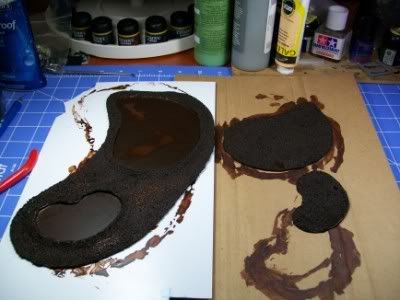
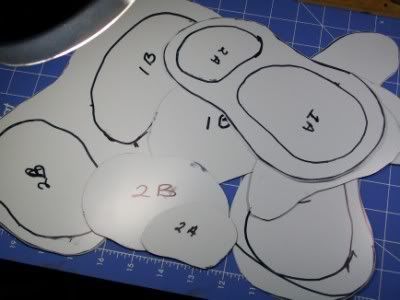
After cutting out a kidney-shaped piece of plasticard I then cut out two smaller shapes to go inside of it. I placed the smaller shapes inside of the wood and traced around them.
Next I took some epoxy-putty and created a "lip" around the smaller sections. I also didn't want the woods to look entirely flat so a little variation was needed. I made small hills out of the epoxy to make the wood look a bit more natural. (Note: This is the smelliest epoxy-putty I have ever dealt with. If you buy this brand make sure to turn on a fan or open a window.

) This brand of epoxy also dries very quickly so I had to work fast.
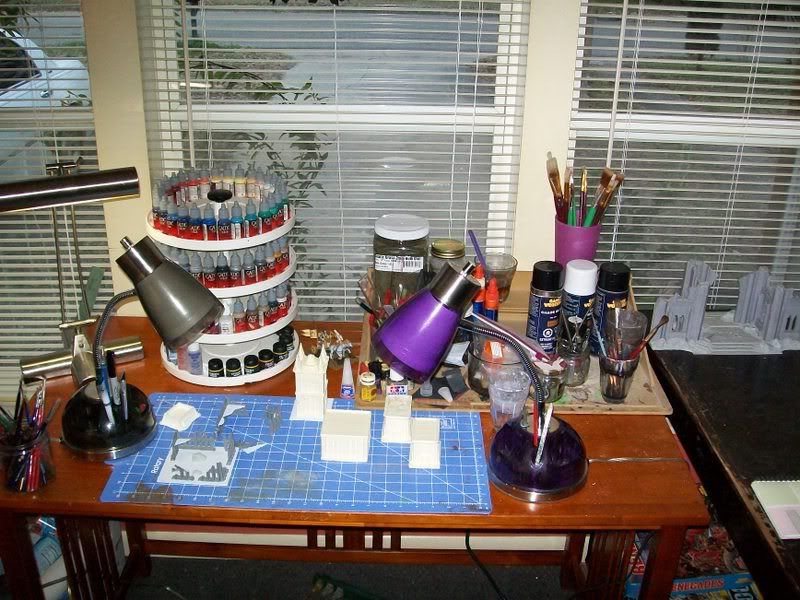
My workstation:
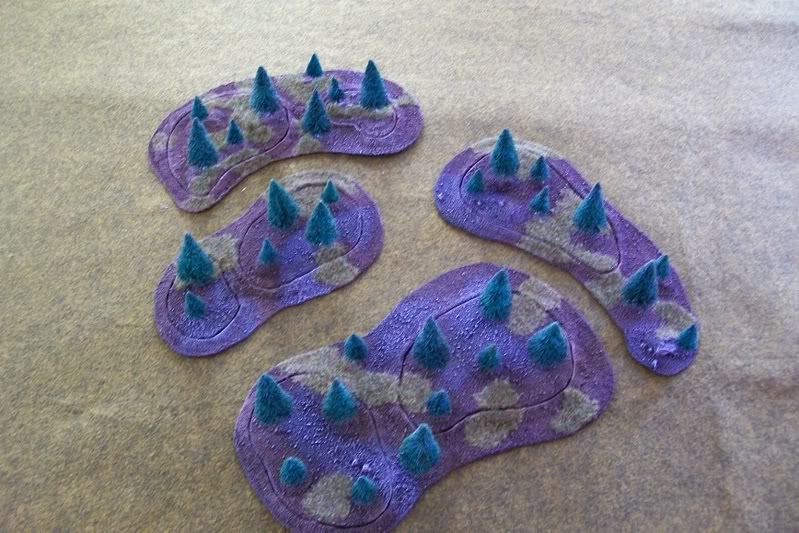
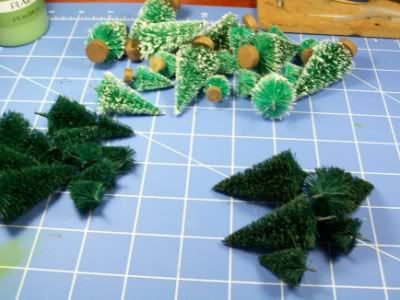
Next up were the trees themselves. I bought them in an after x-mas sale at a Michael's Arts and Crafts store. The main problem with them is that they look anything but natural.
First step was to try and remove the snow on the trees. I knew that I couldn't remove it all, but that wasn't important as long as most of the larger chunks were removed.
So I took a blunt x-acto knife and gently scraped the trees making sure not to mangle hem in the process! When I was satisfied I spray-painted them a dark green.
Next I drybrushed a "goblin green" color on the edges. Finally I painted the trunk of the trees gray. I know it sounds weird, but I'd never considered the fact that bark was gray and not brown until a read a painting trees tutorial in White Dwarf.
Here is a WIP shot of me painting the trees. At the top is the unpainted trees. On the left are some of the trees that have been spray painted and on the right are the finished trees. They are drybrushed and have had their trunks painted.
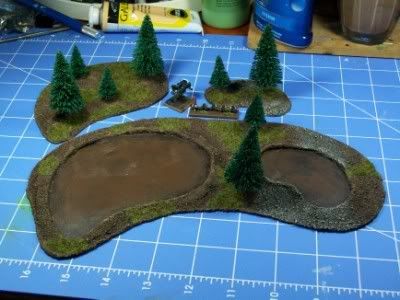
I decided to go ahead and paint all of my trees to get them out of the way...
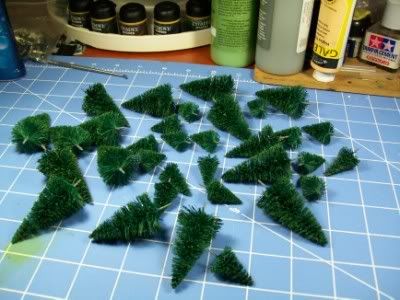
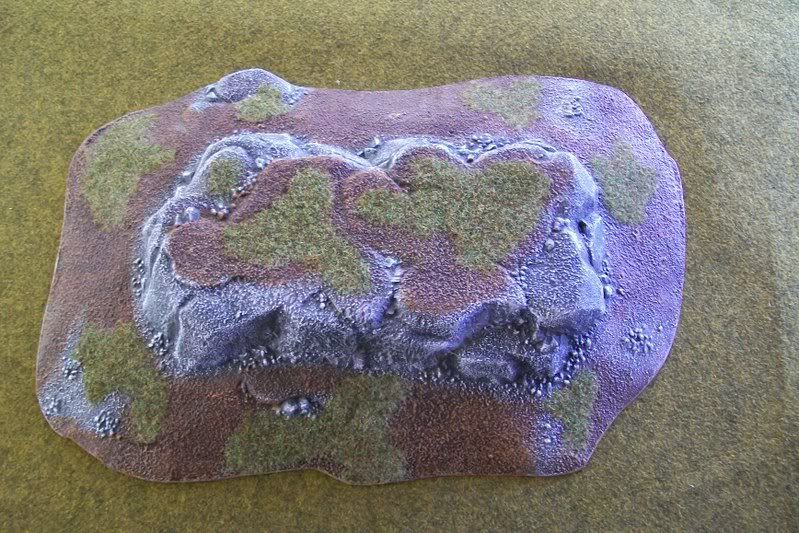
YAY all done! ÂÂ