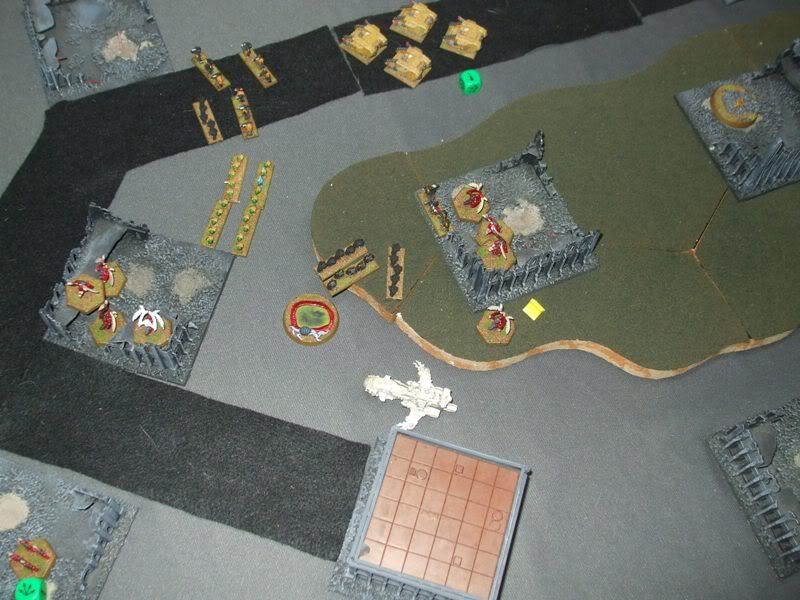
Turn 2Both Lictor Swarms show up, with Swarm 2 getting a single Blast marker. (
I made a mistake here, Swarm 2 should’ve only been three Lictors, not four… but, as you’ll soon see, it doesn’t really matter.)
 Strategy Roll:
 Marines.
The Land Raiders sustain fire on the Harridan, doing 1DC of damage.
Thunderhawk Beta then lands between the Lictor Swarms to *ground assault* Swarm 2… with lotsa support!  The Tyranids don’t stand a chance and are wiped out.  (
Sneaky, so very sneaky!)
Lictor Swarm 1 hopes to do some damage before they suffer the same fate and engage Squad Charoum… but the ZoCs of other enemy formations prevent them from getting to the supreme commander… and they’re quickly dispatched with no losses for the Marines.
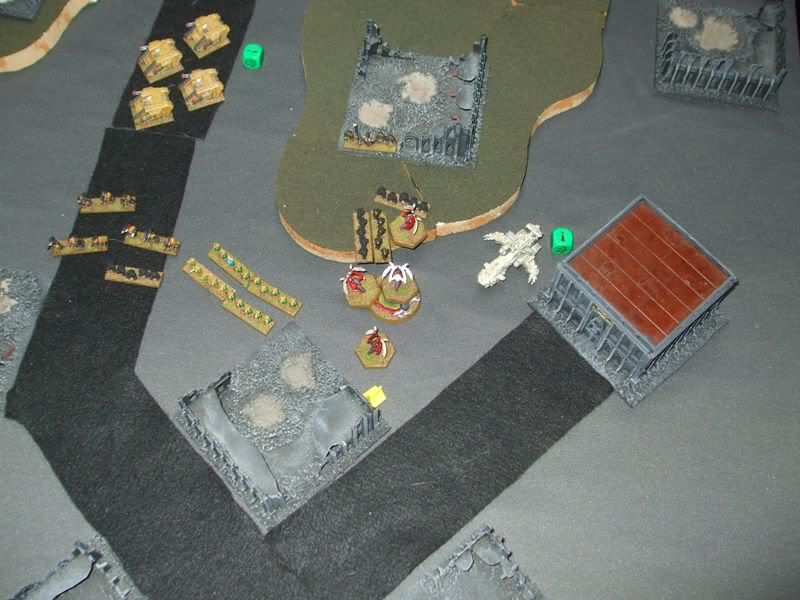
The Harridan then flaps forward to engage Squad Ramiel.  Two Terminator Squads are crushed but they still manage to knock the Tyranid beast from the air.

Thunderhawk Alpha needs a little encouragement to return to the battlefield and ground attacks ‘Stealer Swarm 1, taking out 3 Genestealers and breaking the remaining Bugs.
Squad Israfel sustains fire on Swarm 4… and kills a Ravener.
Attack Swarm 3 surges forward to engage Squad Sariel in a firefight… neither side score any kills and the broken Terminators are forced to disperse.
Battered, but not broken, Squad Ramiel advances on Swarm 4, killing a Termagant and a Hormagaunt, which actually breaks the swarm!
Squad Charoum advances and fire on Genestealer Swarm 3, kills a ‘Stealer and breaks them.
Swarm 2 doubles to fire on Squad Charoum… for a Blast marker.
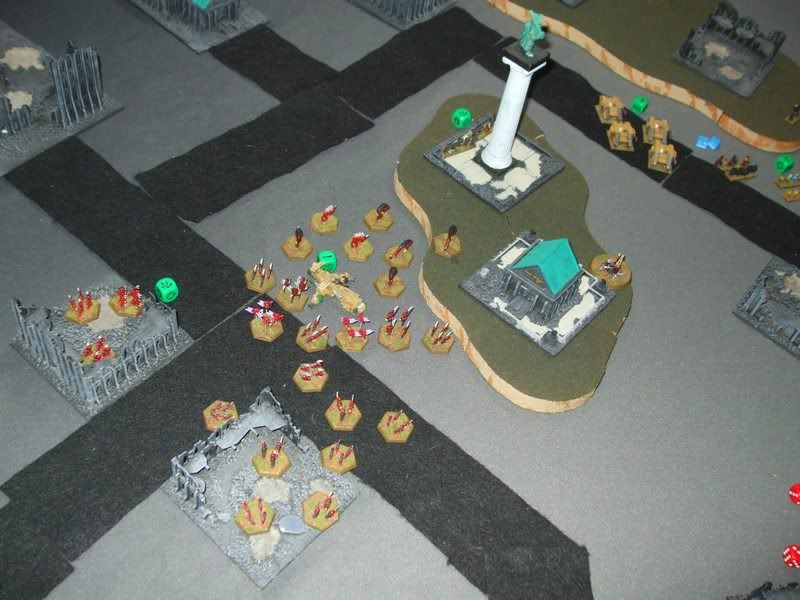
Swarm 1 doubles up close to Swarm 3 near Hero’s Hill…
 End of Turn
All Marines rally while Attack Swarm 4 and Genestealer Swarm 2 fail.
Free from distraction, Attack Swarm 1 spawns 2 Termagants and 2 Raveners, and takes 2 Raveners from Swarm 3.
Swarm 2 gets 1 Hormagaunt and 1 Gargoyle.
Swarm 3… 1 Termagant.
Swarm 4… 1 Gargoyle.