VIOR'LA TAU vs DEATHKORP OF KRIEG This game was part of the campaign Steve is currently running in WA in the build up for the 3000pt tournament this coming weekend.
I have been using Tau, and taking full advantage of the opportunity to get games in against one of my other favourite armies, The Deathkorps of Krieg (revised list 1.3).
Amongst the changes, revision 1.3 has the more expensive Gorgons (from 125 to 200), Siege Mortars no longer free and much less durable deathstrike silos.
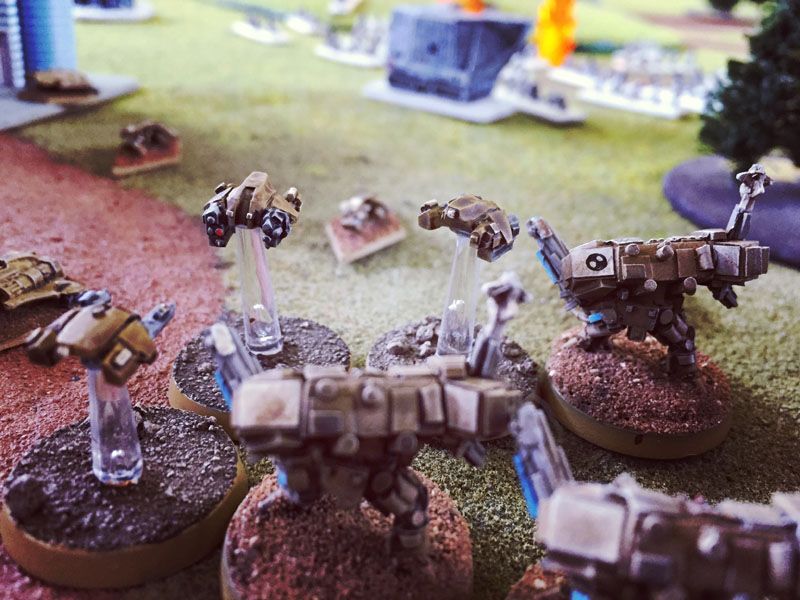
Matt-Shadowlord VIOR'LA TAU4 Crisis Suits, Shas'el, 2 Gundrones
4 Crisis Suits, Shas'el, 2 Gundrones
8 Firewarriors, Cadre Fireblade, 3 Pathfinders
4 Hammerheads, Skyray
4 Tetra scout skimmers, 1 Piranha
3 Tetra scout skimmers, 2 Piranha
3 Riptides, Shas'o, 3 Shielded Missile Drones
2 Barracuda Fighters
Orca Dropship
Orca Dropship
2 Tigershark AX1-0
Protector Class II Spacecraft
Nick 'Brookesy' Death Korps of Krieg Revision 1.3REGIMENTAL HQ - Supreme Commander, 19 Infantry Stands, 2 Gorgons, Commissar 600pts
INFANTRY COMPANY - Commander, 19 Infantry Stands, 2 Gorgons, Commissar 500pts
DEATH RIDERS - 12 Death Riders, Commissar 300pts
DEATH RIDER SCOUTS - 6 Death Riders, Commissar
DEATH KORPS LEMAN RUSS Platoon - 6 Leman Russ, Commissar
ANTI AIR PLATFORMS, 3 Trojans
DEATH STRIKE SILO, Commissar
2 THUNDERBOLTS
WARHOUND TITAN
WARHOUND TITAN
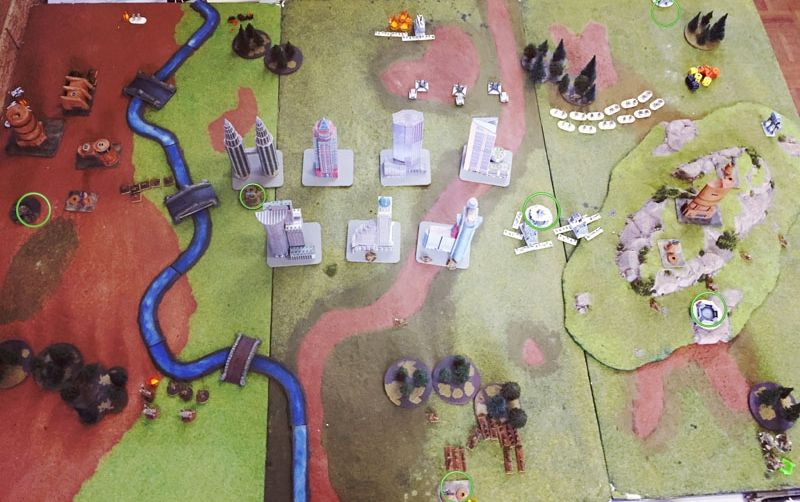
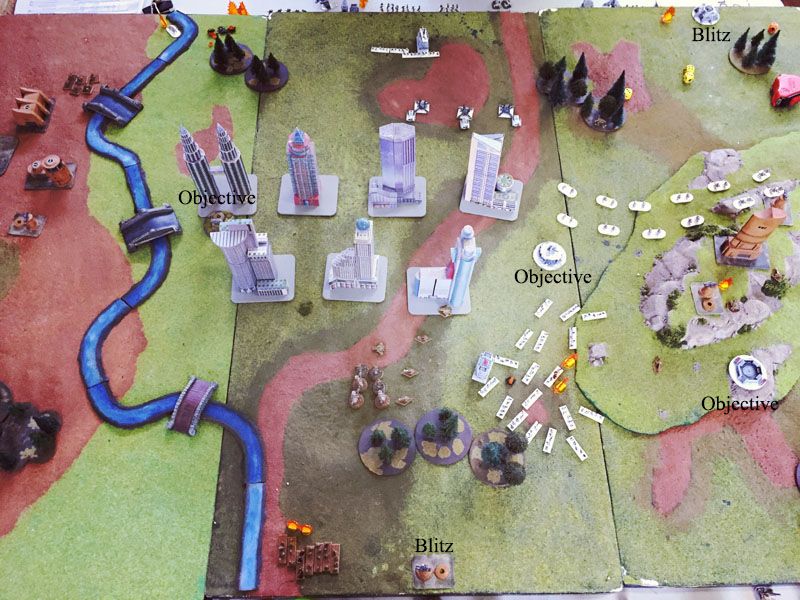
Deployment 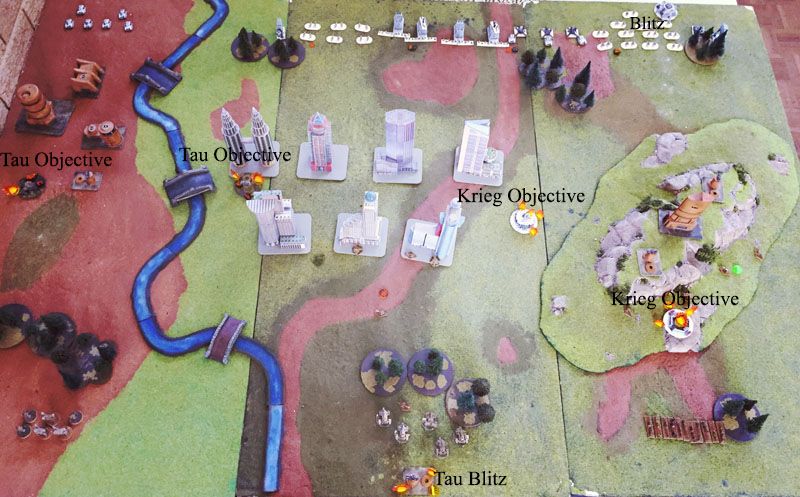
My Tau have gone for a central Blitz objective placement and two objectives close together on the left, far from the Krieg Blitz. Reasons:
1) This type of Assault-Build Kreig have really poor AA, and can't cover both sides of the board. I want them to pick one, and it's almost always going to be the Blitz.
2) There is no gain spreading out the objectives I want to take. I want one of my units (eg Riptides) to be able to be within 15cm of both of them, and spreading them out makes this harder. The Krieg on the other hand cover map space better than anything except orcs and nids - one of their units can spread 20 infantry and 2 gorgons over a massive chunk of the board.
Kreig objective placement:
The blitz is in a corner easy to protect with AA, and their 2 objectives on my side of the table are placed where a even a single massive infantry formation could hold both of them and the blitz. I expect them to send a lot of men at this single triangluar space.
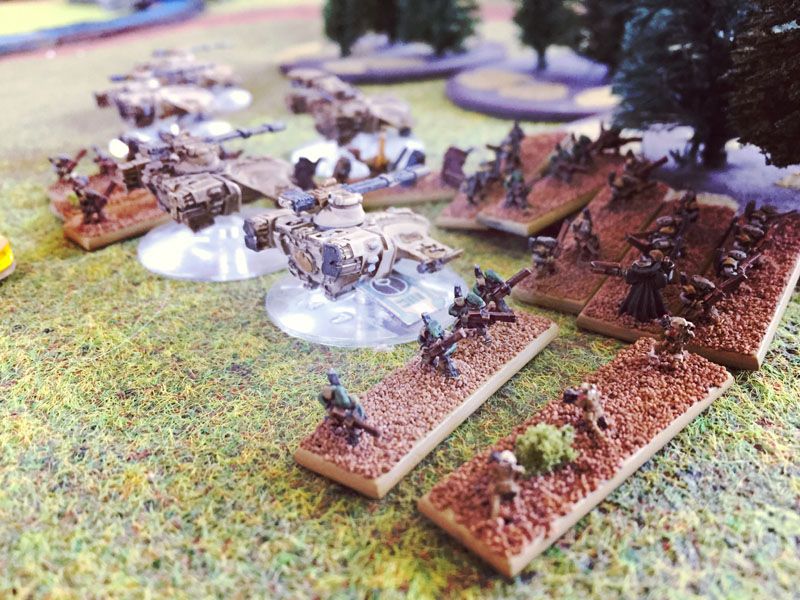
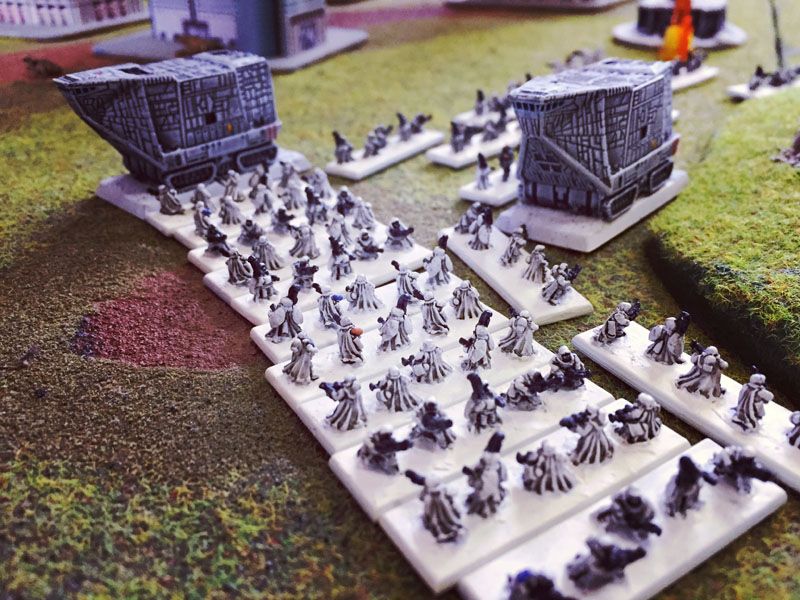
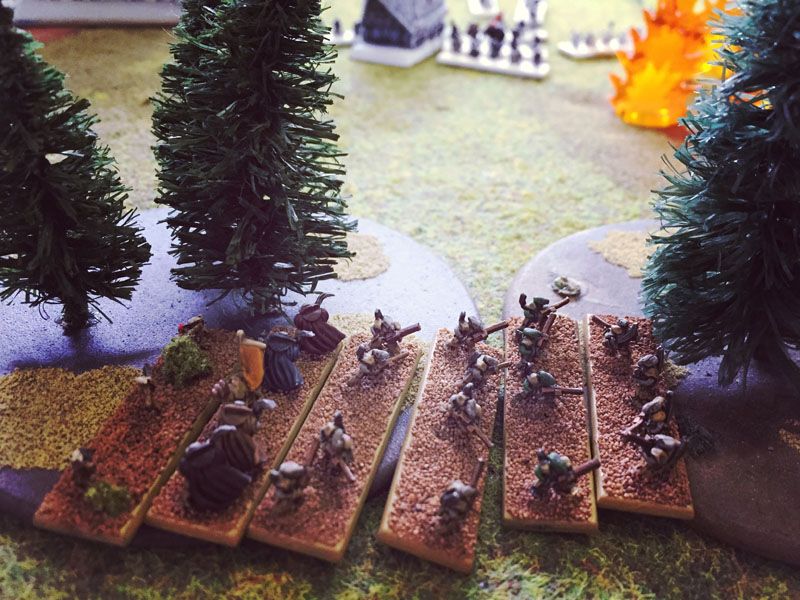
Firewarriors with a Cadre Fireblade.
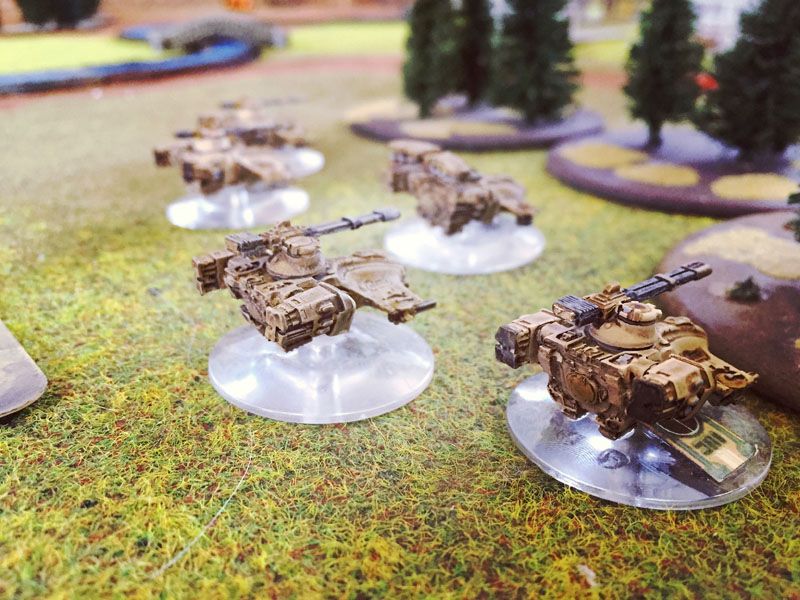
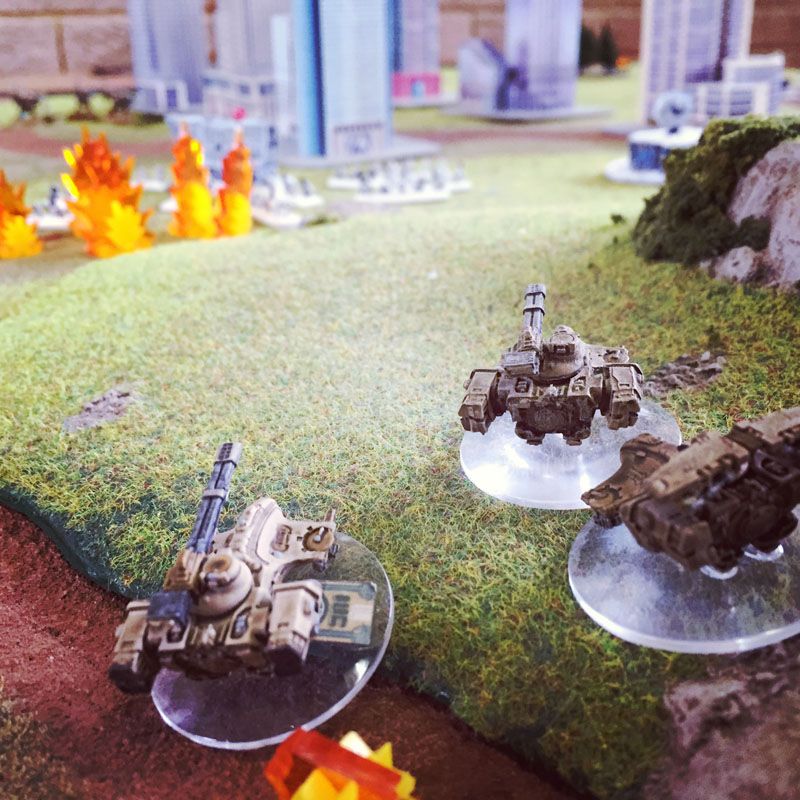
Hammerheads with a Skyray cover the centre of the map.
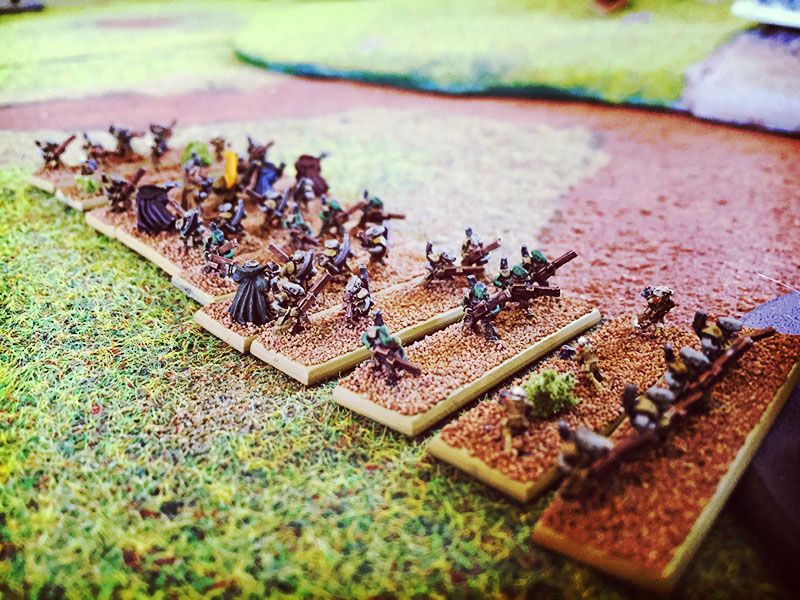
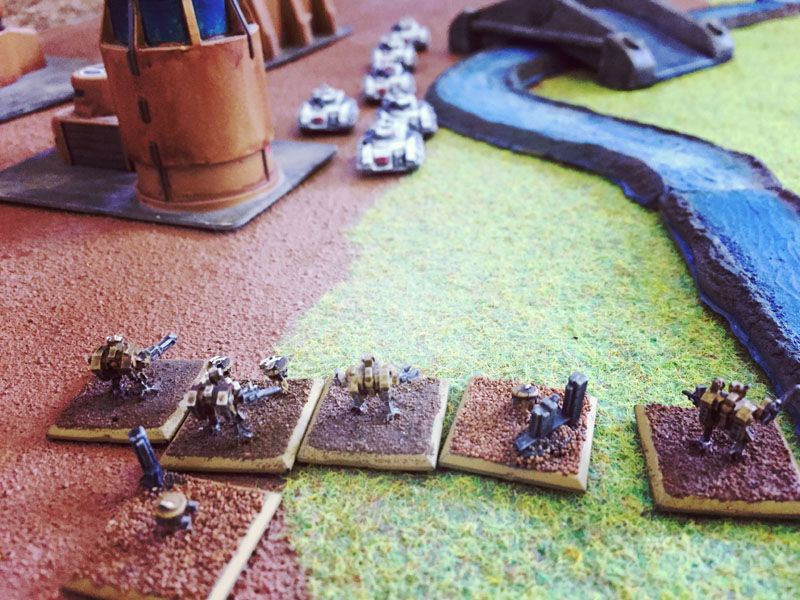
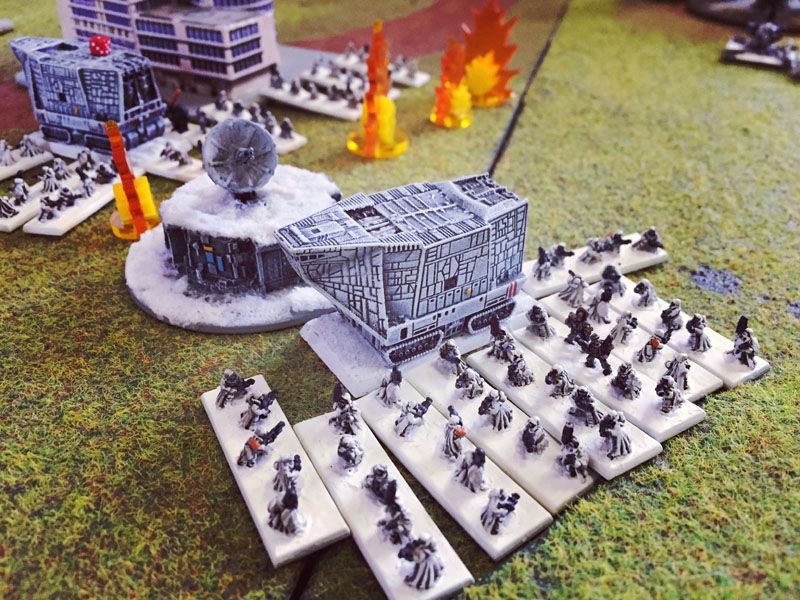
Hydra platforms and Gorgon Siege transports.
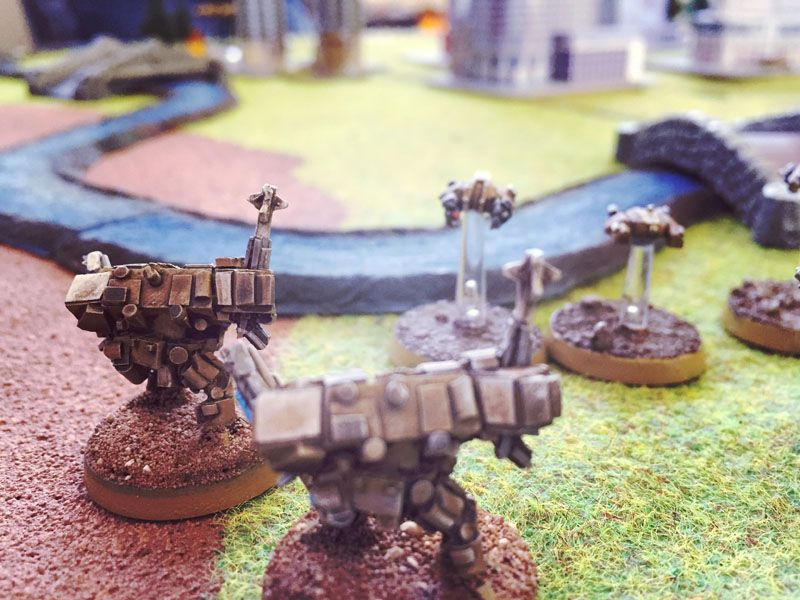
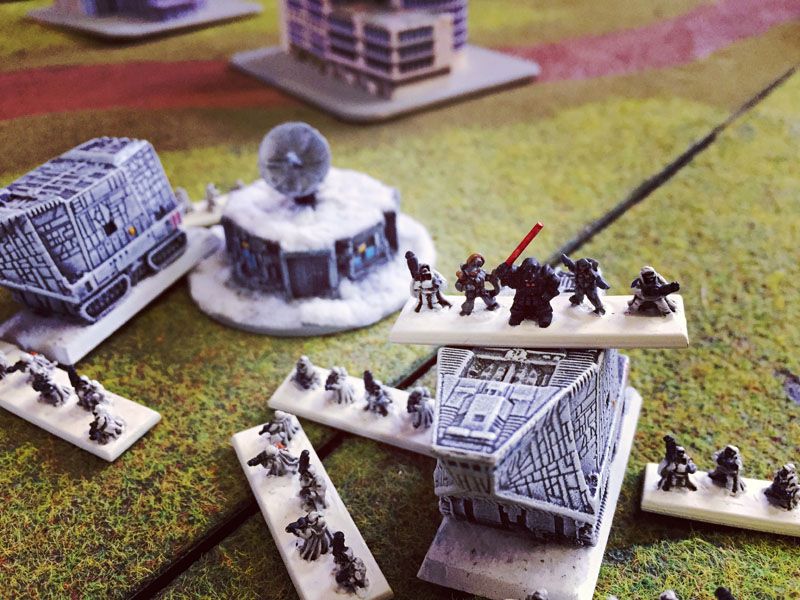
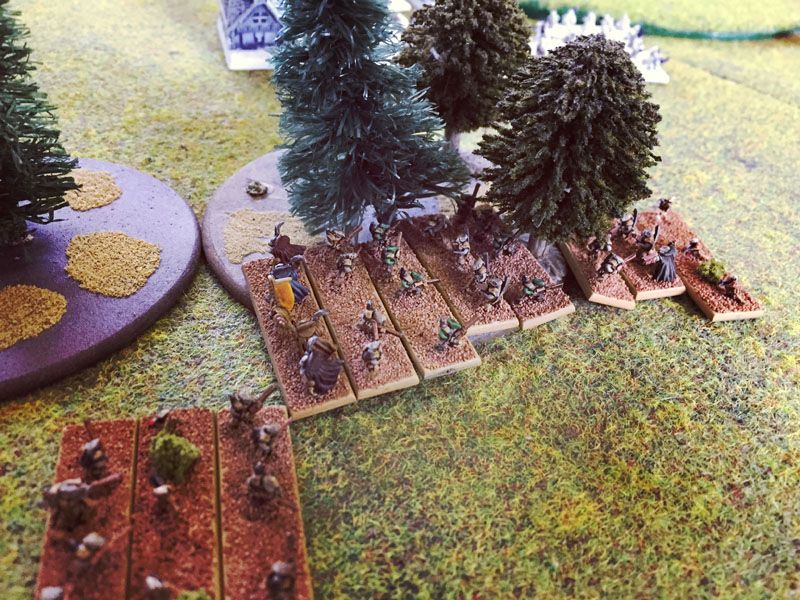
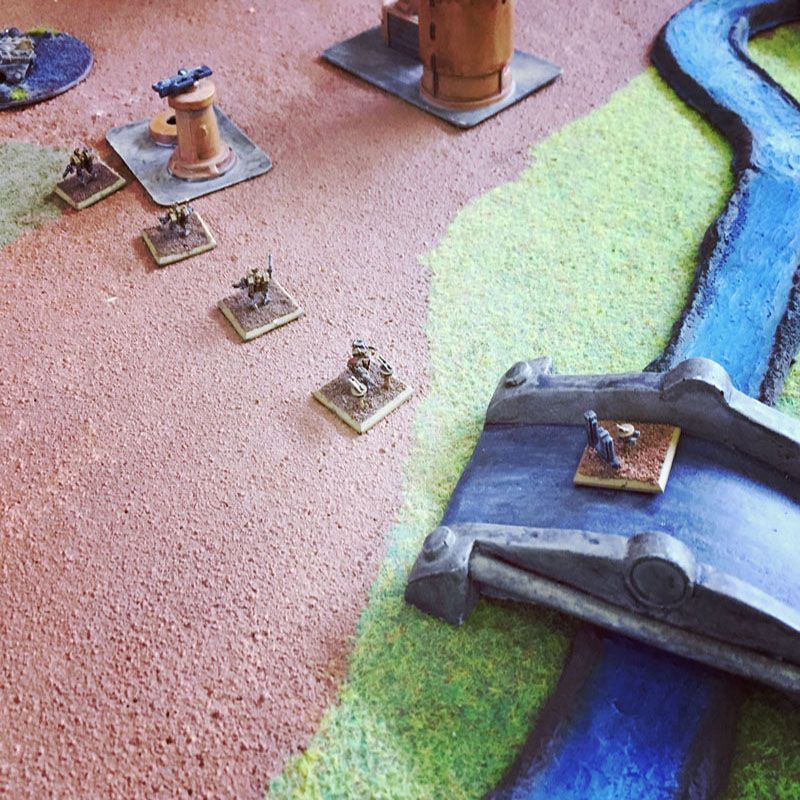
Scout rough riders
 ===TURN 1===
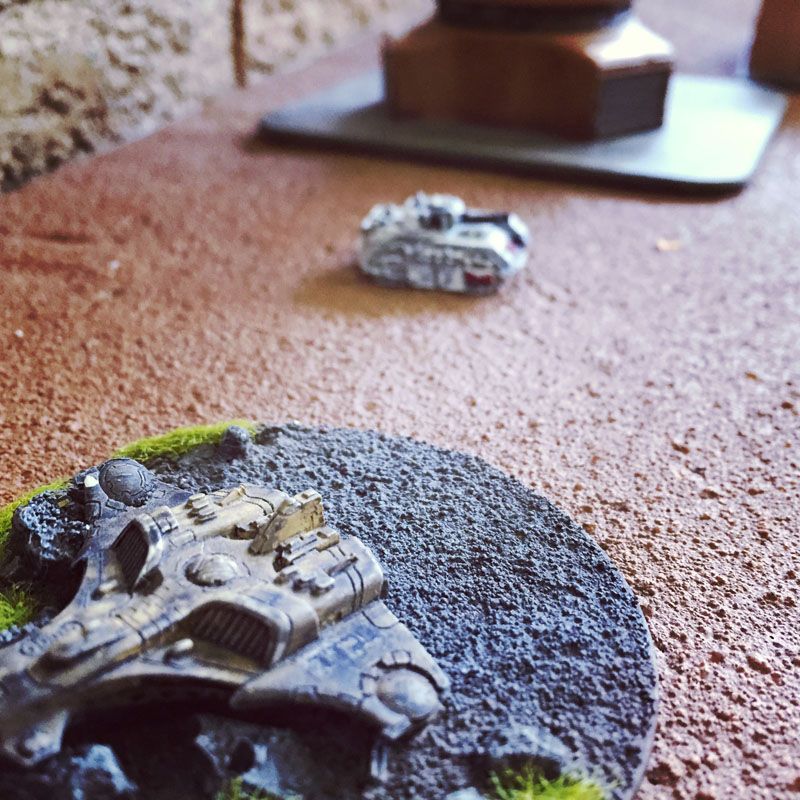
 VT: Tau seize initiative, and activate the Protector Spacecraft. This fires 2 titan killing shots from space at the DKOK Deathstrike - the first misses, but the second lights it up and destroys it instantly.
A fair exchange.
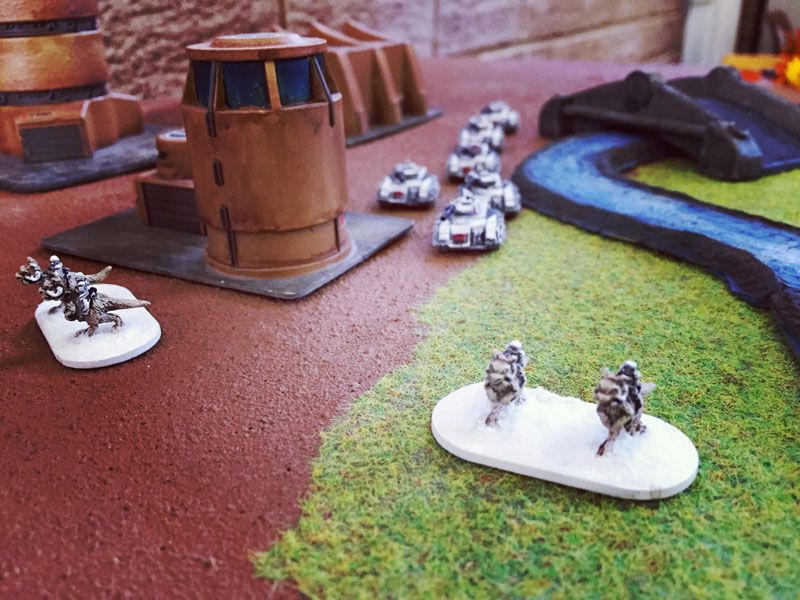
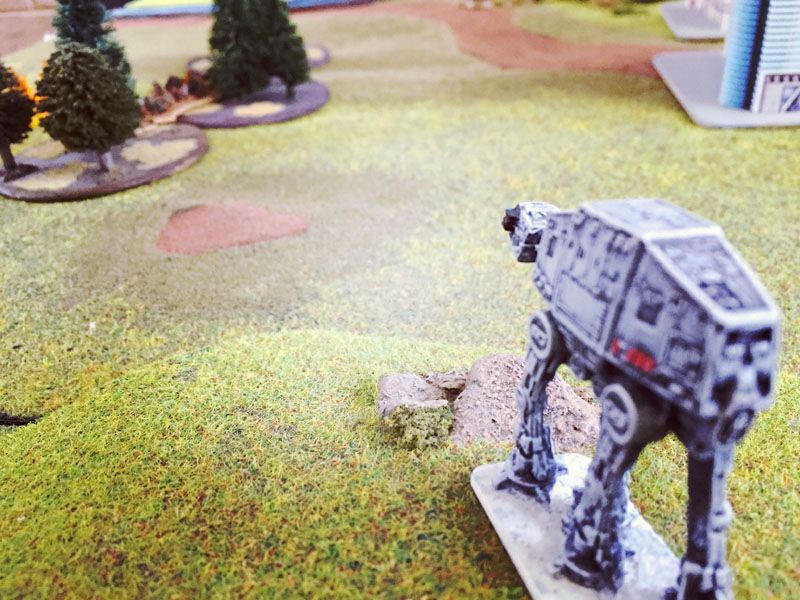
The Warhound near the Death Strike Silo are safe from the blast, as are a cavalry regiment of Taun Taun (Death Riders) that prepare to threaten the centre.
DK: A Warhound surges forward on the right flank and fires on a tetra skimmer. Poor luck and disinclination to waste macro shots means this is saved, and just a blast marker placed on the Tau scouts.
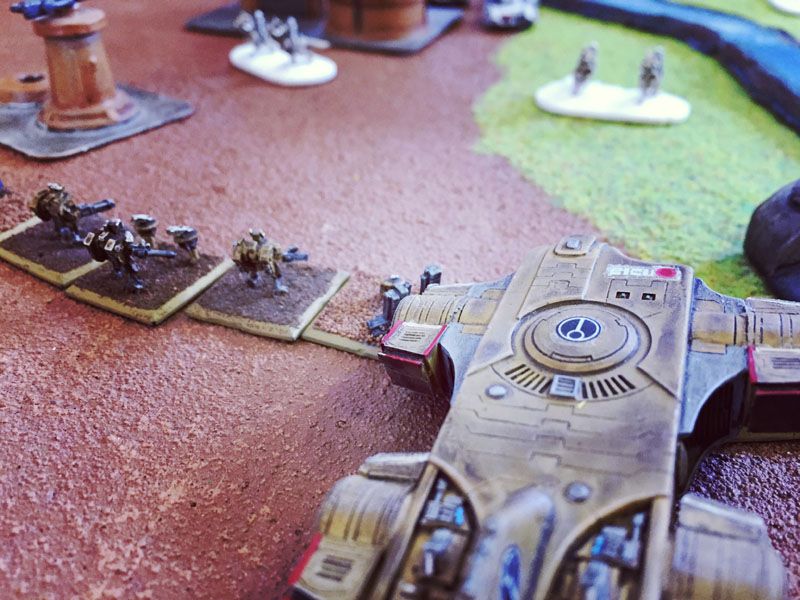
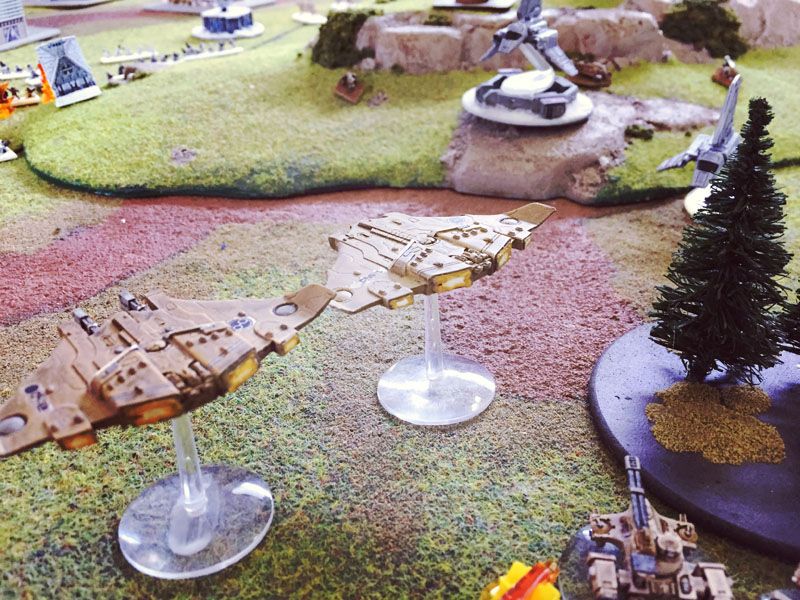
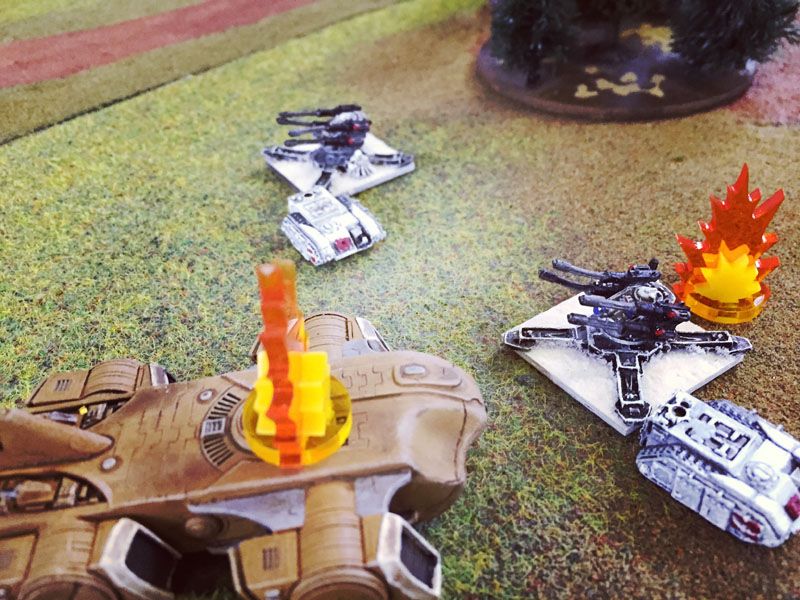
VT: The Tau activate two massive Tigershark AX1-0 aircraft, which scream in low and hit the furthest Gorgon from the DKOK's defensive Anti Aircraft guns. The titan killing firepower of these aircraft destroy not only a Gorgon, but also 8 stands of infantry inside it, placing a total of 12 Blast Markers on the formation at a stroke!
Mont'ka: The Killing Blow.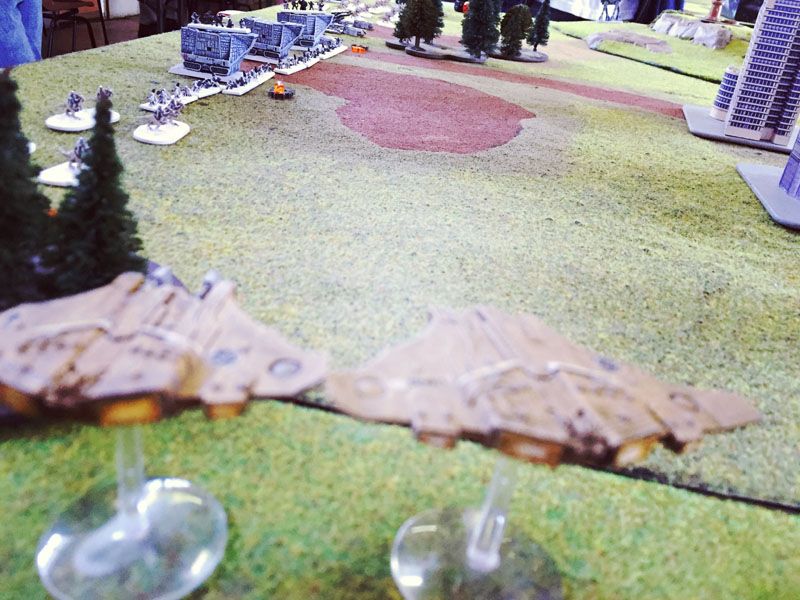
DK: The Death Korps send their Thunderbolts after the Tiger sharks, but their hits are saved by the 4+ armoured aircraft.
VT: The Tau Firewarriors march laterally to their own Blitz objective, unwilling to risk lives of the men in the centre of the map.
Kauyon: Patient hunters.
DK: The second Warhound double moves forward and opens fire on the Hammerheads, killing two of the tanks and breaking the formation (3 blast markers on the 3 survivors).

VT: A piranha opens fire on the warhound, its guided missile causing the titan to lose one of its rechargeable void shields.
DK: The DKOK very wisely rally the formation that took 12 blast markers, getting rid of half a dozen due to a decent roll and the 'encouragement' of the unit's Commissar. This makes them far more likely to be useful in turn 2 and 3.
No photo though - idle rallying does not deserve one!
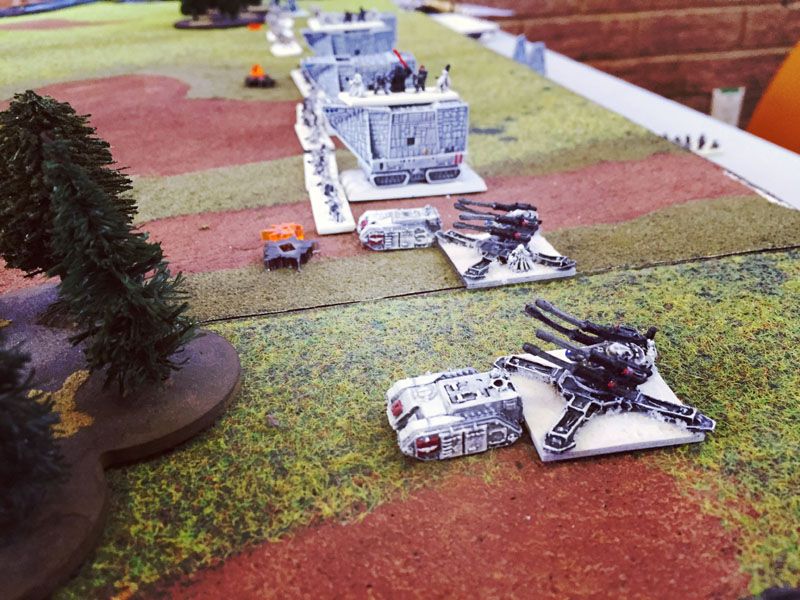
VT: Riptides surge forward, firing macro weapons and anti-tank missiles at a markerlit Warhound. This causes a Critical Hit - the Warhound staggers 6cm and then explodes in a fireball.
DK: The formation of 6 Leman Russ battle tanks are ordered forward and open fire on the distant riptides. They cause 2 hits, but both are saved.

VT: Barracudas are ordered to intercept the Thunderbolts but fail to activate and stand down instead.
Kor'saal: Noob pilots.DK: Scout Death Riders rush forward with a double move, screening the tanks
VT: The Scout Tetras rally, losing their blast marker in order to perform better in the turns to come.
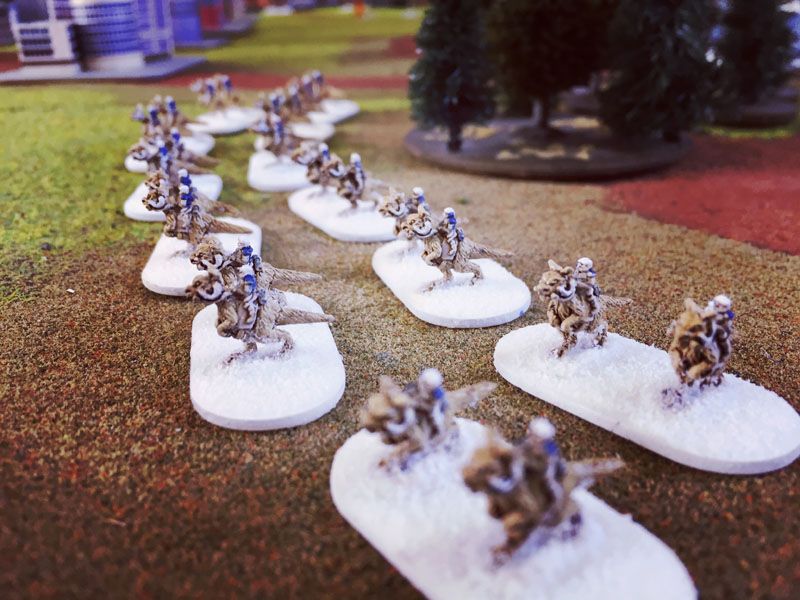
DK: The large formation of combat Death Riders surge forward, charging into the open to take ground and prepare for a Turn 2 assault.
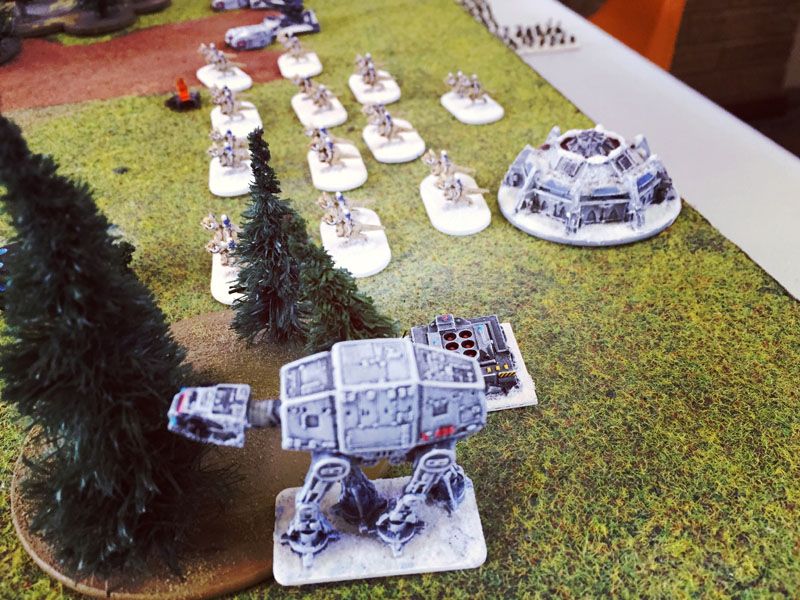
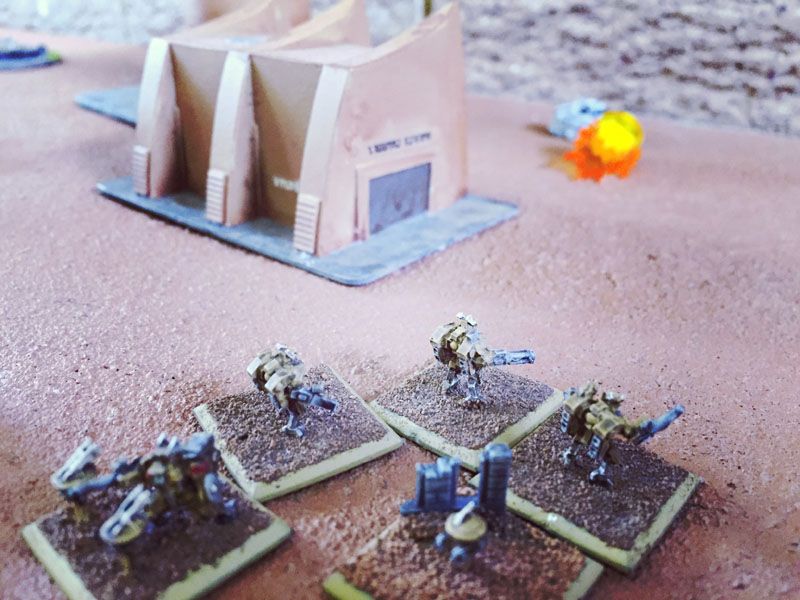
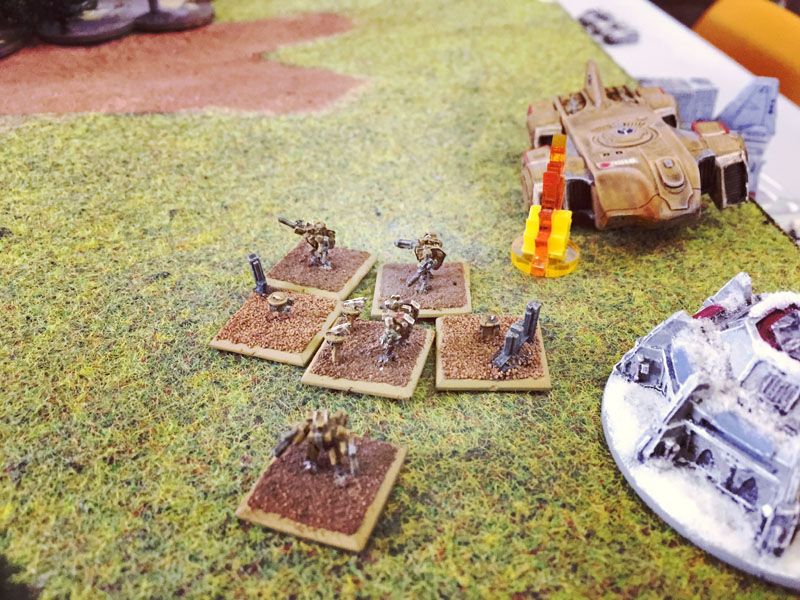
VT: An Orca Dropship is ordered into the battlefield. It drops crisis suits and gundrones which shred the deathriders at close range, leaving only 1 survivor. The removal of this screen makes the Leman Russes more vulnerable - if such a word could ever apply to a Russ formation!
DK: The Regimental HQ triple moves forward, a very aggressive move of men and warengines. Their shooting was too poor to be of much use, so setting up to take territory and launch assaults in the turns to come was definitely the best option for the Kreig player
VT: The second Orca is summoned, and drops in behind the Russes. Crisis suits jetpack out as it descends, and catch the Russes in a crossfire between them and the 1st orca formation. This makes the tanks far more vulnerable to the squads close range weapons, resulting in 2 tanks failing their saves and dying. The first casualty from crossfire also gives the formation an extra blast marker, and it breaks and flees.

DK: The DKOK Anti Air guns are hitched to wagons and towed forward, extending their AA umbrella in hopes of catching Tau pilots.
END OF TURN 1
Hammerheads, Riptides and the Gorgon infantry formation rally. The Leman Russes and Death Riders are both too close to Tau units and fail.
 ]==TURN 2==
 Death Korps seize initiative, despite their lower strategy rating. Game on!
DK: Thunderbolts are ordered onto Combat Air Patrol. They can now come on and immediately intercept should any Tau aircraft come into the airspace.
DK: Death Korps retain initiative (for the first time this game) but the small -1 negative bonus from retaining is enough to cause it to fail. It takes a blast marker, but can still stand and shoots a tetra skimmer. Again it saves its macro firepower, but again causes too few hits to kill anything.
He regrets NOTHING!
VT: Tetra fires to place a blast marker against the inevitable assault. The hit is saved, but the BM remains.

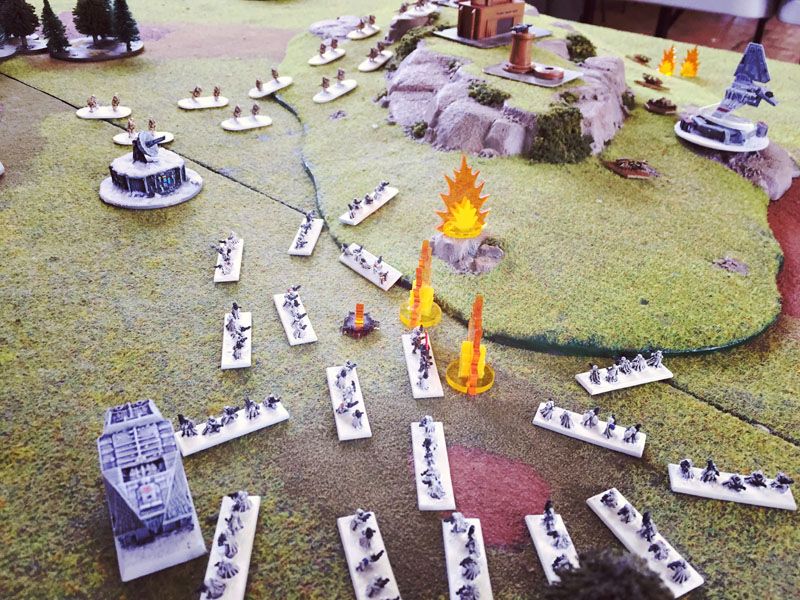
DK: The Death Korps launch an assault! Some of the men started outside their gorgons and are left behind, but a massive wave of men and machines still crashes upon the Tau.
The Death Korps fire 16 firefight attacks, scoring 4 hits and killing 2 Tau. The tau kill 3 Krieg in return, leading to a drawn combat as the DK outnumber the enemy and have an inspiring Commissar, but had entered combat carrying blast markers. The sides roll dice to decide the outcome of the drawn battle and Krieg win, breaking the Tau formation.
This is a real stroke of luck for the Kreig, as a loss in this close assault would have probably proven terminal once the Tau lit them up in return.
VT: The hammerheads fail to activate, and instead stand and shoot at the Gorgons poorly, missing.
DK: The deathriders fail to activate.
VT: The Tau call in support - the mighty Tigershark AX1-0s! These come in, ready to destroy the titans below, but the Krieg thunderbolts get to intercept them first. The fighters manage to shoot one down with no casualities in return, but the surviving Tigershark is still capable of killing another Gorgon, spearing it with a TK hit.
DK: The Gorgons rally.
VT: Crisis suits make a jetpack move, and kill a Leman Russ with plasma fire power. Two other members of the broken formation are cut down due to morale, leaving just the Commissar tank surviving.
DK: The Anti Aircraft guns rally
VT: The Death Korps have now run out of activations, giving the Tau a bit more breathing room. The Crisis suits pursue the sole remaining Leman Russ, firing at it with macro weapons. They fail to penetrate the think armour, and the tank's commissar ensures the broken unit does not quail and flee under fire.
VT: Riptides open fire on the Gorgon formation, firing through it to a unit on the other side and within 45cm, gaining a crossfire bonus. This reduces the Gorgon-armour's ability to save hits, and two get through. One more will destroy the war engine.
VT: Barracuda fighters are ordered on, intercepting the thunderbolts that attacked the AX1-0s earlier in the turn. One is destroyed.
VT: An orca fails to come on due to the blast markers picked up in the last turn. The other orca scoops up the crisis suits and flies off with them, ready to strike next turn.
END OF TURN 2
The lonely Leman Russ rallies.
==TURN 3==DK: Death Korps seize initiative again - defying their lower strategy rating and gaining a golden opportunity to strike at the Tau before coming under more fire. They capitalise on this by sending their Regimental HQ unit and its gorgons into an immediate assault.

Riptides counter charge in order to put their excellent armour in the way of the first hits, while the weaker Tau happily let them. The Death Korps manage to cause 6 hits and 4 casualties. The Tau manage 7 hits, 5 of which are instant casualties on units exposed and 2 are hits on the Gorgon which are saved.

This gives Tau an advantage - they are one ahead in the combat resolution roll off, but fate is with the Emperor's men as they win the assault regardless and break the Tau unit.
VT: The Tetra scout skimmers attempt to activate but fail, withdrawing.
DK: The newly rallied Leman Russ moves to the left flank objective and fires on a tetra - no damage is caused but 1 dies from being shot at while broken.
VT: Hammerhead tanks activate, and skim forward to fire at the Gorgon and infantry. They have a crossfire bonus firing through the unit, but cause no damage.
DK: The Death Korps AA double moves closer to their home Blitz objective. This is a move to protect it from the Orca drop ships that Nick suspected would try steal this objective later in the turn.
VT: Crisis suits double move and open fire on the leman russ with plasma, finally killing the commissar's tank and removing the unit holding left flank objectives for Krieg.
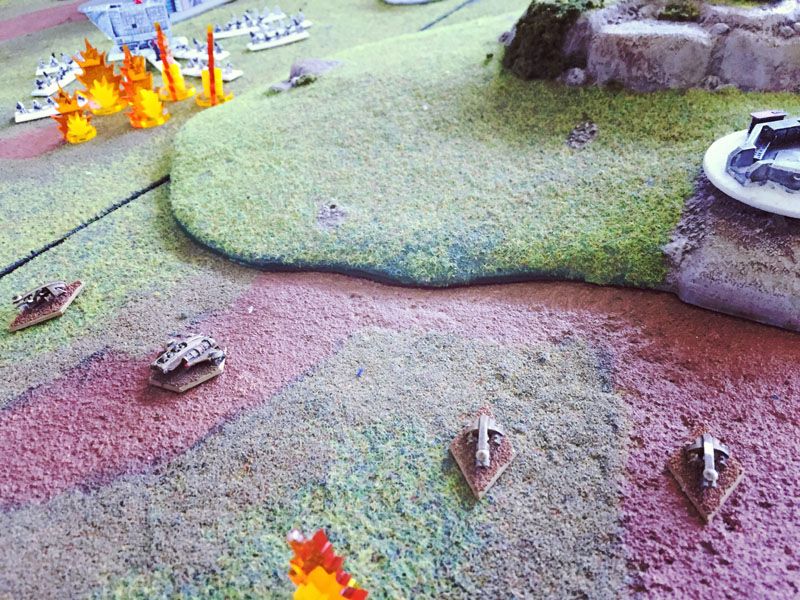
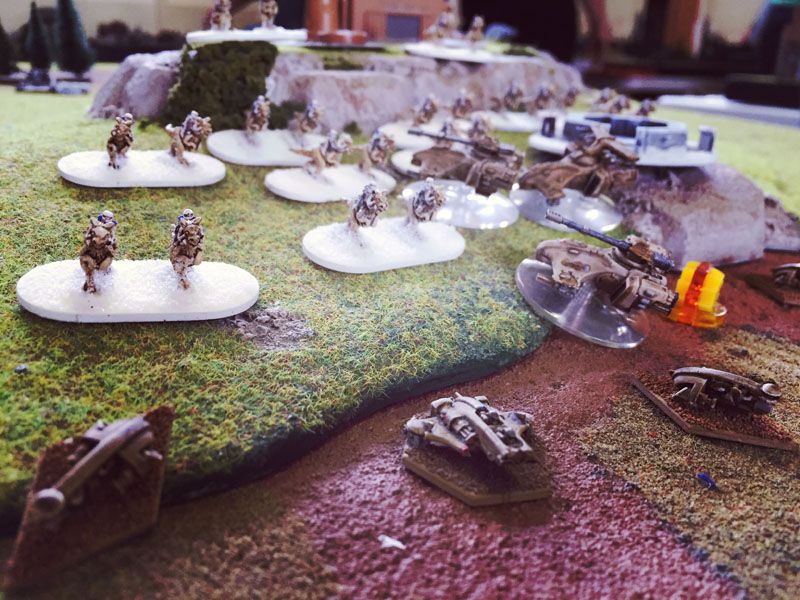
DK: DEATH RIDERS - CHARGE! The Death Korps Rough Riders launch an assault, charging double their usual move distance due to their infiltrator rules, and barrelling straight through terrain. A remarkable 6 of them roll a 1 for rough terrain, and are only saved by the Walker rule allowing them to reroll it.
They smash straight in to the Tau hover tanks and easily win, cutting down an additional 3 units as they try to flee from the lunatics on horseback.


VT: Firewarriors are ordered to advance on the double, and fire on the Regimental HQ. Disruptive pulse weapons ensure they finally break this massive unit, and it is sent fleeing backwards.
DK: The Death Korps march their other, depleted, Gorgon formation to the objectives in their own side of the board, preparing to hold the line and hoping for another turn.
VT: The mighty AX1-0 titan killing aircraft fail to activate, and stand down. It's always a risk taking these tremendously powerful, extremely finicky aircraft. When they work they are great, when they don't they're a 350pt hole in the army.
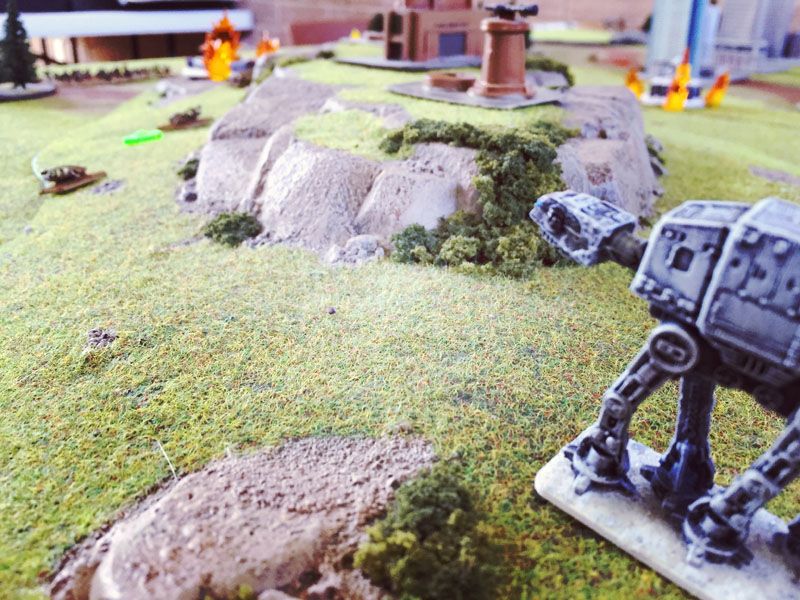
DK: The Warhound is ordered to double forward, which it does before finally firing its stored macro weapons along with its Vulcan Megabolter. Even with the advantages of cover and the WH's reduced accuracy at speed, the Firewarriors cannot survive this sort of attack and 2 die, breaking the formation.
VT: The Barracudas come on, with a very specific mission: They must kill 1 anti aircraft gun, in order to reduce the amount of fire power that will come at the Orca to a more realistically survivable level. Instead they are shredded by flak, with no hits taken by the guns.
VT: Next up is an empty Orca who is given the same mission: reduce the fire power of that AA position. The Orca is anything but a gunship, its armaments would make a Thunderhawk laugh, but all it really needs to do is get a shot off, no matter how weak, as the blast marker will suppress at least a gun.
The AA manages to score 2 hits on the Orca, but it manages to save one (phew!) rather than coming crashing immediately down, and nerf-darts the AA with a blast marker.
VT: The second Orca screams in low, carrying a full load of crisis suits. As an air unit, the Orca itself can't claim an objective on the turn it arrives, but the landing craft makes it successfully past the reduced AA screen, and Crisis suits leap out and jet pack down to earth on the objective, scoring a last moment Blitzkrieg result.
 VICTORY TO THE TAU: 2-1
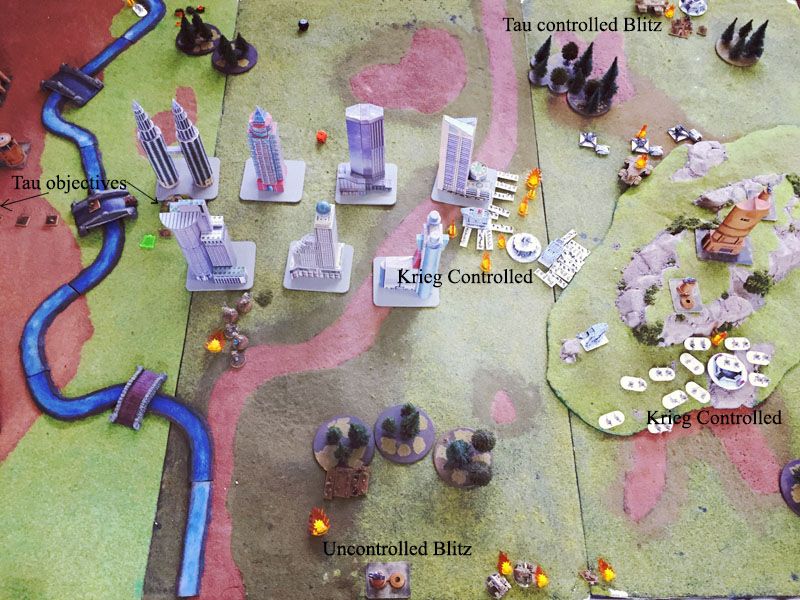
[] Blitzkrieg: You achieve this goal by capturing the objective that was set up on the opponent’s table edge at the start of the game.
[] Take And Hold: You achieve this goal by capturing a total of two objectives in your opponent’s half of the table.