Hey Guys
We had a few delays in getting this Batrep up but here is the write up of the game Kenny and I had a fortnight ago. Please excuse the photos, in hindsight some close ups my have assisted in seeing who was who in the zoo.
Kenny’s, Ghazgkhull Thraka's Warhorde
Ork Warband 250
2xNobz, 6xBoyz, 2xGrotz & 2xStormboyz
Big Ork Warband 425
Warlord, Oddboy, 4xNobz,12xBoyz
4xGrotz & Big Gunz
Stormboyz Warhorde 150
6xStormboyz
Kult of Speed (1) 200
8xSkorcha
Kult of Speed (2) 200
8xSkorcha
Blitz Brigade (1) 200
Oddboy Flakwagon & 3xGunwagon
Blitz Brigade (2) 200
Oddboy Flakwagon & 3xGunwagon
Blitz Brigade (3) 200
Oddboy Flakwagon & 3xGunwagon
Mekboy Gunzmob 175
Oddboy & 5xBig Gunz
Gargant 650
Blasta Gargant
Landa 200
Landa
Fighta Squadron 150
3xFighta- Bommer
My, Iyanden Craftworld (4.2)
==================================================
AVATAR [0]
SPIRIT WRAITHGUARD WARHOST [575]
4x Wraithguard units, 4 Wave Serpent, Wraithseer
SPIRIT WRAITHGUARD WARHOST [325]
4x Wraithguard units, Spiritseer, Wraithguard
SPIRIT WRAITHBLADE WARHOST [225]
4x Wraithblade units, Spiritseer
SPIRIT WRAITHLORD WARHOST [350]
6x Wraithlord units, Spiritseer
RANGER TROUPE [125]
5 Ranger
SWORDS OF VAUL TROUPE [250]
3 Falcons, 2 Fire Storm
ENGINE OF VAUL TROUPE [250]
Storm Serpent
VAMPIRE RAIDER [200]
REVENANT TITANS [650]
2 Revenant Titans
WRAITHGATE [50]
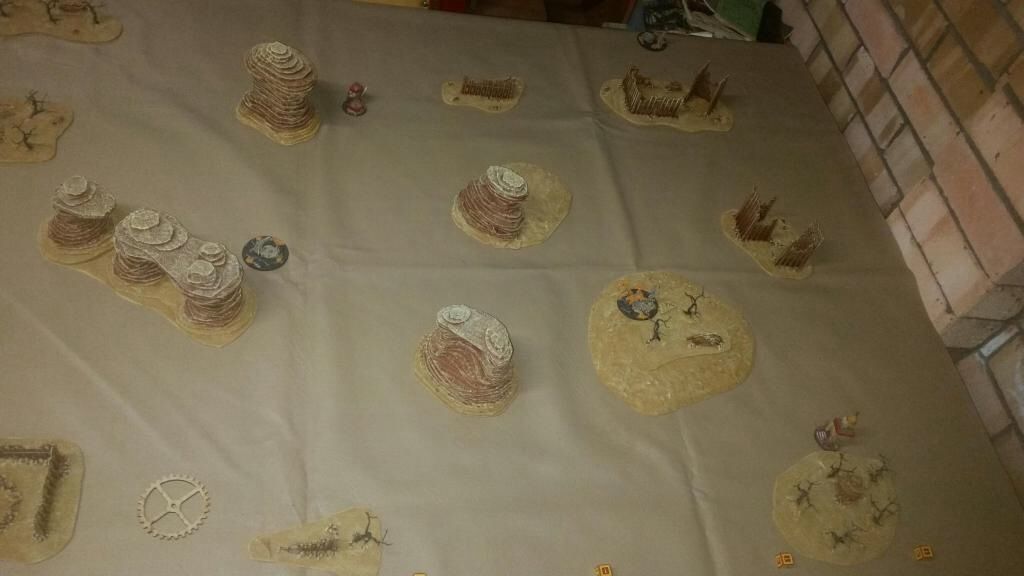
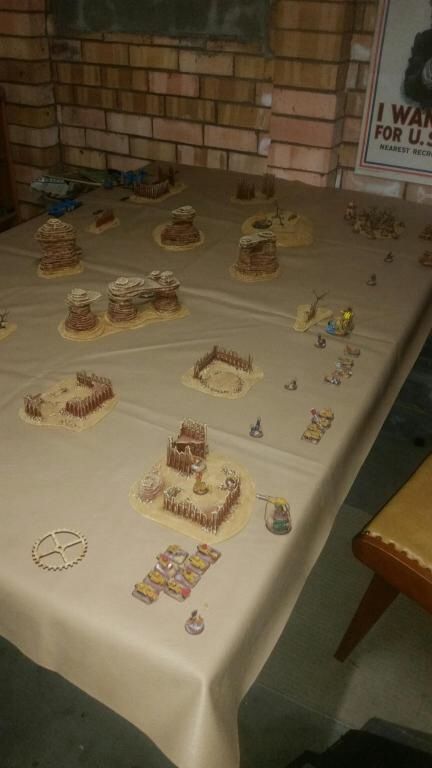
Table
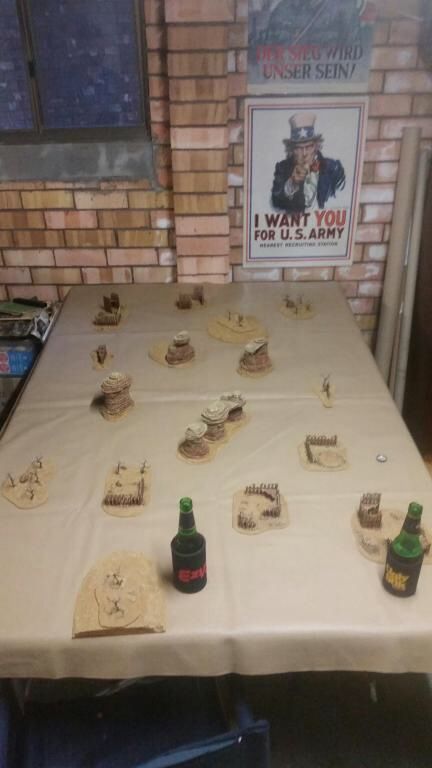
Deployment Phase
Objectives
Eldar placed their Blitz objective in on their left flank behind some ruins and both their forward objectives were straight across from the blitz.
Ork’s placed their Blitz on their left flank and another objective in the centre of the table and the other centred towards the eldar table edge. The eldar choose centre table objective to be the wraithgate.
Eldar Deployment
The eldar deployed no garrisons.
The eldar rangers, Storm Serpent, SOV, Revenants and WG in Waveserpents deployed on the eldar far left flank with over lapping AA bubbles covering the Storm Serpent. WL and WG formations deployed in the webway while the WB were in the Vampire.
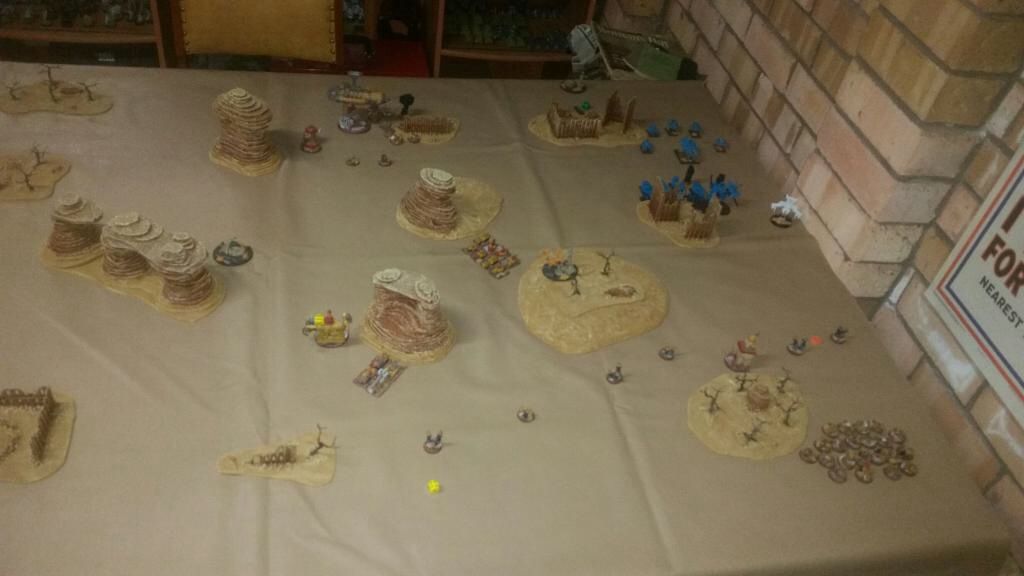
Ork Deployment
The orks garrisoned the big ork war band on the objective in their far right corner and the SB in an extended line across their right flank. With BM 1 and KOS 1 behind the garrisoned formations. The Gargant was next with both BM 2 and BM 3 deployed next to the Gargant. The BG and KOS 2 were deployed on the Ork Blitz. The OW were in the Landa.
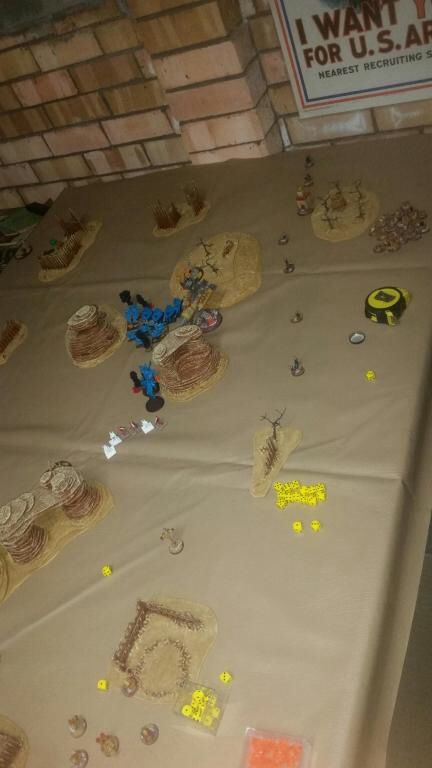
Turn 1
Orks win the strategy roll and call the Iyanden to move first.
I-Rangers go on OW
O- FB go CAP
I-WG in WS double down the eldar left flank behind ruins.
O- BM 1 double down the Ork right flank and fire on the WG in WS for 1 BM.
I- Revs double forward and deploy in the ruins in front of the WG in WS and fire on BM 1 wiping them out.
O- BG go on OW.
I- Vamps flys on a puts a BM on the SB.
O- BM 2 double forward and put a BM on the rangers.
I-SS advances behind the ruins with the WG in WS are positioned.
O- SB fail to activate for a marshal and move to the orks right.
I- SOV move up behind the SS
O- KOS 2 double forward down the ork left flank
I – WG engage BM2 out of the Wraith gate wiping them out and consolidate towards the cover of the rock spires.
O- Landa and OW launches a ground assault against the rangers winning by two leaving the remaining two broken and retreating towards the Eldar Blitz.
O- BM 3 double forward to the centre of the table firing on the WG killing one for two BM.
O- The Gargant doubles forward firing on the WG (who were in crossfire with the OW) killing two and breaking the formation.
O- KOS 1 double forward to the centre of the table in engage range of the WG in WS but fire at the broken WG formation again in cross fire with OW and wiped the formation out.
O- BOW doubled out of the forest and fired their big guns at the revenants and missed placing a BM.
Rally
Rangers, WG in WS, Revs all rallied clearing BMs and the Vampire received a BM from AA on the way off. SB Failed to rally and Landa received 1 DC and 2 BM when flying off.
End of first turn
Turn 2
Orks win strategy roll.
O- Gargant doubles forward and fires on the WG in WS for the death of 1 WG and 2 BM.
O- Retain and KOS 1 engage the WG in WS. Combat last three rounds with the WG losing 1 WS and 1 WG for the entire formation of scorchas wiped out. WG in WS consolidate towards the Gargant.
I – SS doubles towards the Gargant and fire stripping a shield and putting a BM on.
I – WL retain engaging the Gargant in base to base. Including the supporting fire from SS and WG in WS the Gargant received 6 DC with two crits and all shields gone with no casualties taken by the eldar. The Gargant moved back towards the blitz.
O- OW doubled towards the WG in WS firing at them for 1 BM.
I – SOV double forward and fire on BM3 wiping them out.
O- SB try and engage the SOV but fail to activate, remove BMs.
I – revs double to the Centre of the table and fire on the Gargant destroying it.
O- FB attack the SOV and are all shot down from the FS and Revs AA.
Orks conceded at this point
End of second turn and game
The engagement for the eldar against the Gargant was the game changer. The WG in WS support of this was critical given that that formation (in conjuction with the SS) stripped the shields and caused 3DC to the Gargant. Had the Gargants turn 2 shooting been more effective against the WG in WS who were bunched and subsequent Scorcha engagement there might have been a different outcome to the game. During the Scrochas engagement with the WG in WS we noted that the WS was hit three times and saved all. Had the WS failed one of these saves it would not of allowed the WG in WS such substaintial consolidation move which put them into support range of the Gargant. Also the WB never actually hit the table.
Anyway Kenny and I are hoping to get another game in this weekend.
Cheers
Mic